Dandelion seeds step by step
I’ll be honest – this blog post is pure fluff.
Okay…just had to get that pun out. I feel much better now.
So, this is part one of the very long answer to the question, how do you create your dandelion clock pictures? I plan on going into the details of other aspects such as background painting, background stitching, ribbon work, etc., in the future. This post focuses on the seeds.
I may upgrade the photos later, as some aren’t the sharpest.
I start with Gutermann sewing thread in shade No. 21, a nice soft white.

Then cut a length of about 12 inches or so.
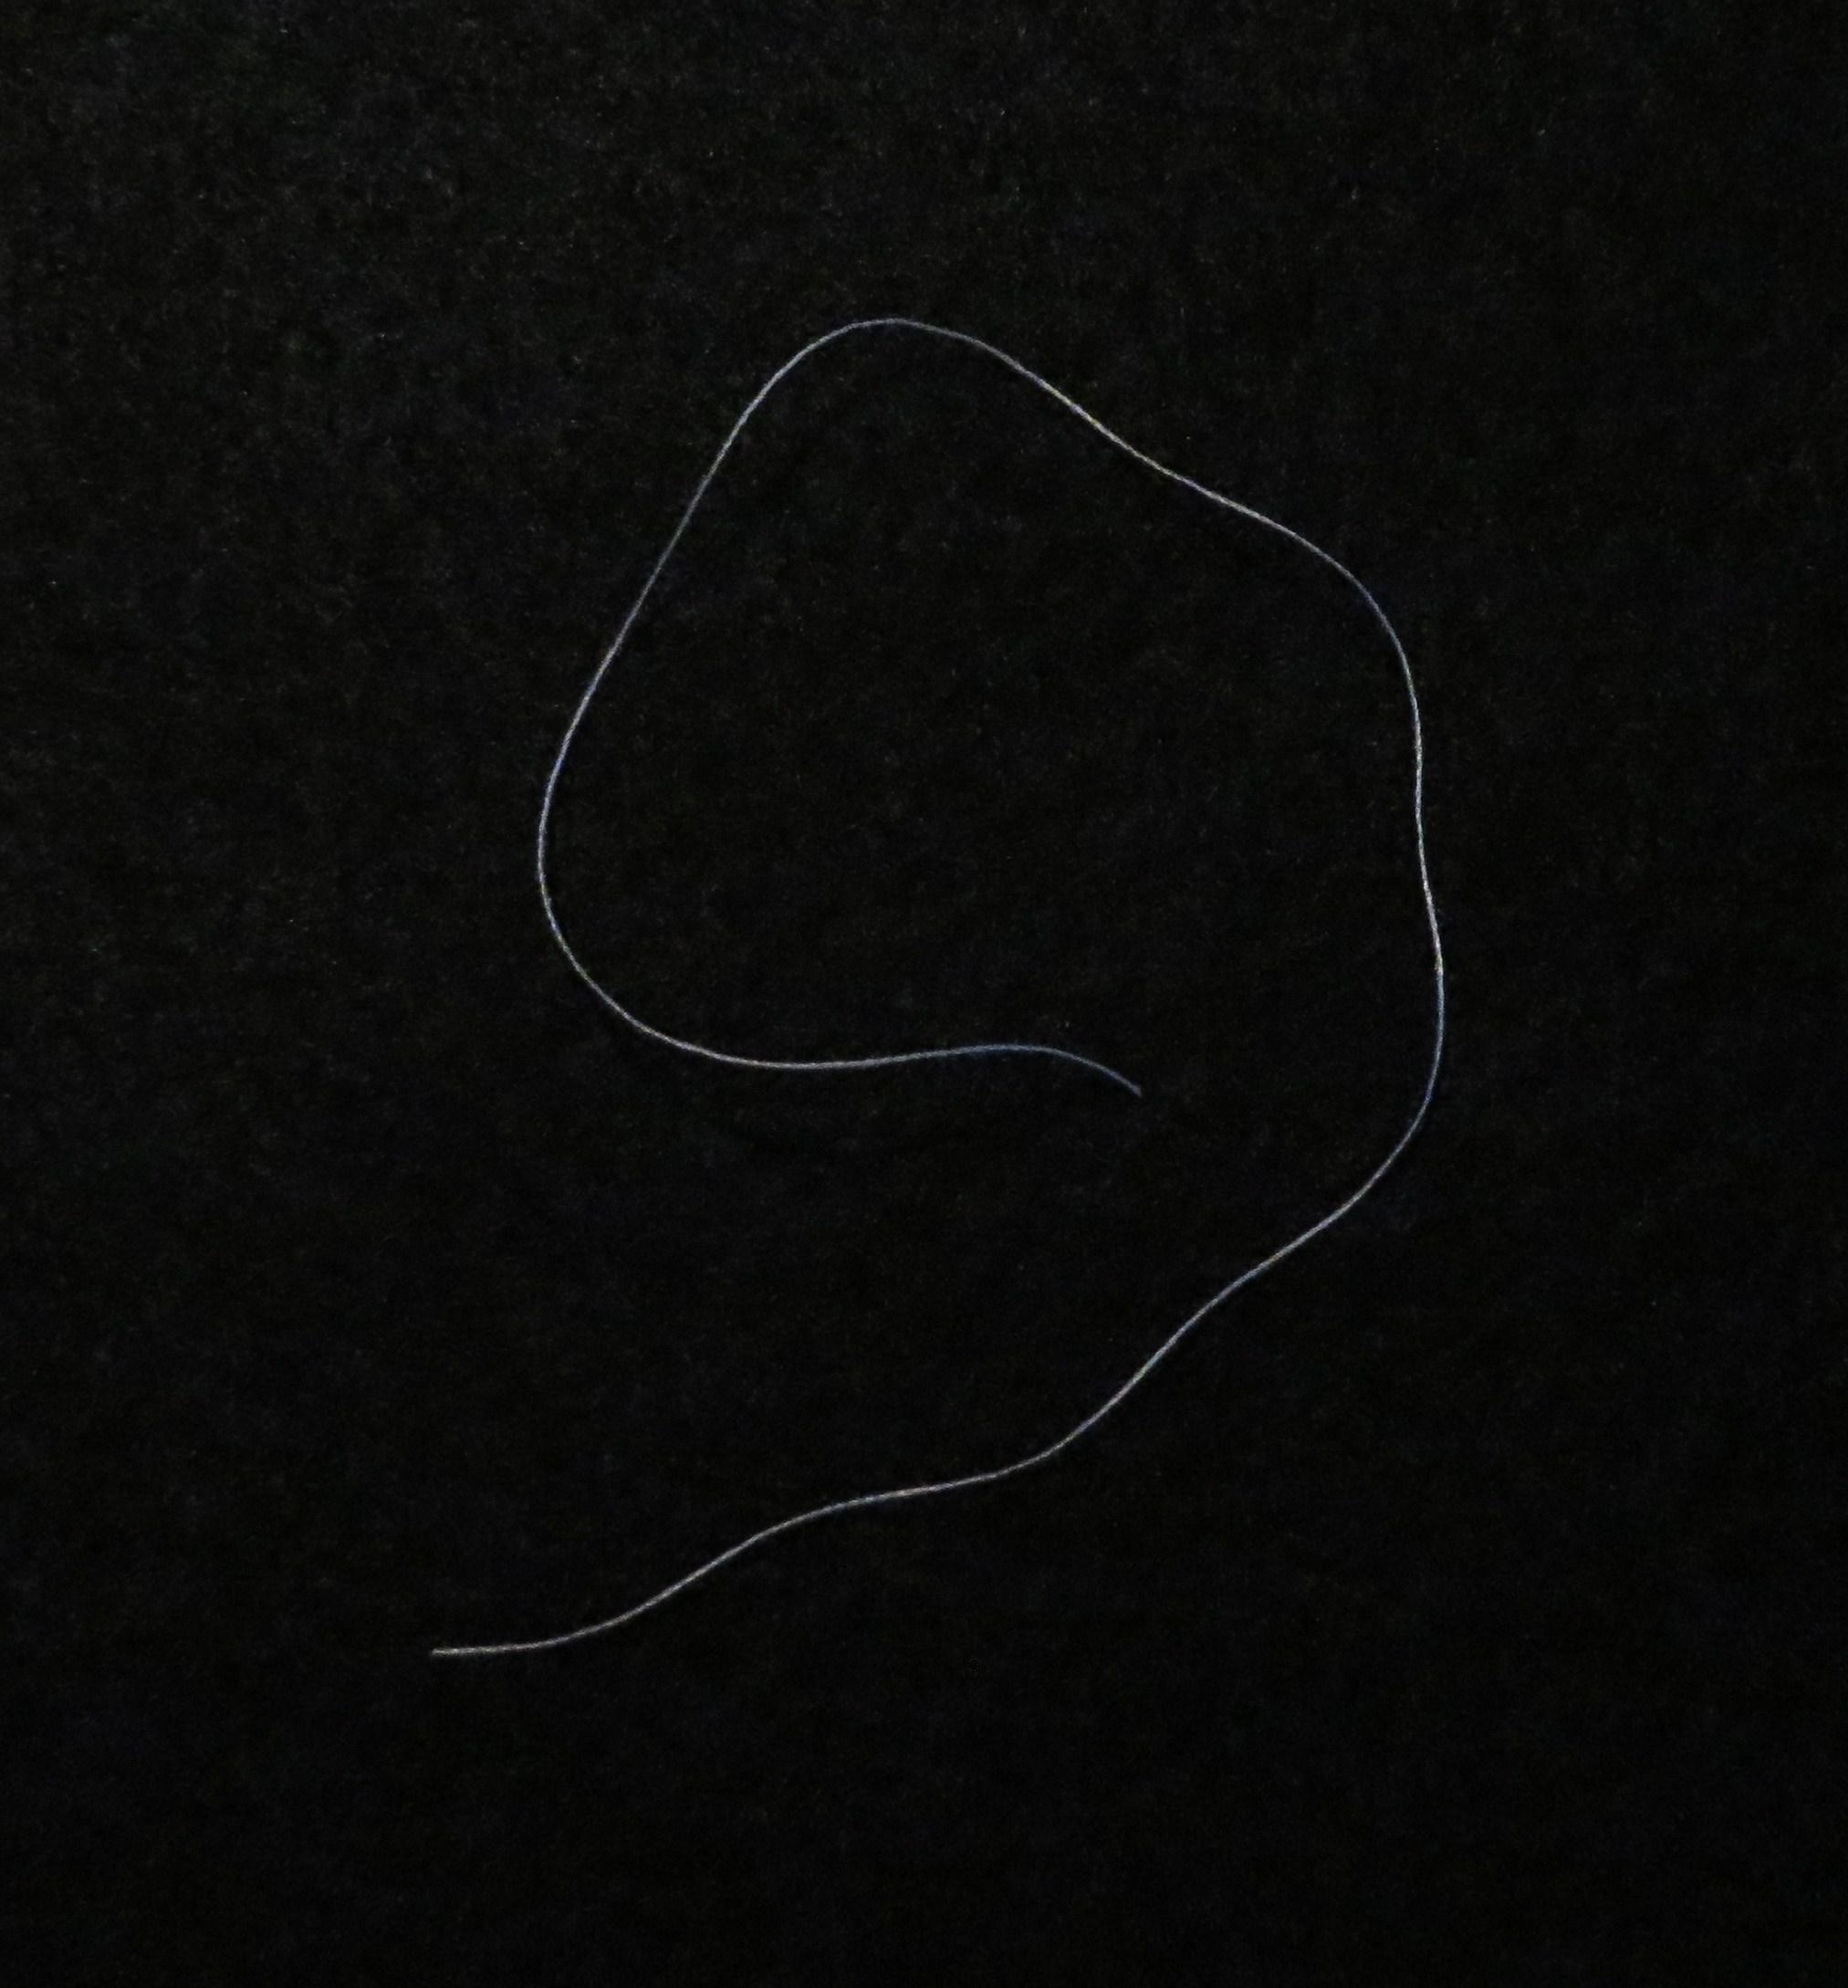
Tie single knots, spaced about 3/4 inch apart. No need to be exact about that.

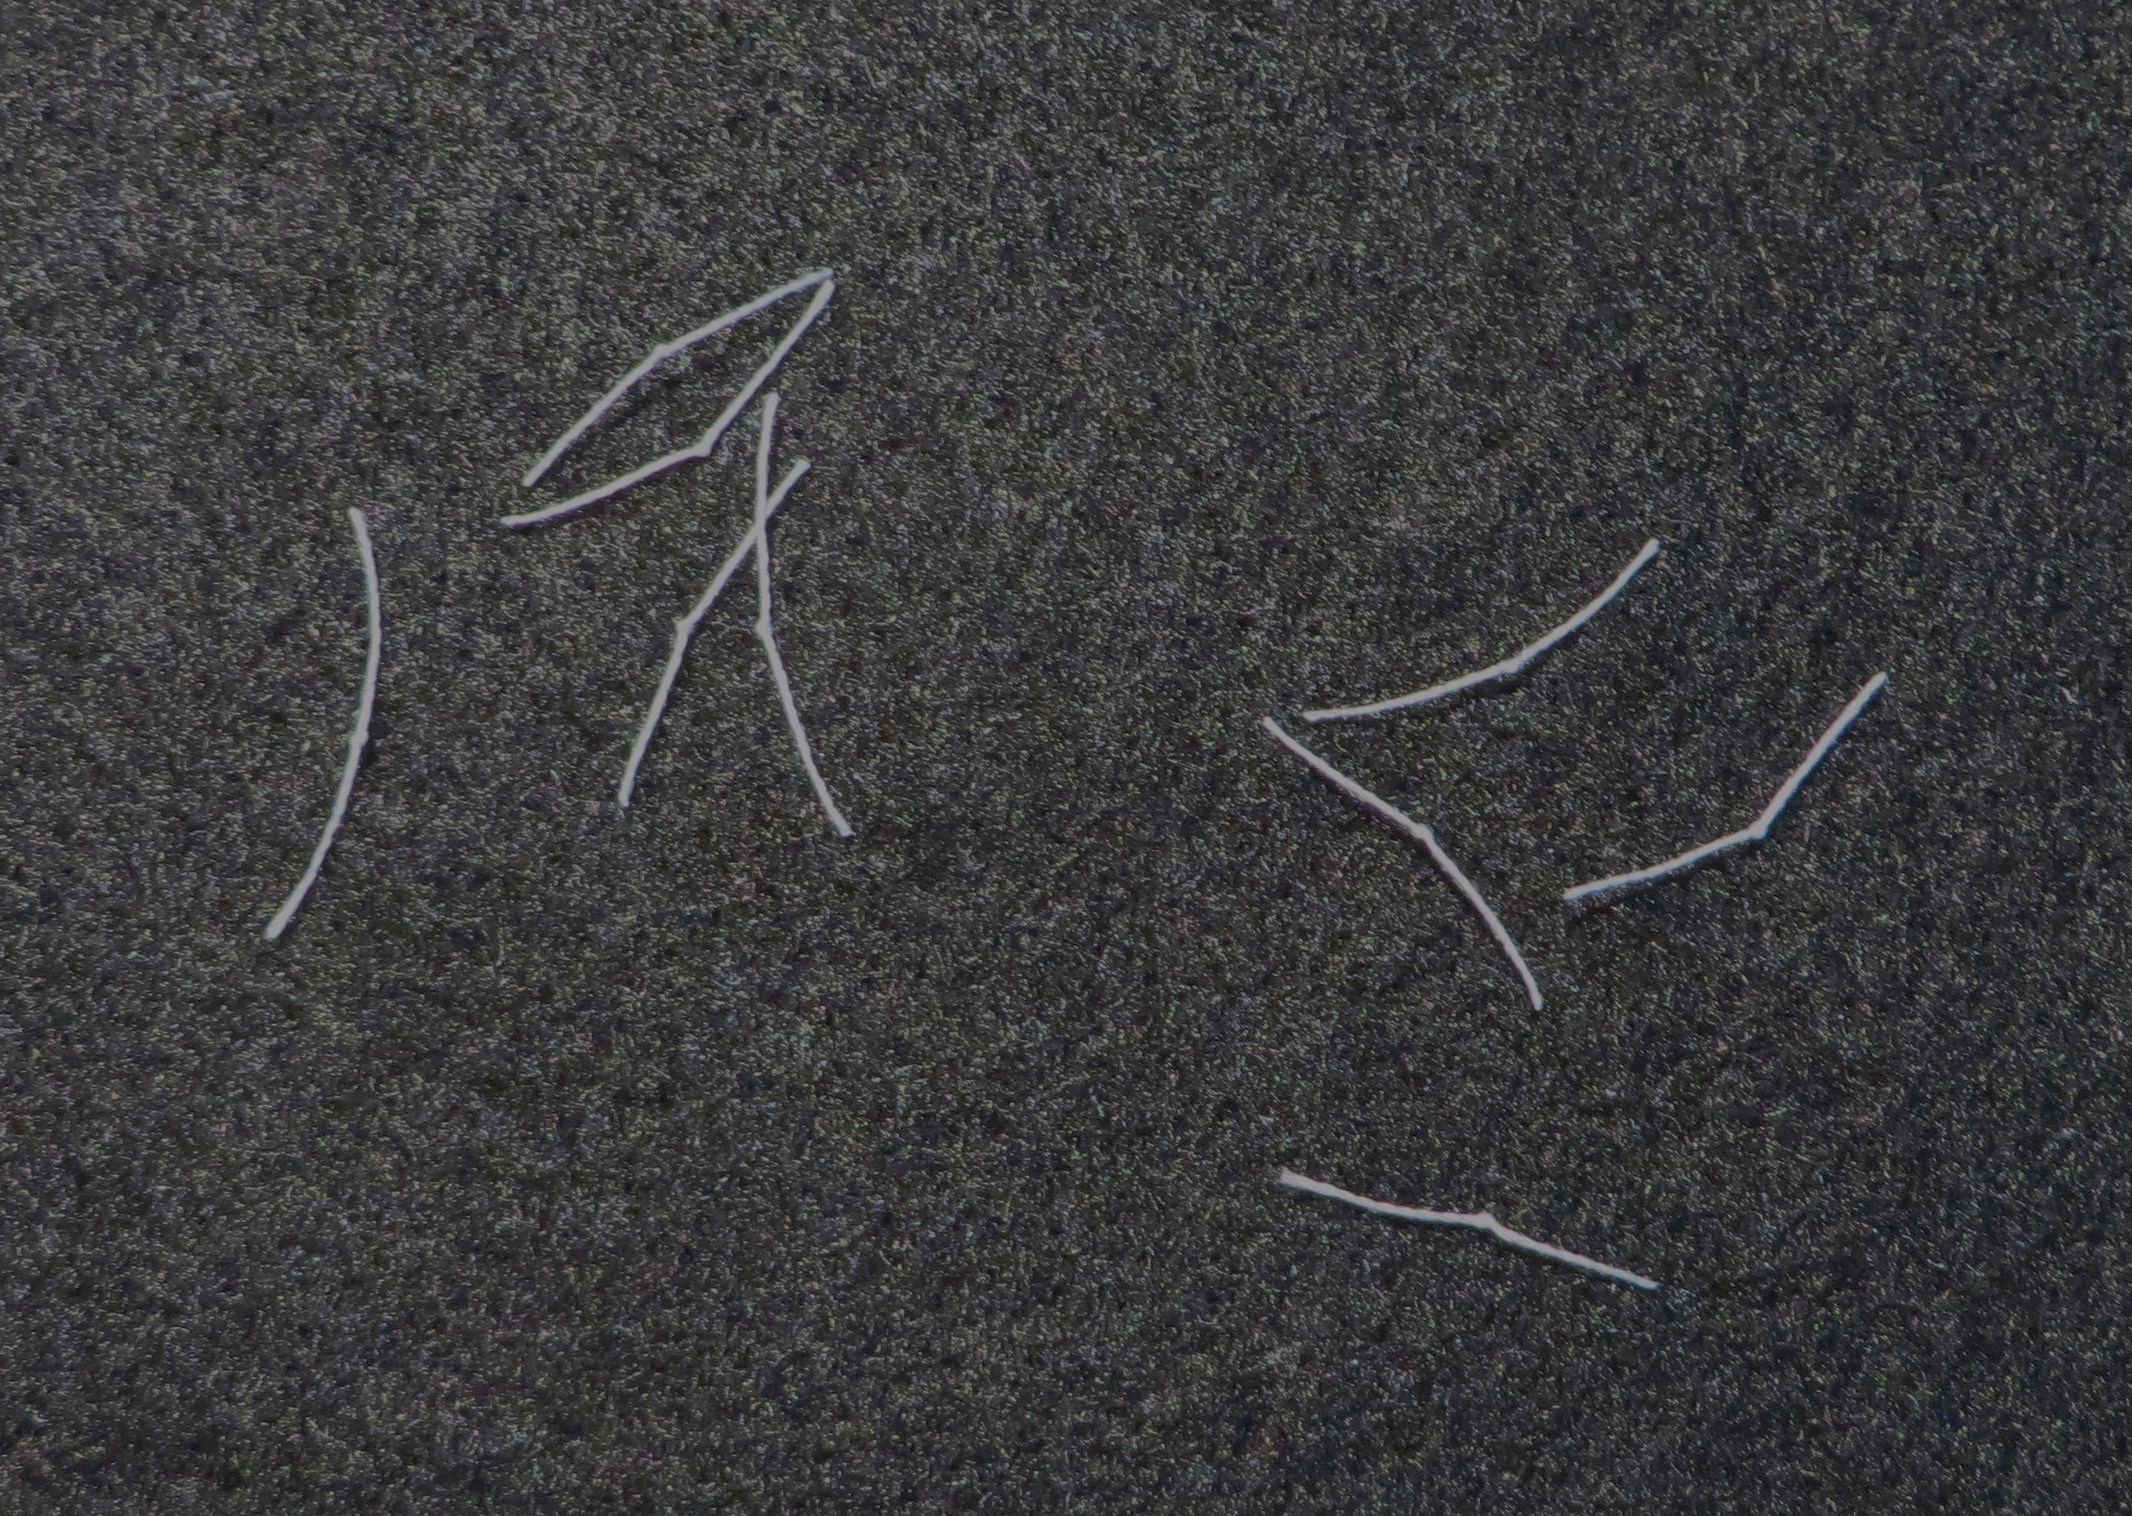
You end up with bits. Sometimes there’s more thread on one side of the knot than on the other, and that’s okay.
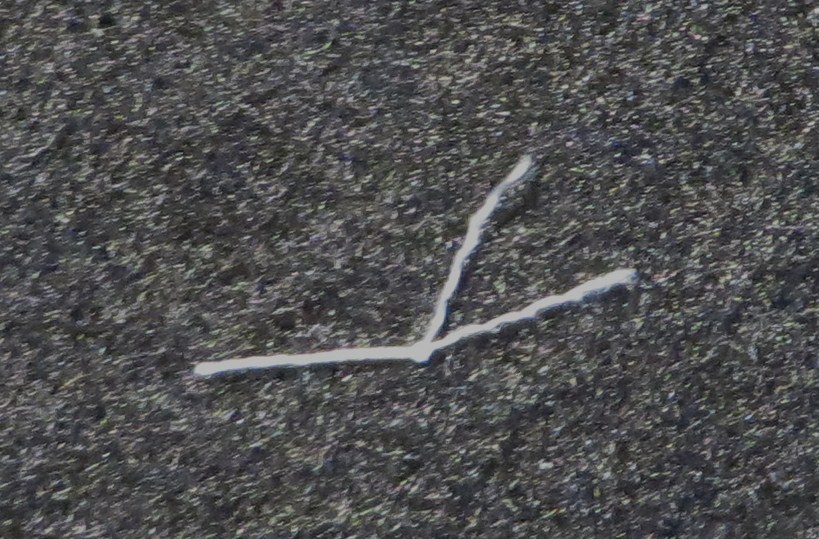
Choose a bit. This type of thread is made up of two thinner threads twisted together. Roll it between finger and thumb against the direction of twist, and you’ll see it start to split apart.

Then you can grasp the ends and pull them apart all the way down to the knot.
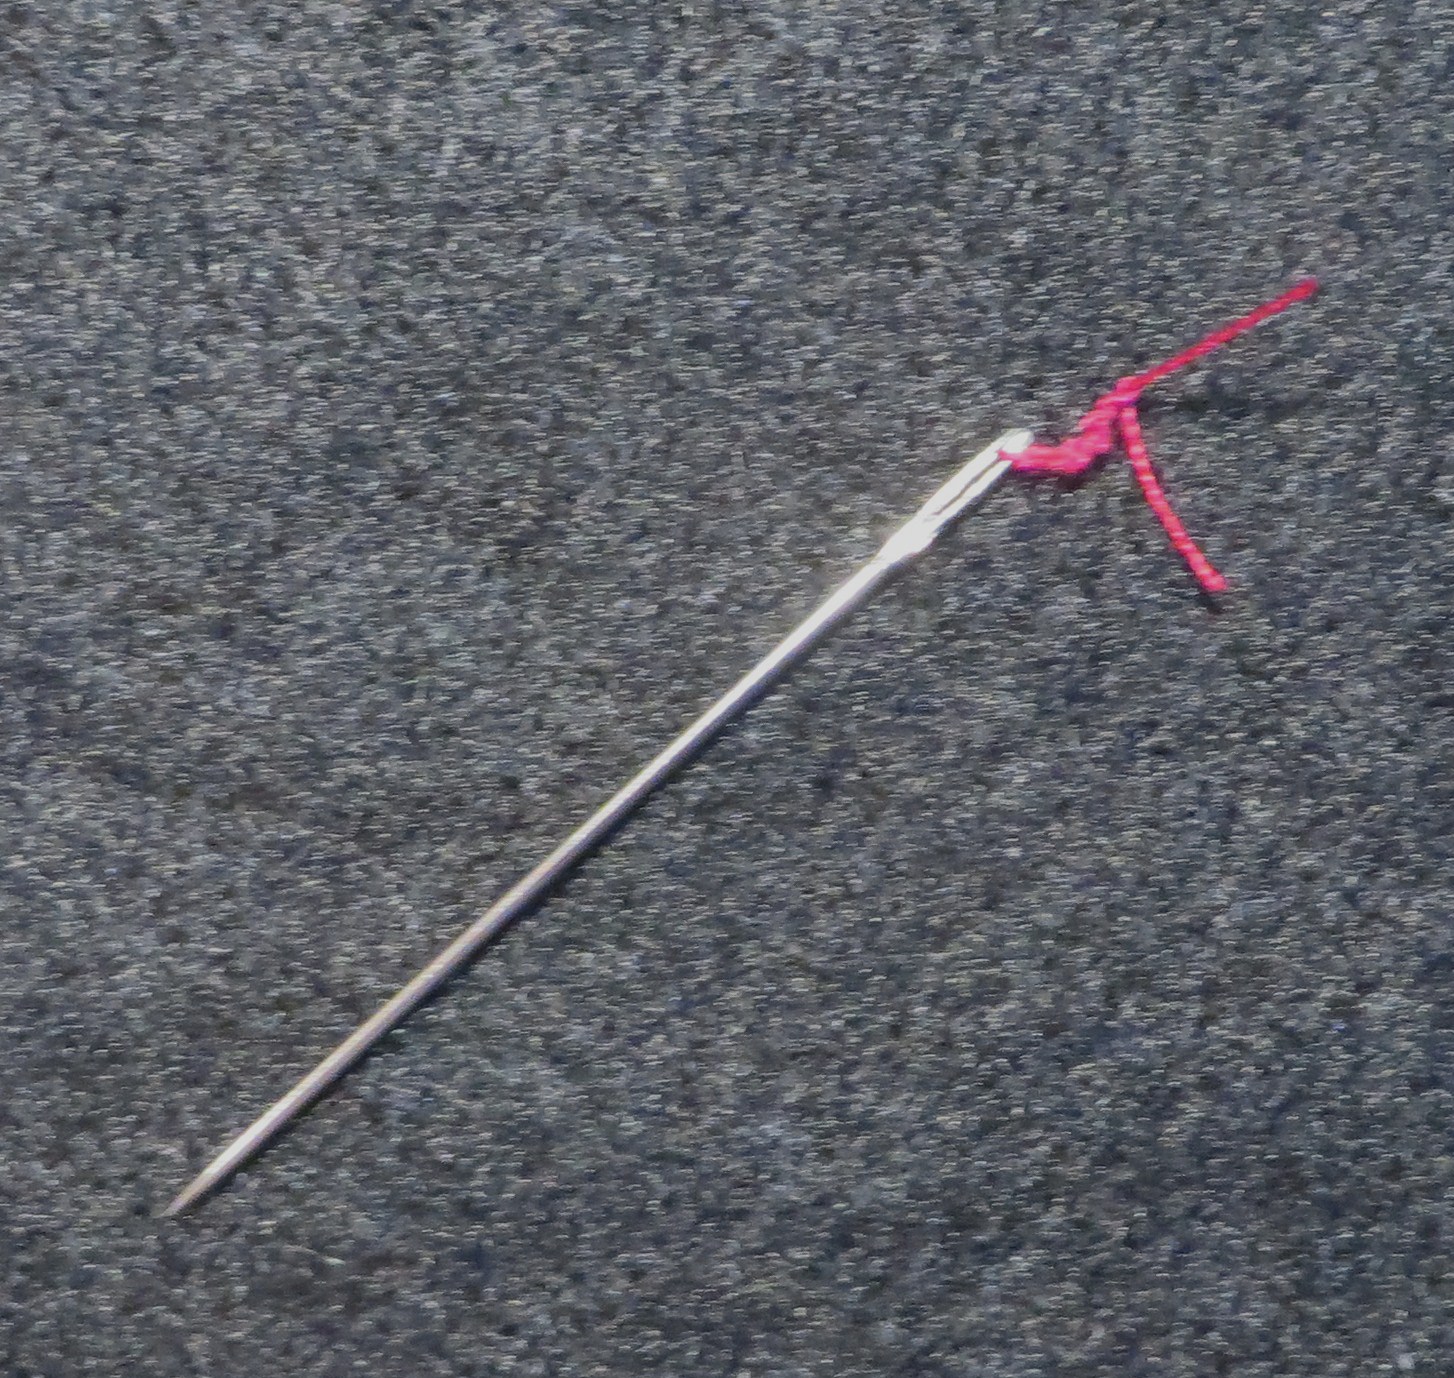
Enter the hero. He’s about 1 1/2 inches long and nice and sharp. I tie bright-coloured thread to the eye so that I can find the needle more easily if I drop it. (There have been Incidents).
Next I grip the full-thickness end of the thread between finger and thumb. The newly-separated half-thickness threads rest against my fingertip. I use the needle to “comb through” and tease out each half-thickness thread until it’s separated out strand by strand. It’s a bit like trying to comb through tats in hair. You have to take your time, be gentle and not prick yourself, and do this under a good light.

The same with the other half-thickness thread.
I know, I know. I’m an artist, not a professional photographer : )

You can probably just about see in the photo above that the strands are quite wavy or crimped-looking. I like to iron them straight. The picture below shows me ironing one seed, but I usually lay out a great number and iron them all at once.
While I have the iron out I also like to take a few 10-inch lengths of thread, separate them into two half-thickness threads, and iron these straight. I use these straightened threads to form the “handles” to the seed “umbrellas” later.
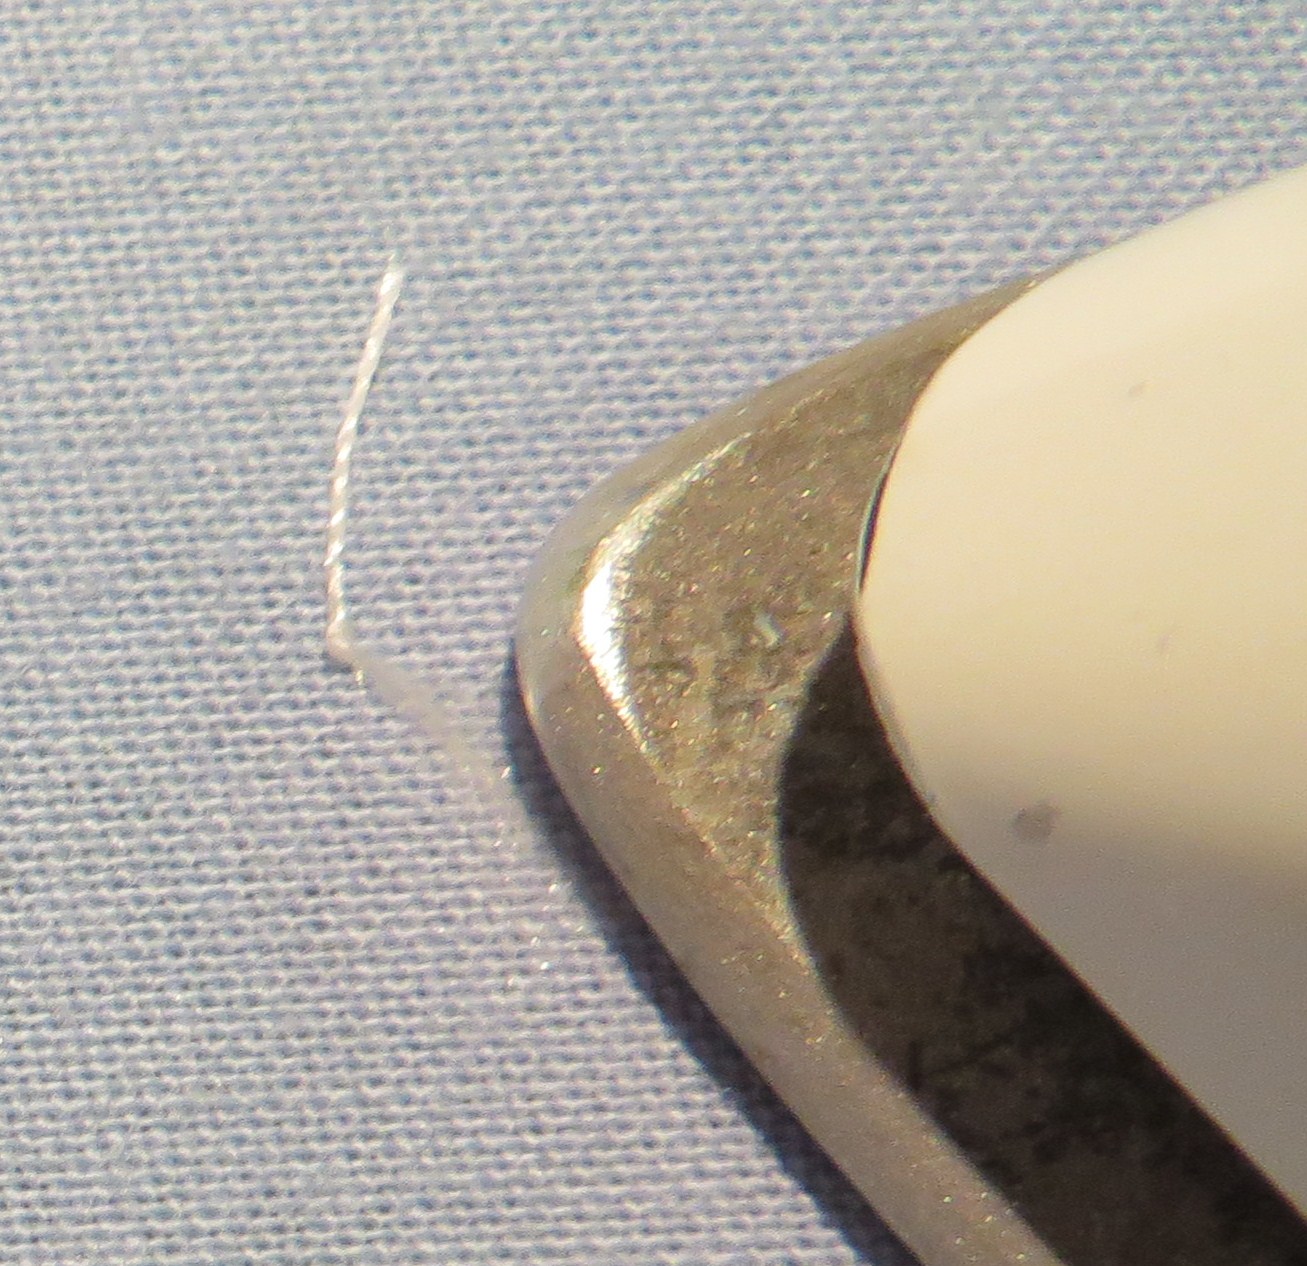
Now the strands are straighter.

Next I use scissors to trim the fluff into a more curved, dandelion seed shape.
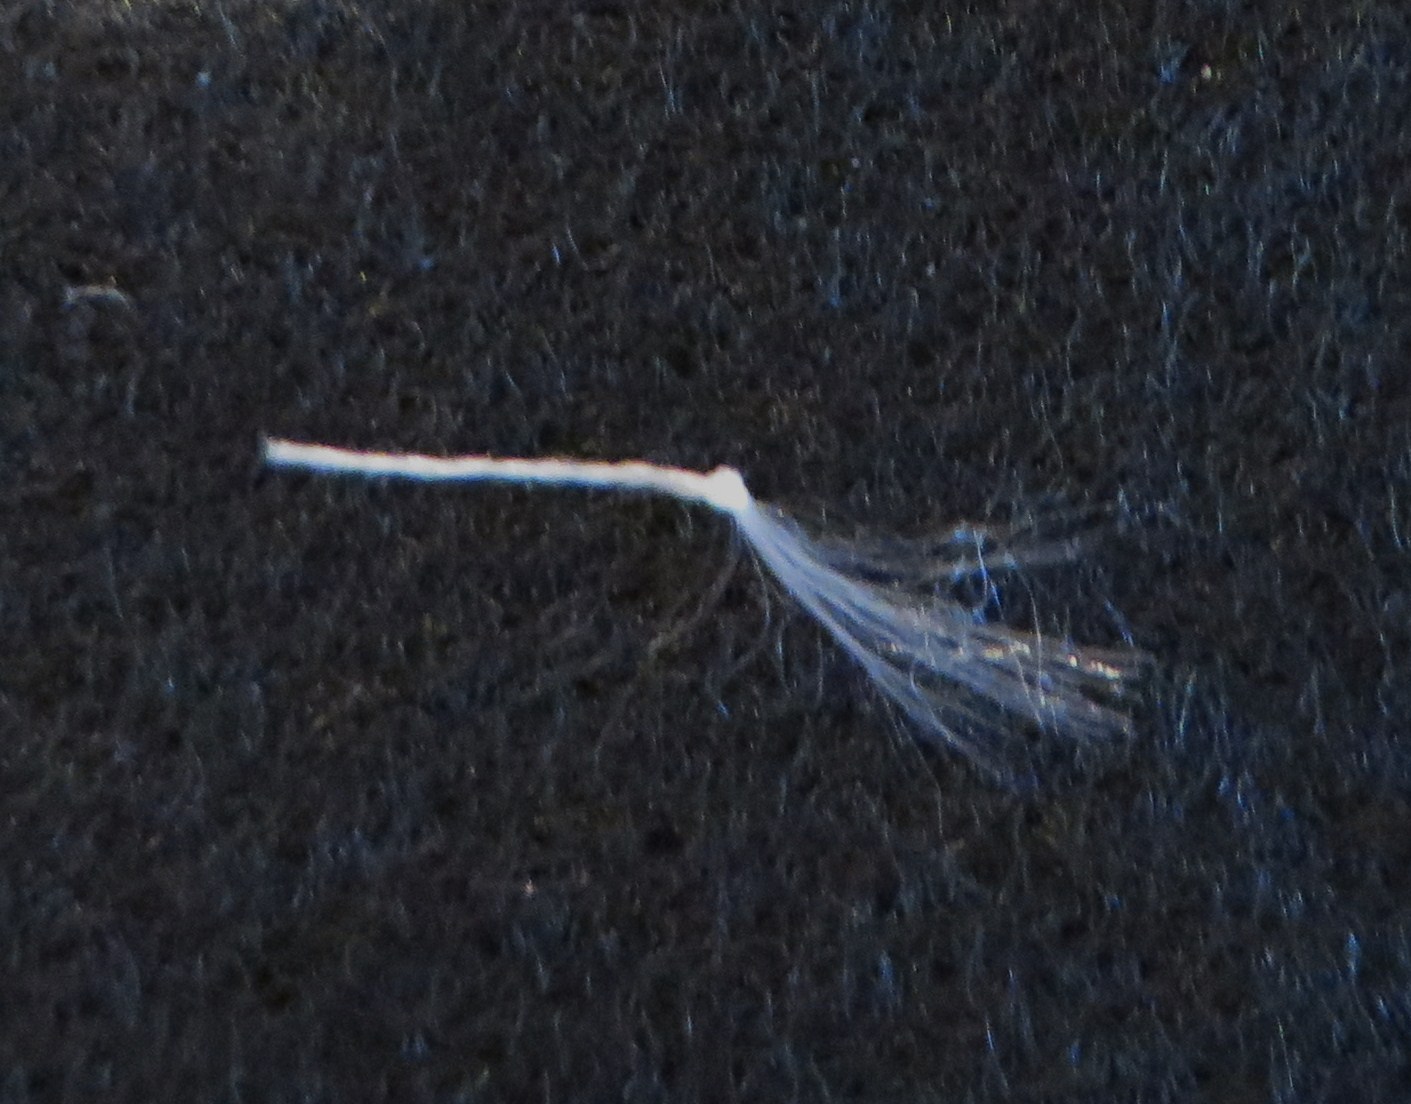
Then I snip off the full-thickness strand, as close to the knot as possible.
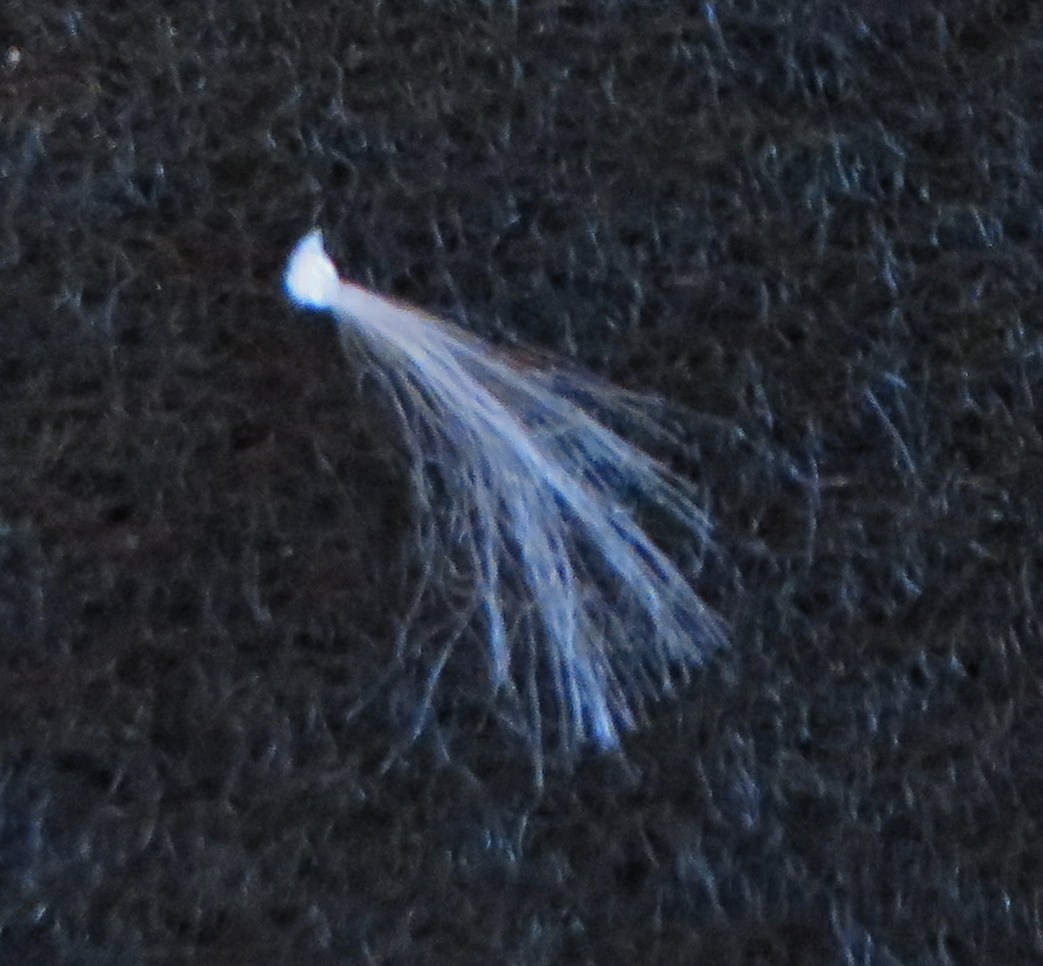
The fluff is now ready to be glued to the background. I use Aleene’s Acid-Free Tacky Glue. I usually apply a tiny dab to the knot, and it’s enough to keep it in place.
If it’s important to glue the strands as well, I apply glue very sparingly to a toothpick end, stroke it underneath the strands, and gently press them down. You have to be careful not to get glue on the silk where it’s not hidden by the fluff, because it can leave a slight discoloration.
As described above, I use half-thickness thread, ironed straight, to form the “handles” to these fluff umbrellas. I thread this through a fine needle, poke it right through the knot of the fluff, make a stitch in the direction I want, and use a securing thread or two to hold the stitch in a nice natural-looking bend.
Then I use a hand-painted strip of ribbon to create the brown part that attaches the seed to the head of the plant, but I’ll go into the ribbon painting on a different blog post.
Some of these steps are easily started and stopped in an odd five minutes here or there. I usually carry a little bag of “bits” and a needle with me so I can work on them during those times when life keeps you waiting about. This way, lots of unconnected journeys, delays and TV programmes can end up going into any one picture of a dandelion clock. And yes, the whole double meaning of these segments of time making up a dandelion clock doesn’t escape me, and sounds a lot like a possible theme for an exhibition. But all in good time.

