
Midnight Moon
September 5th, 2013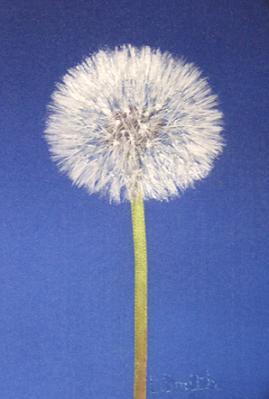
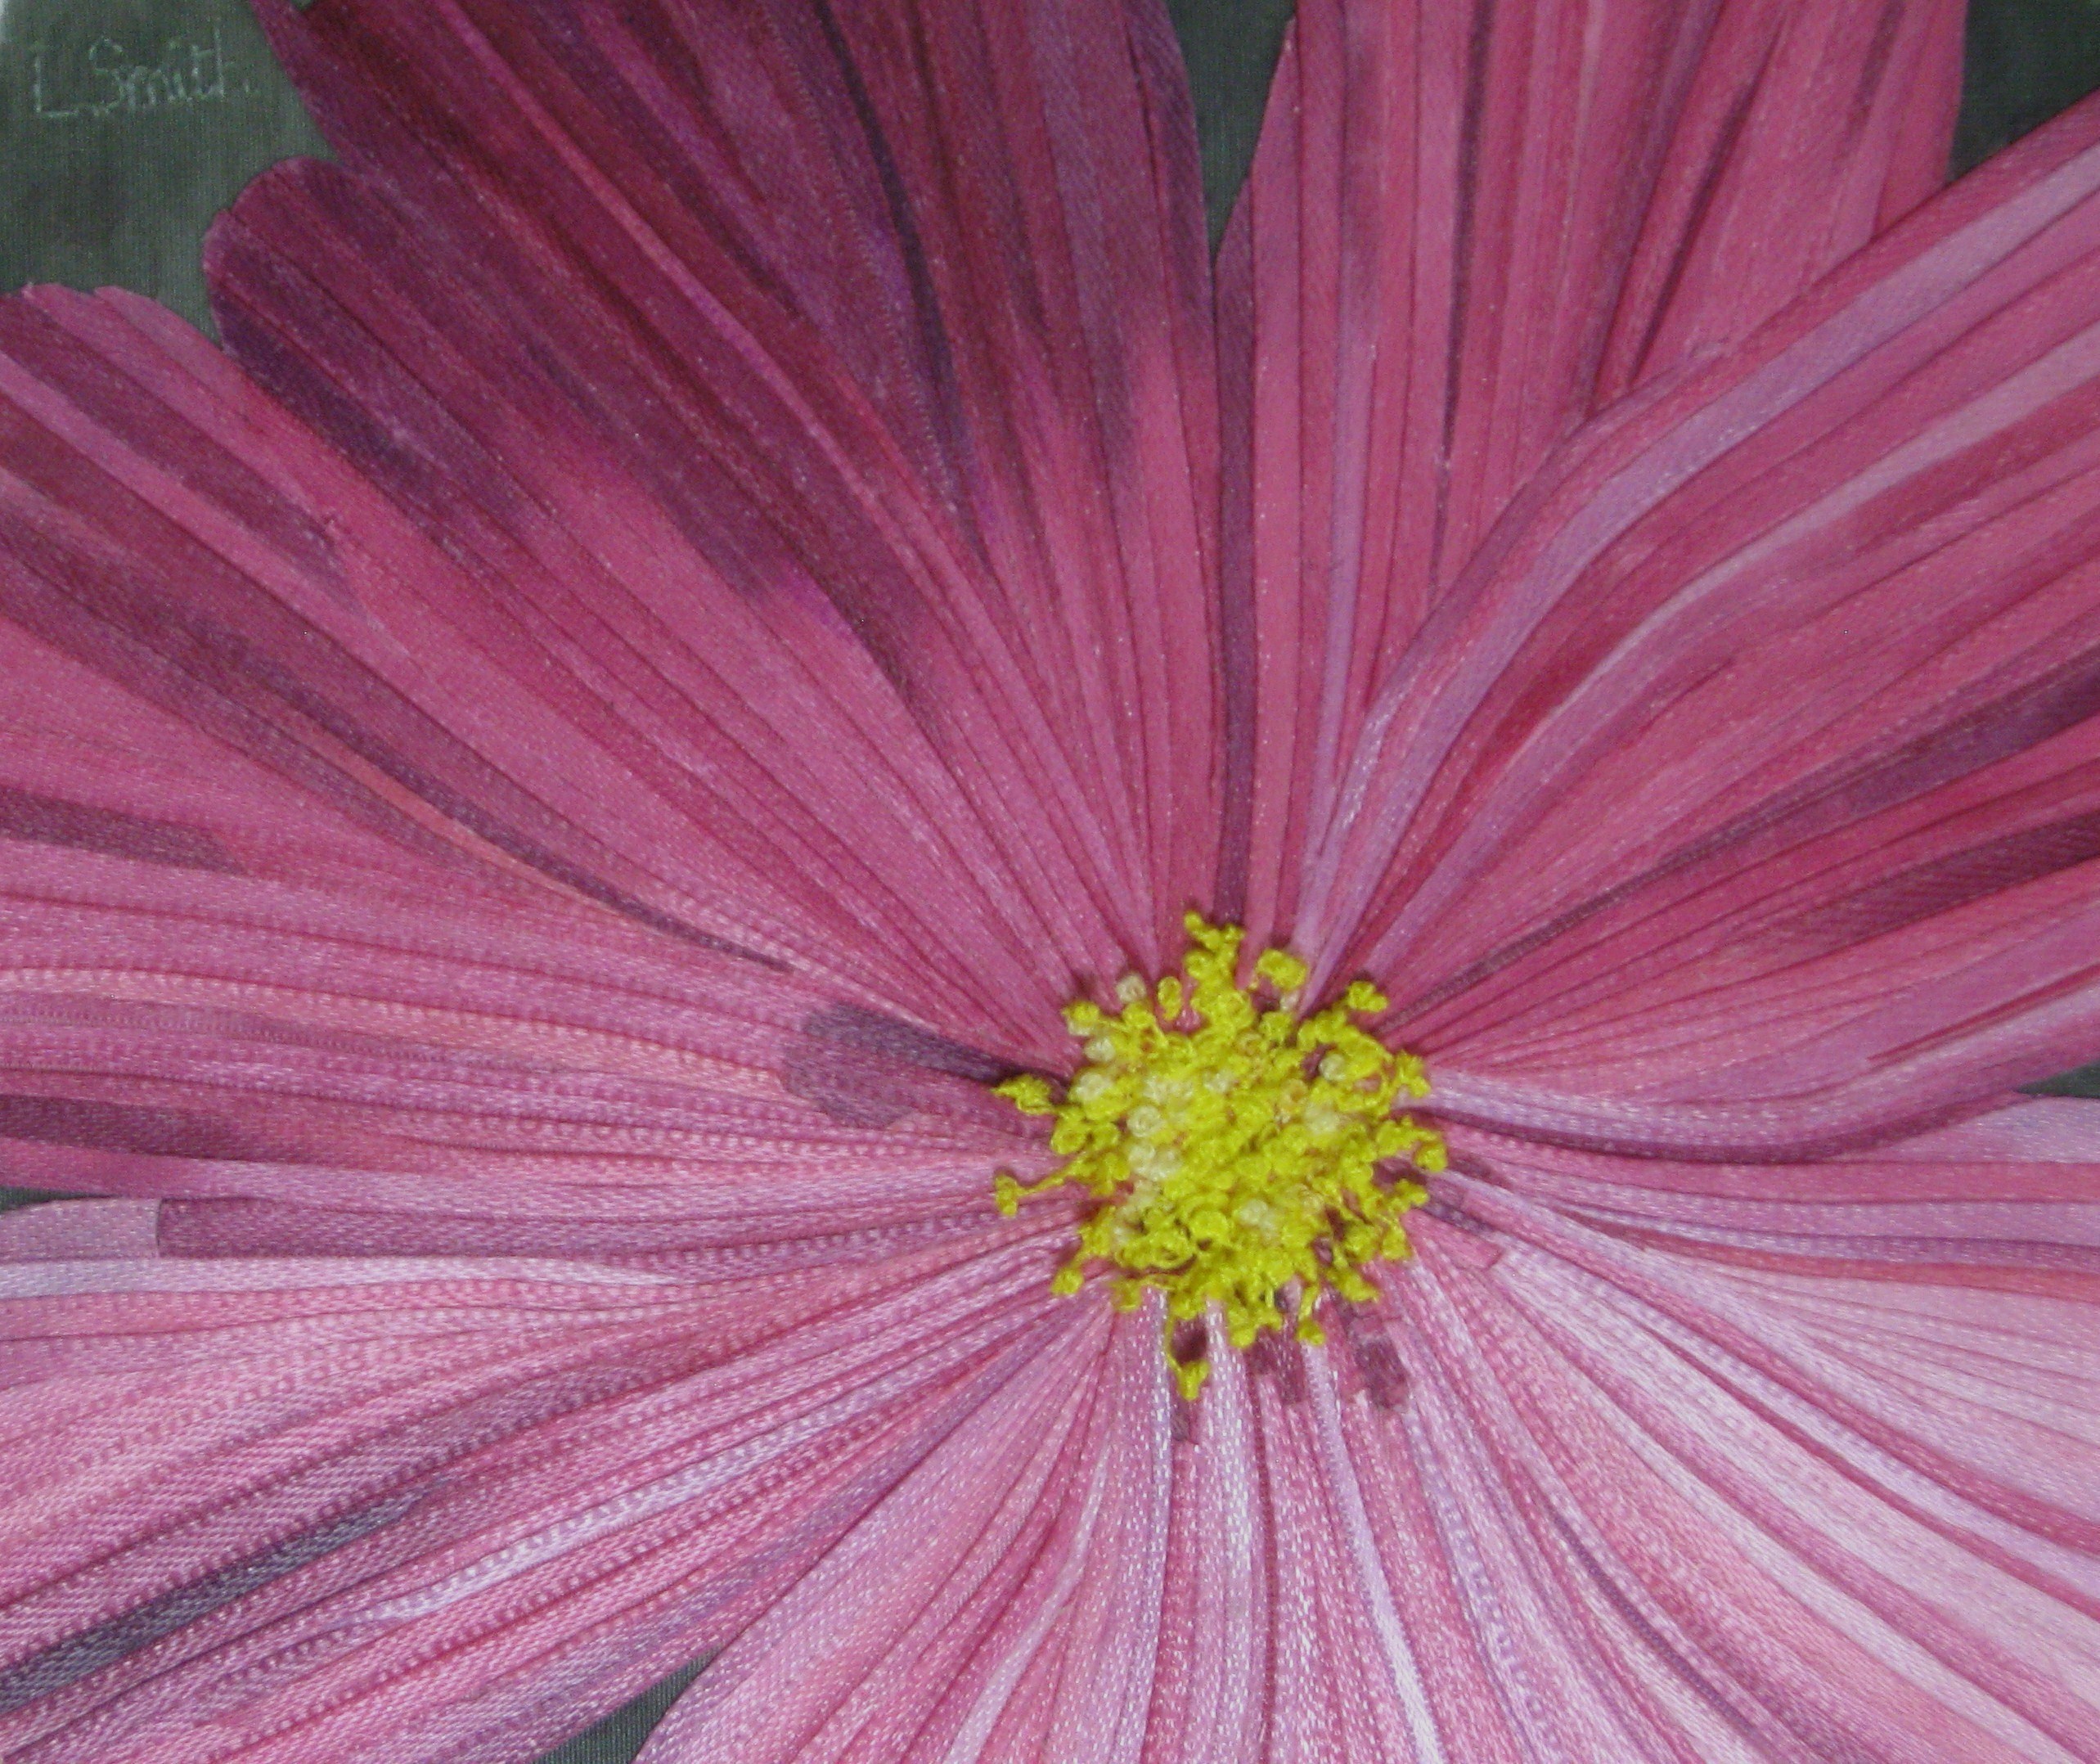
Another in this mini-series. 3 x 4.5 inches, ribbon and thread on hand-painted silk.
Another in this mini-series. 3 x 4.5 inches, ribbon and thread on hand-painted silk.
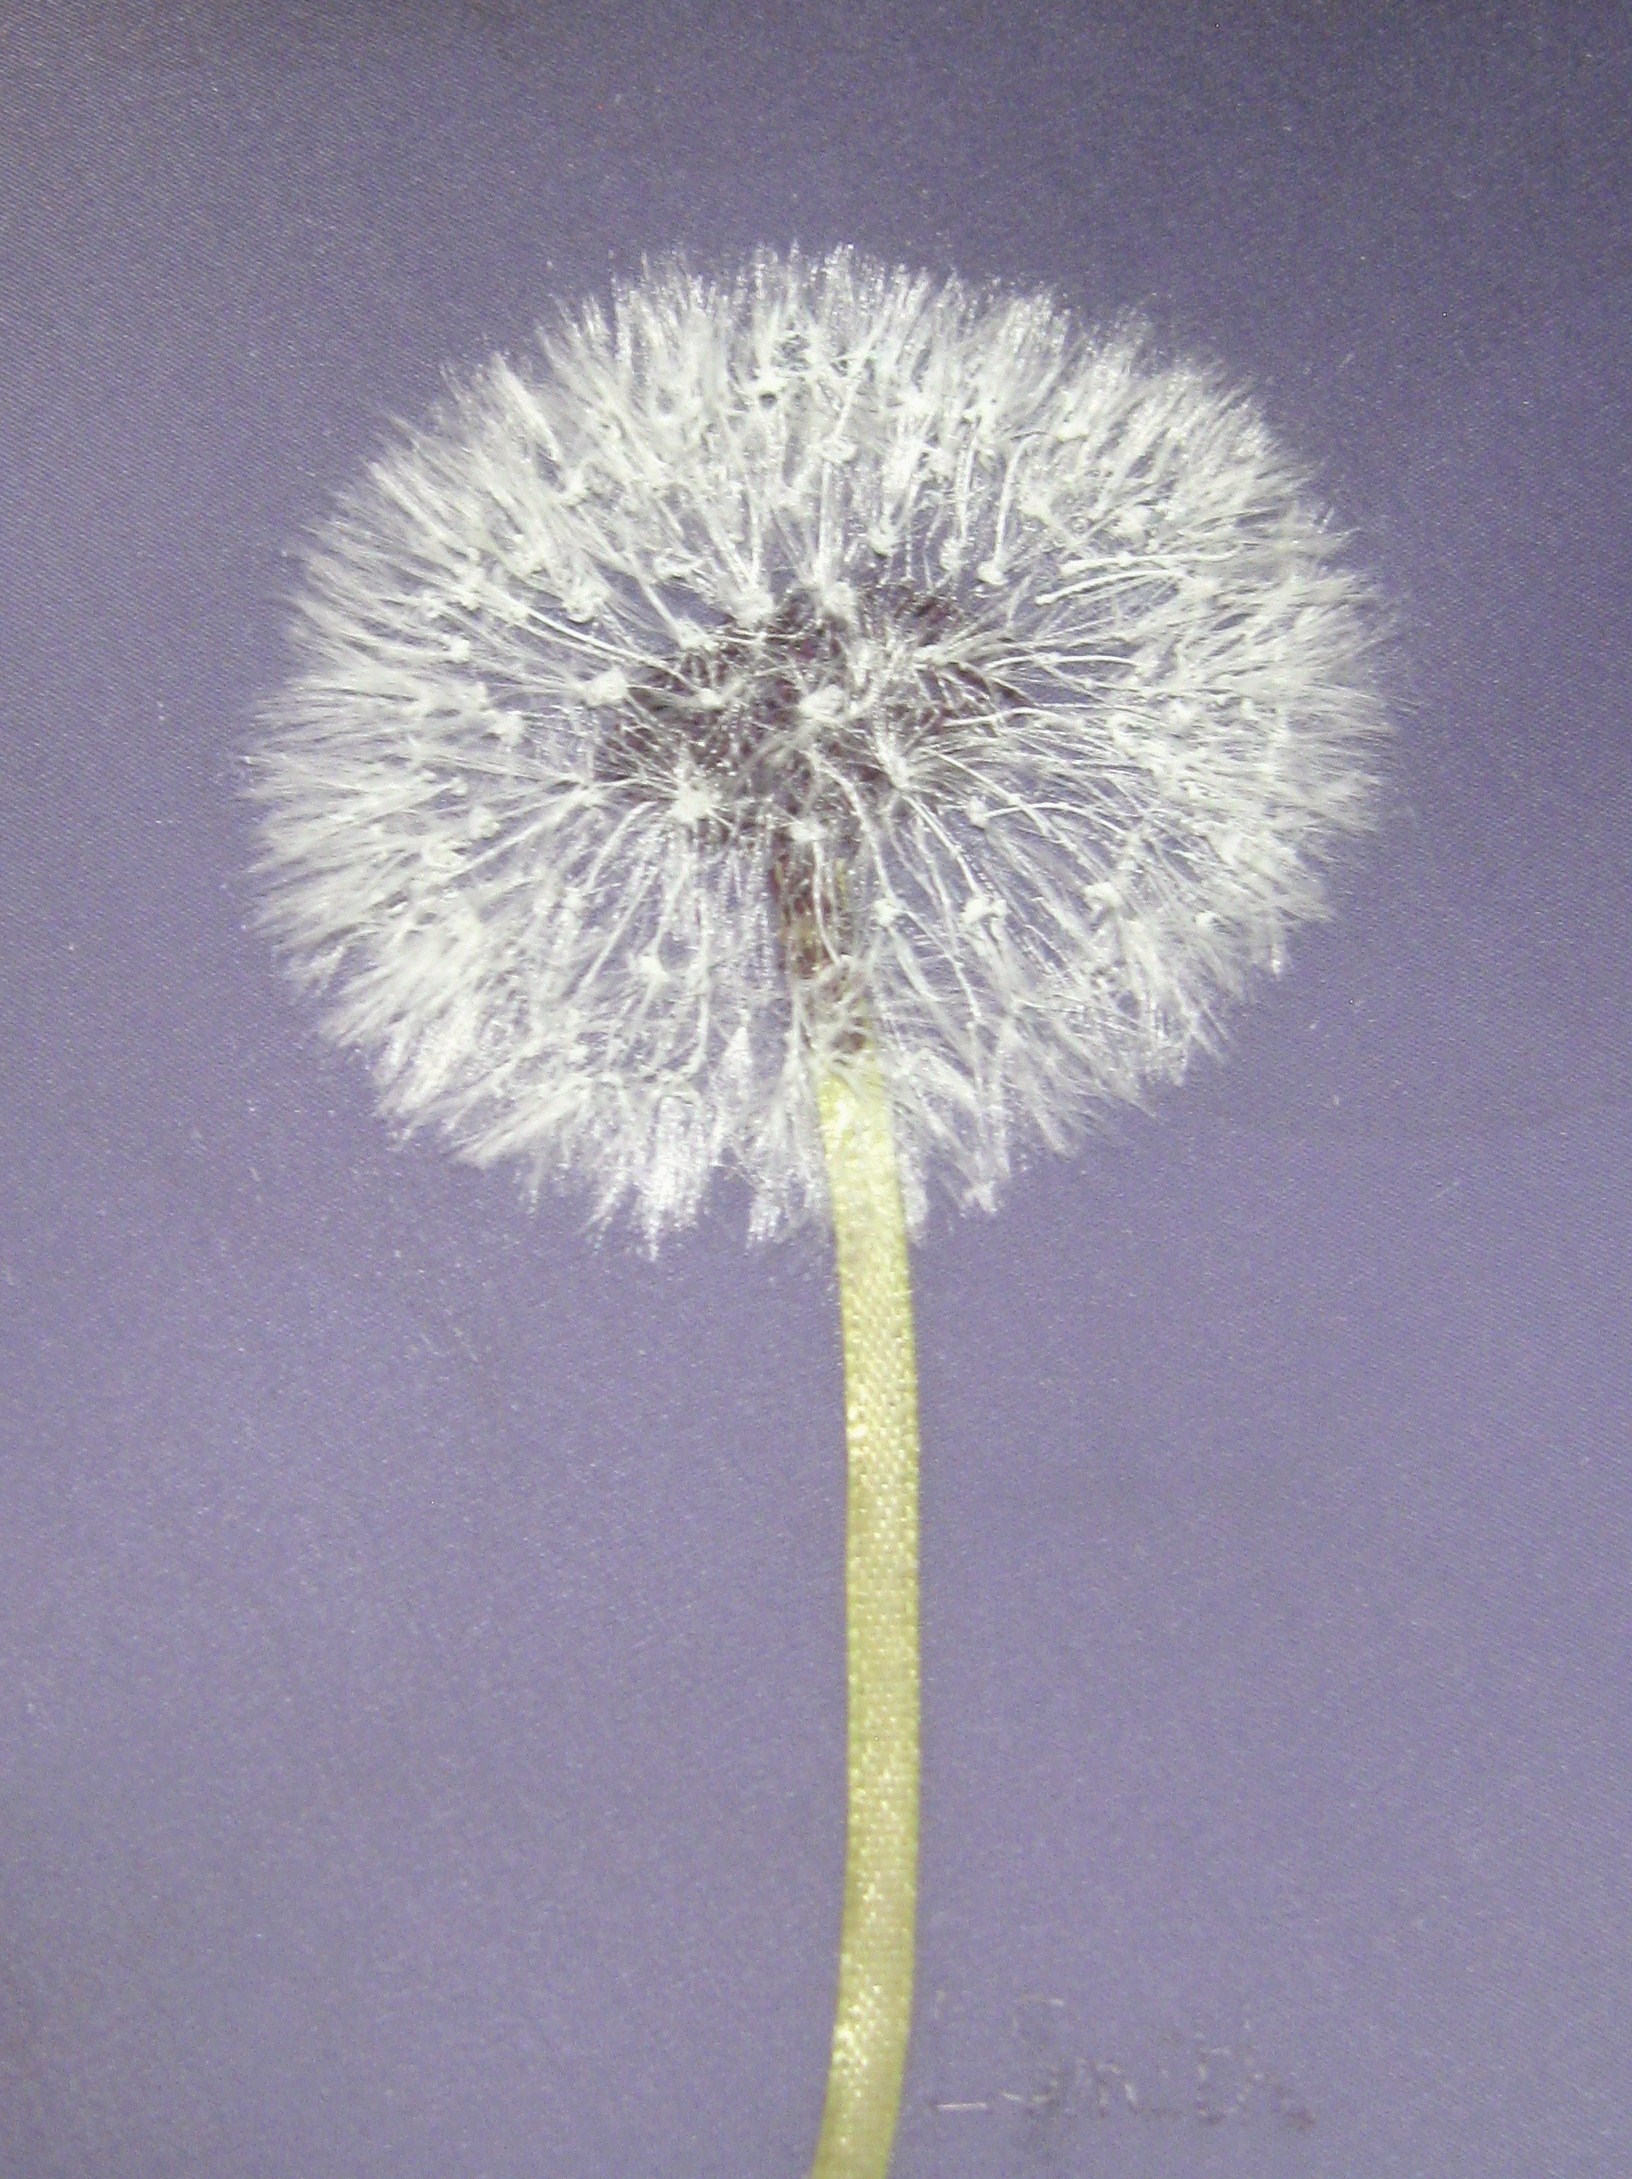
This one is 3.5 x 4.75 inches. More dandelion clocks coming until probably the end of the year, when normal landscape service will be resumed!
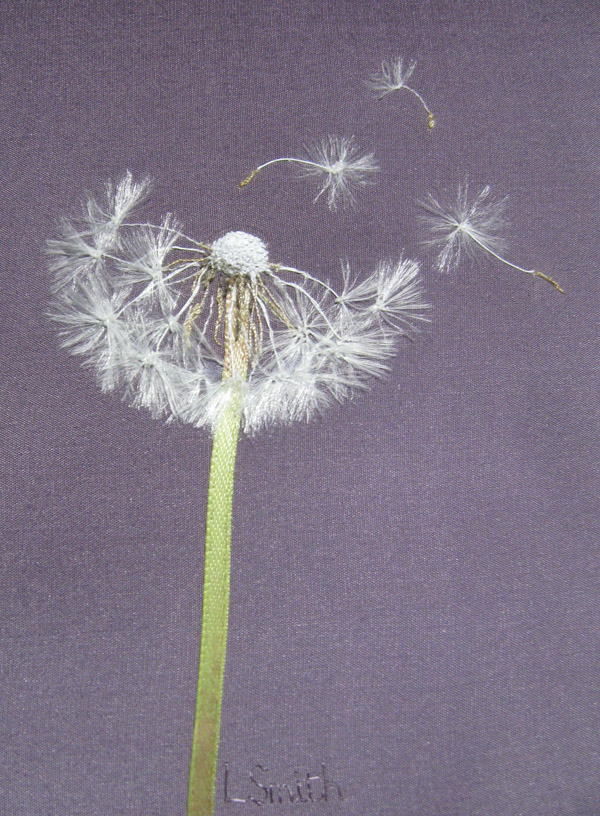
I’ve been doing some ribbon-cutting! This piece is 3.75 x 4.5 inches. You can click on any picture to enlarge.
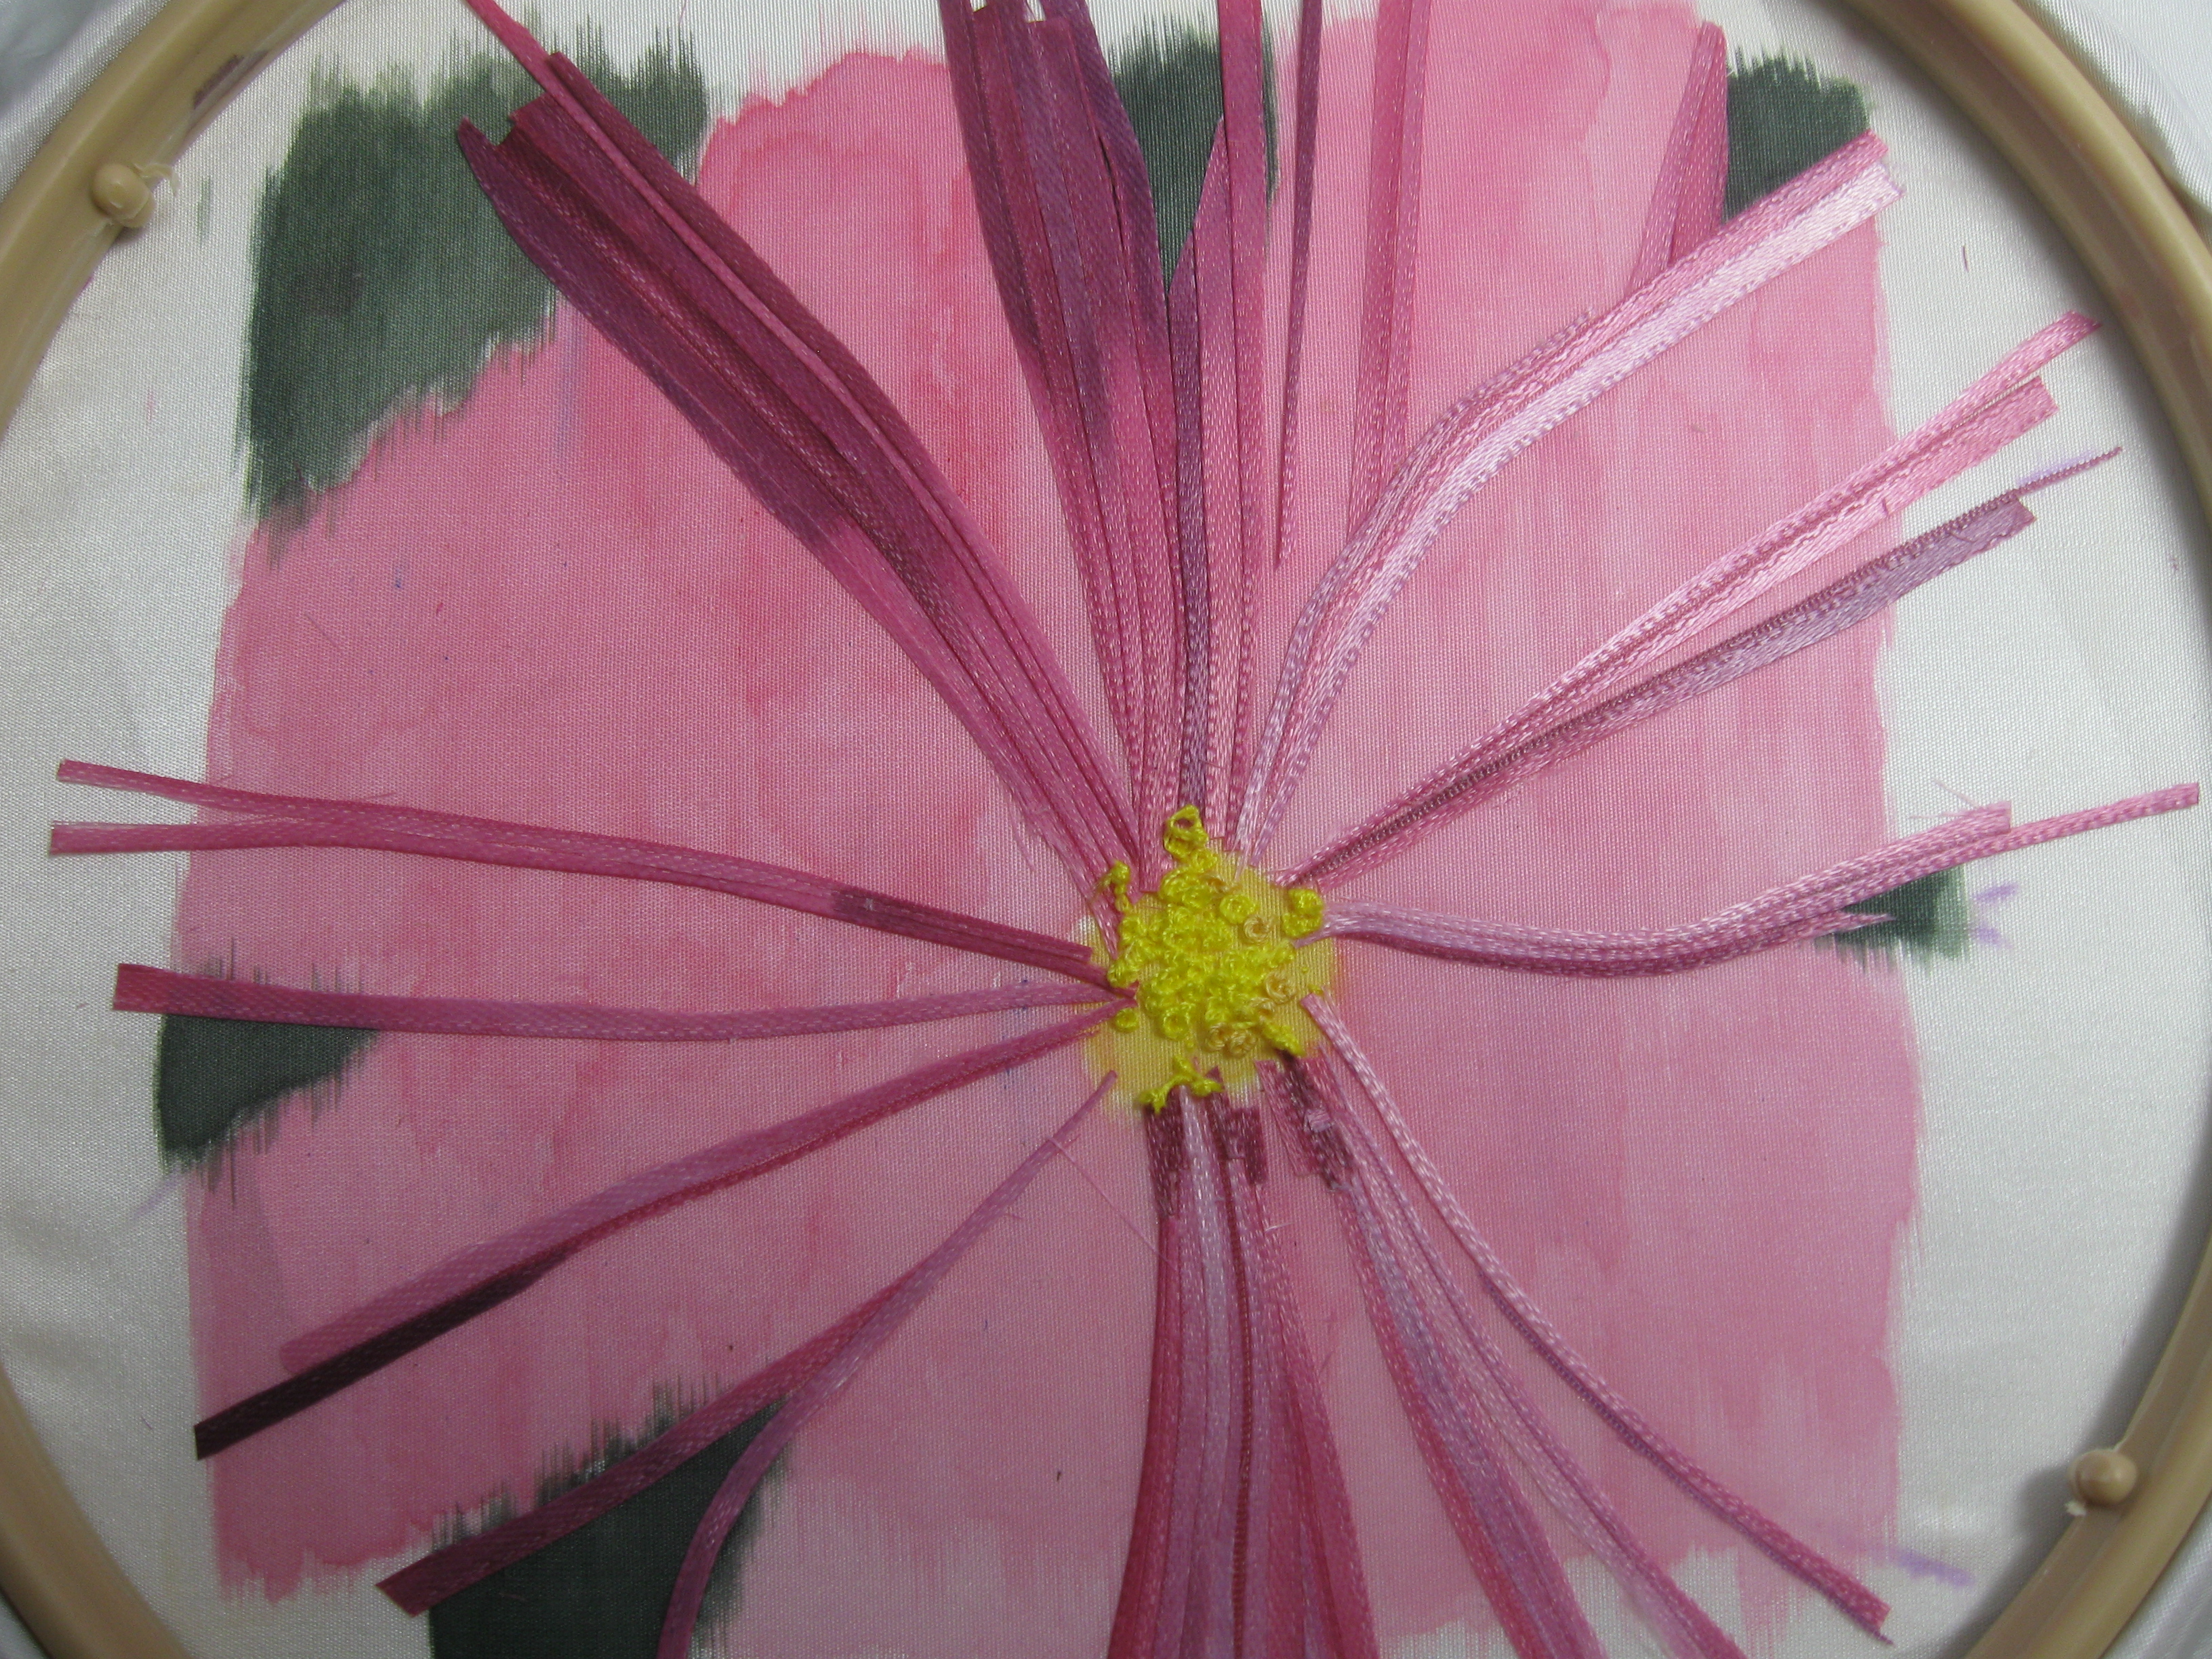
I actually took some in-progress pictures this time!
You can see I first painted a background on the silk. I learned from a brief failed experiment, if you do the green background all over, the dark color shows through the ribbon too easily and makes it look a bit sad and dull. So I painted pale pink where I knew the flower was going to be. It also helps you see where the petals go.
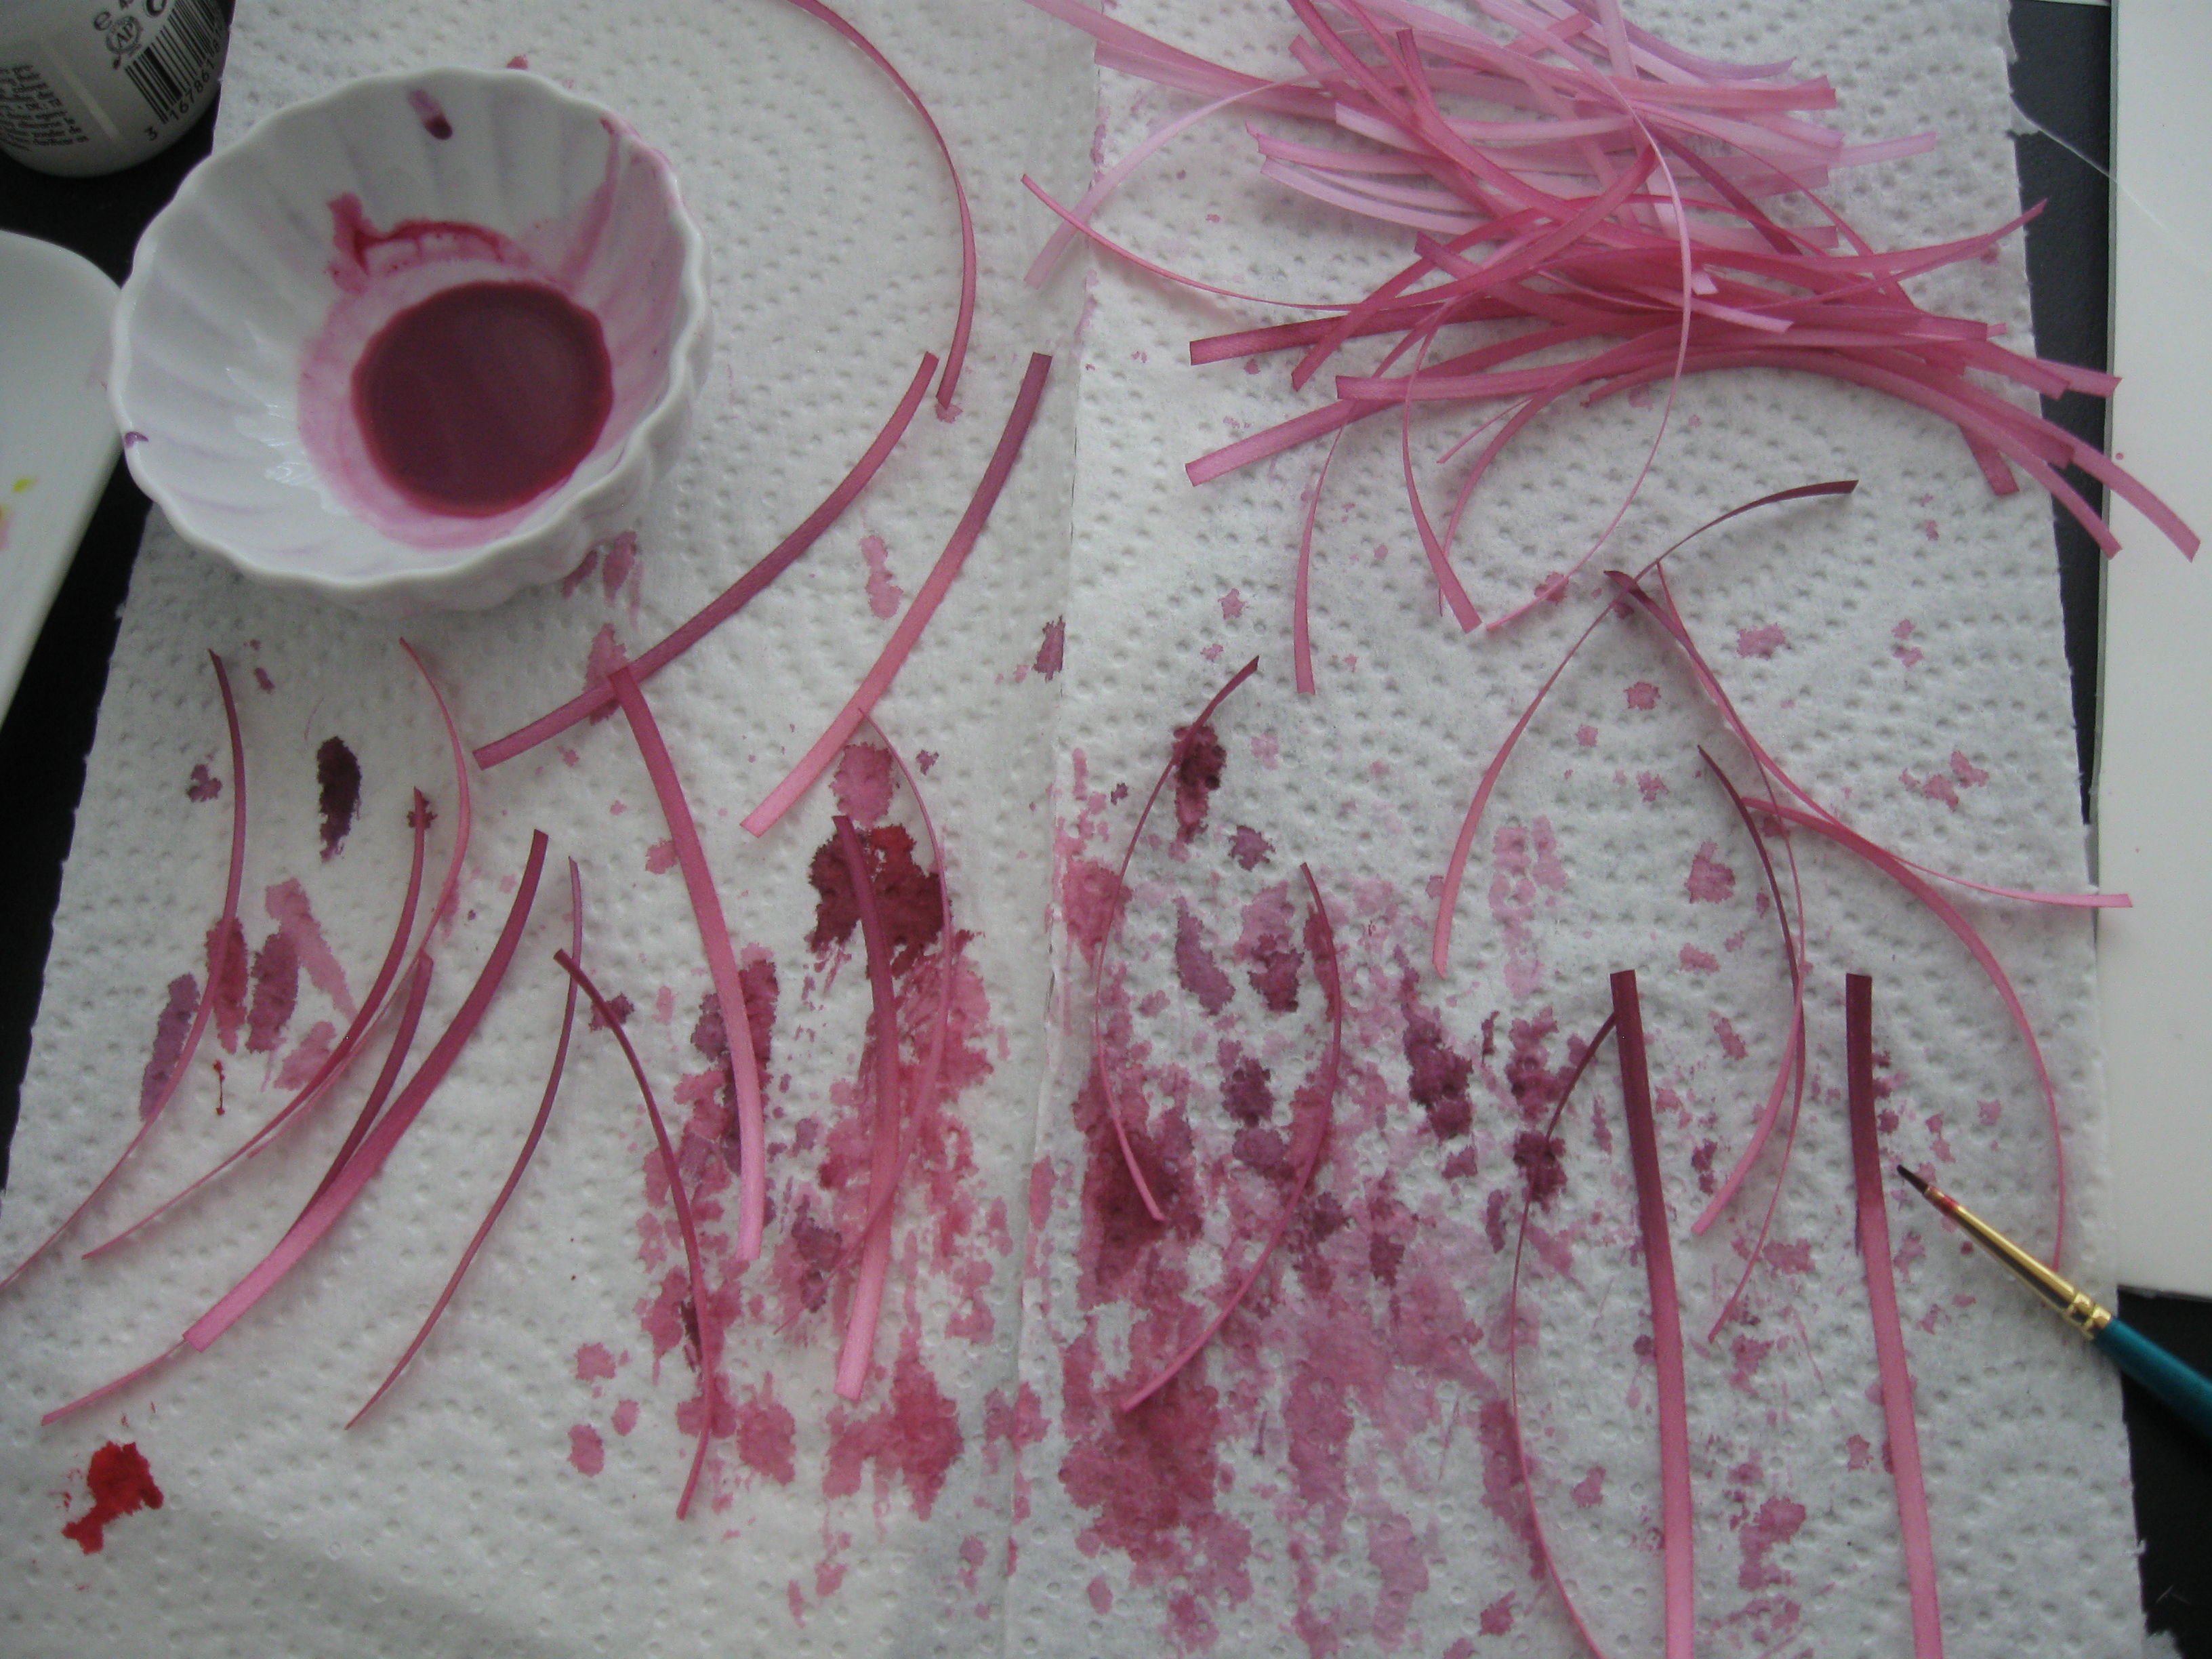
This was me painting the ribbons before gluing them on. The paint really shoots up the ribbon as soon as you touch the brush to it, and I could tell I would have no control over where it would go. I didn’t want to make a big painting mistake after doing all that painstaking gluing.
After painting them with my Pebeo silk paint I ironed them to seal the paint. Also, it’s much easier to work with ribbon that’s flat.
I cut the ribbons to what seemed like the right shapes and glued them to the background with Aleene’s acid free tacky glue. Took a while.
For the middle part, I did lots of French knots in different shades of yellow. I was aiming for imperfect knots (a good job really) because I was trying to make it look like nature, not embroidery. I used non-shiny yellows for a dusty,polleny look.
Finally…
*Fun part alert*
I wanted to make the little anthers spring out from the picture towards the viewer a bit, like they do in real life. I started by tying a big old knot in my yellow thread. This one’s about five knots in one.
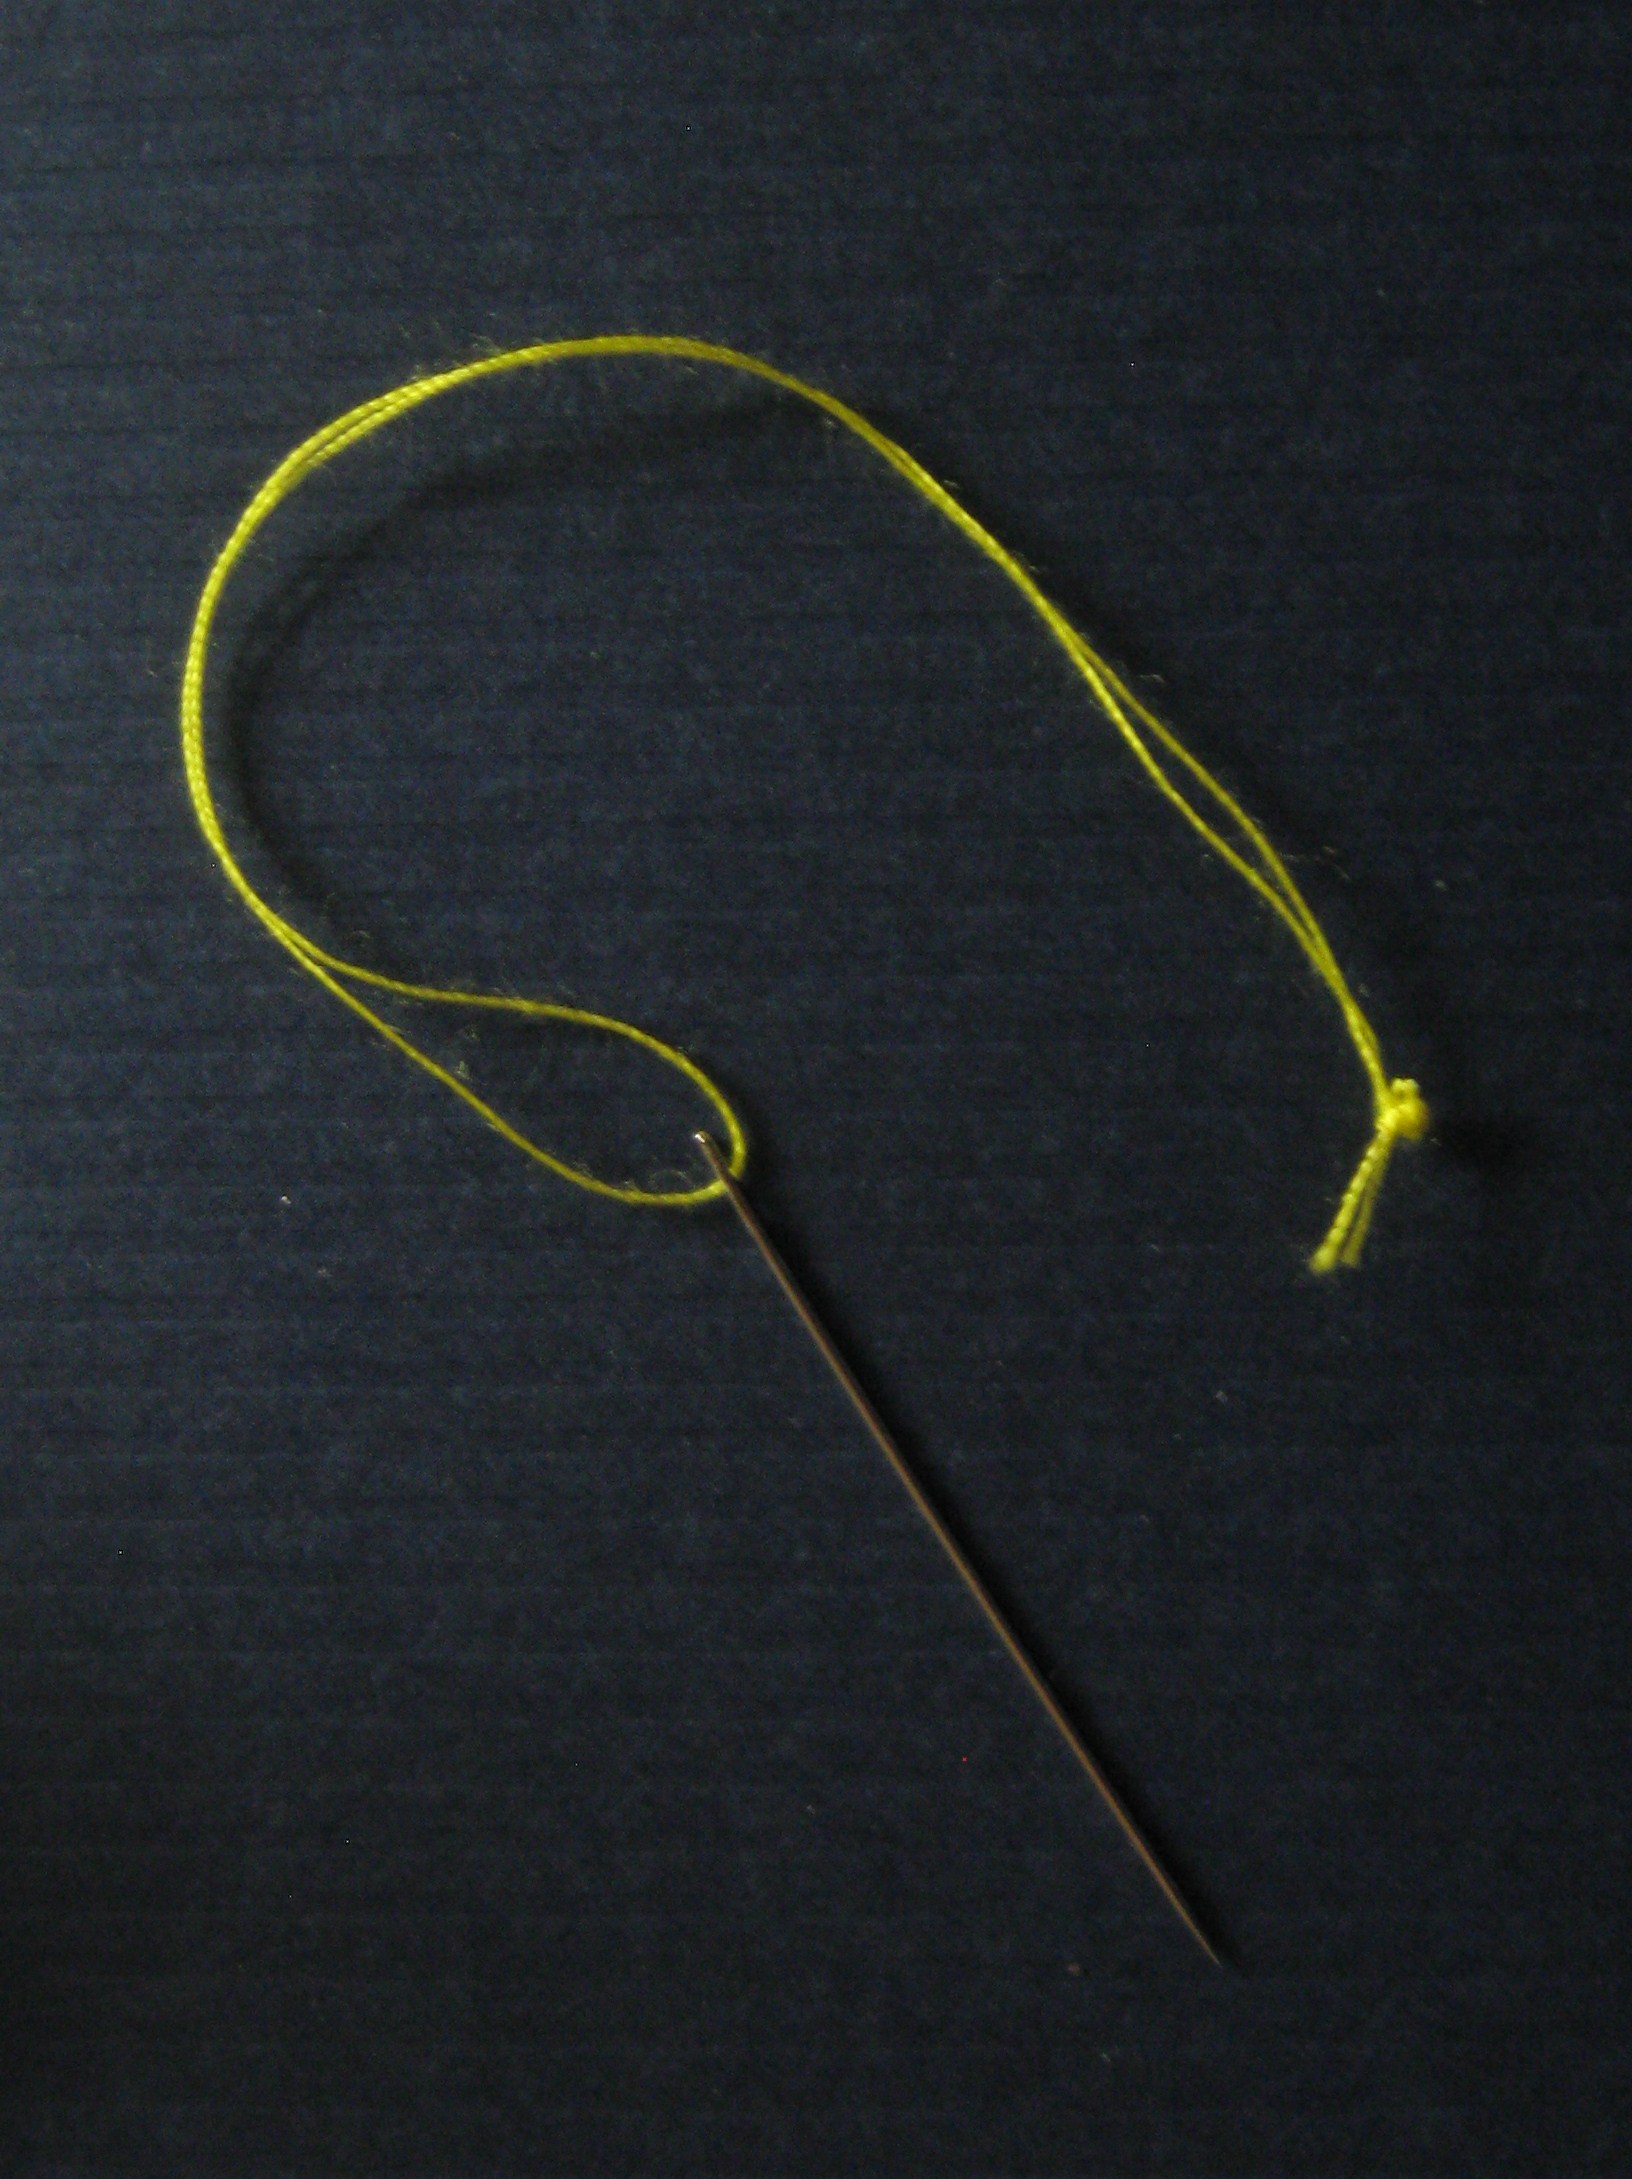

Made a single knot next to the big knot. This can be further along, depending on how long you want the filament to be.
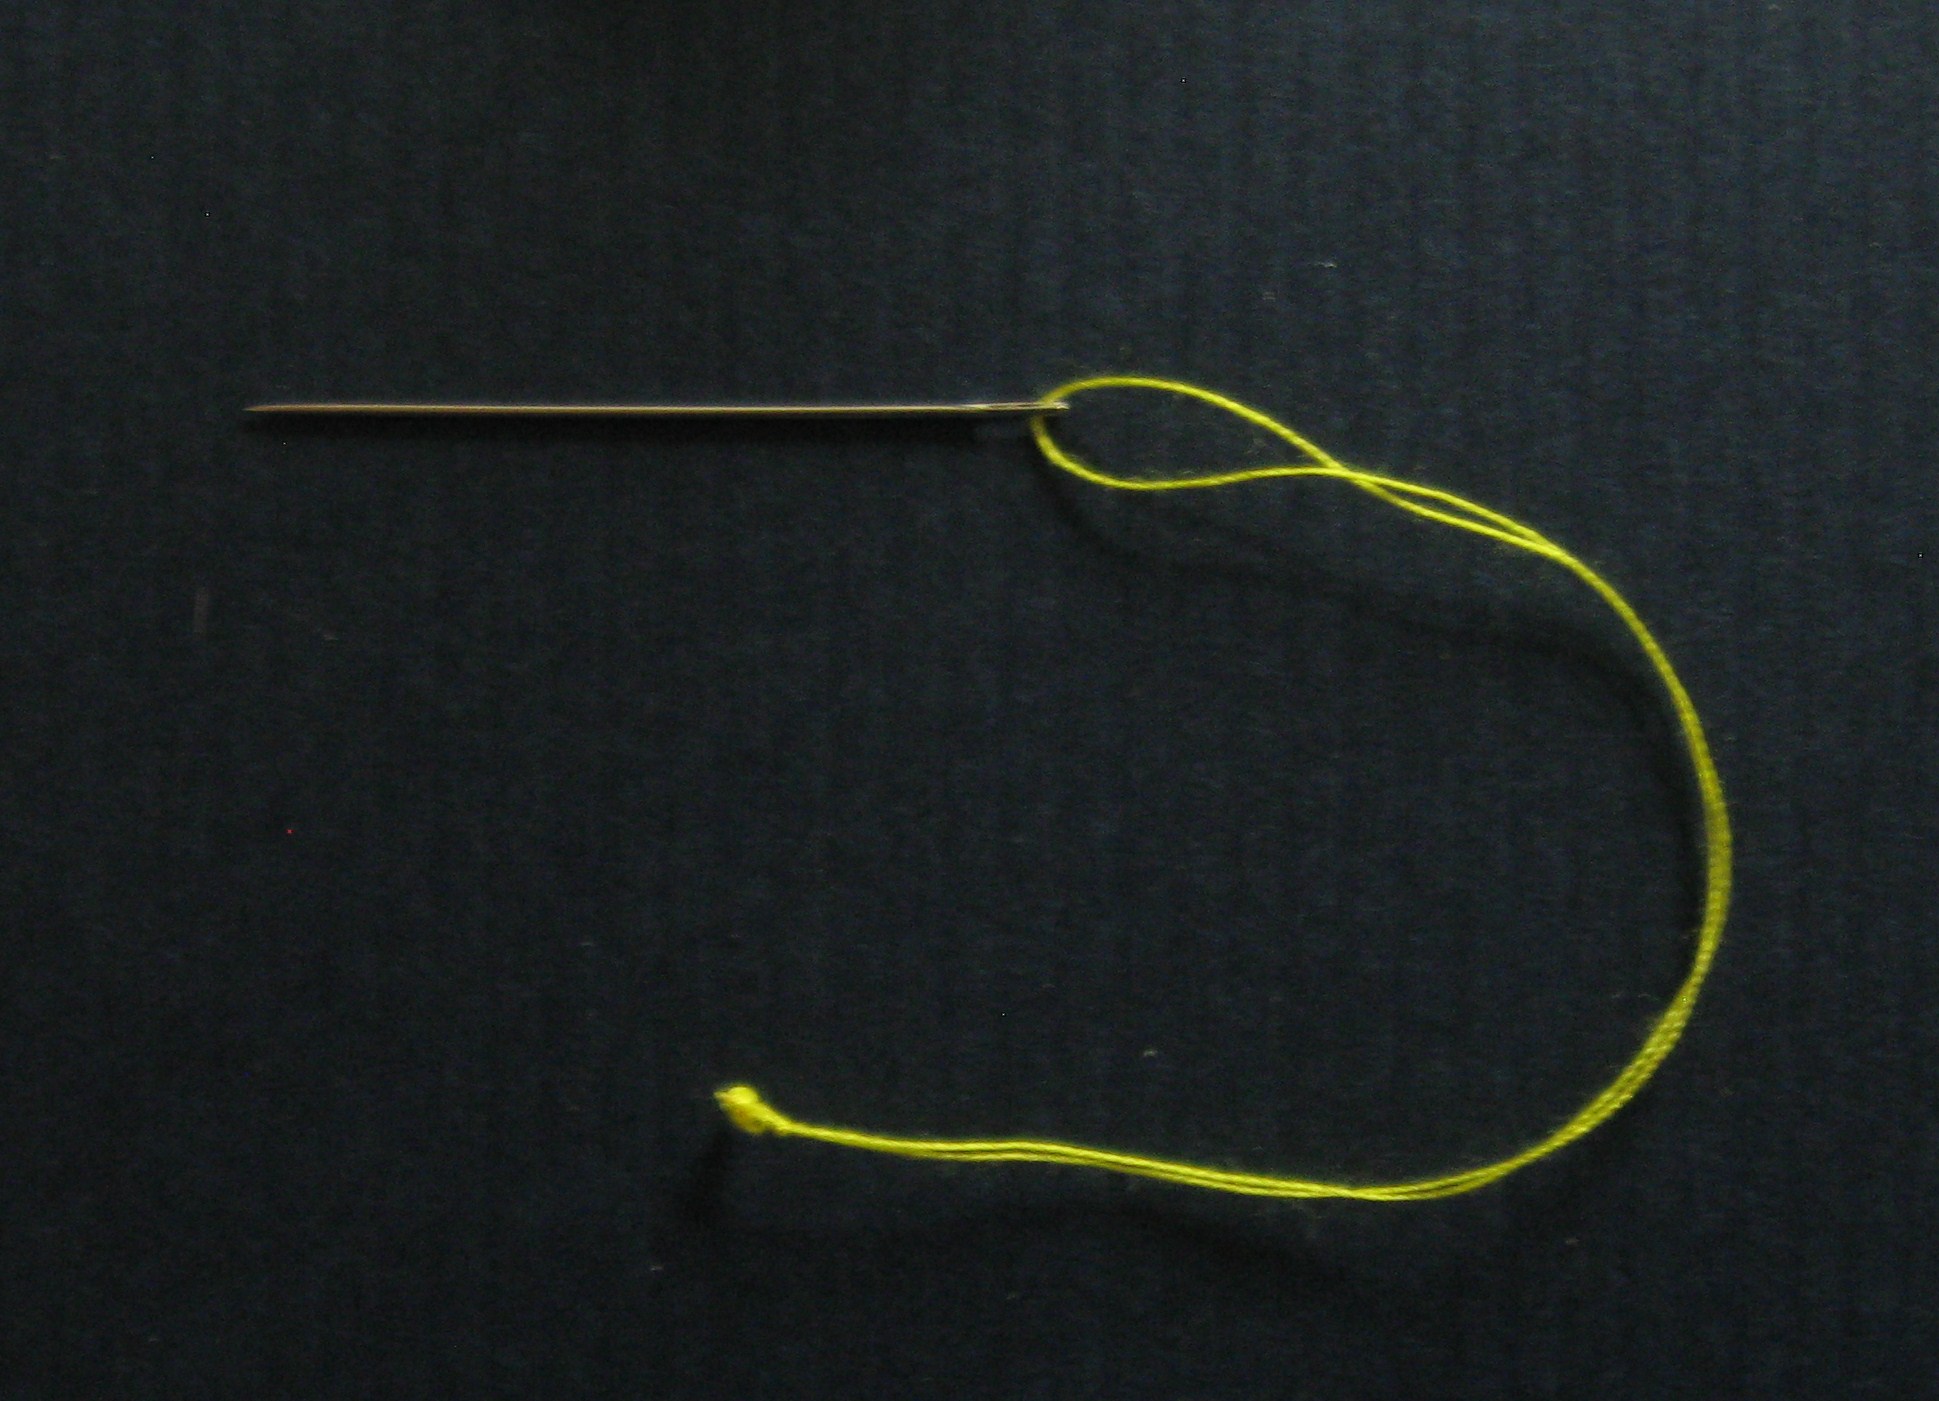
Snipped the ends off. That makes an anther.
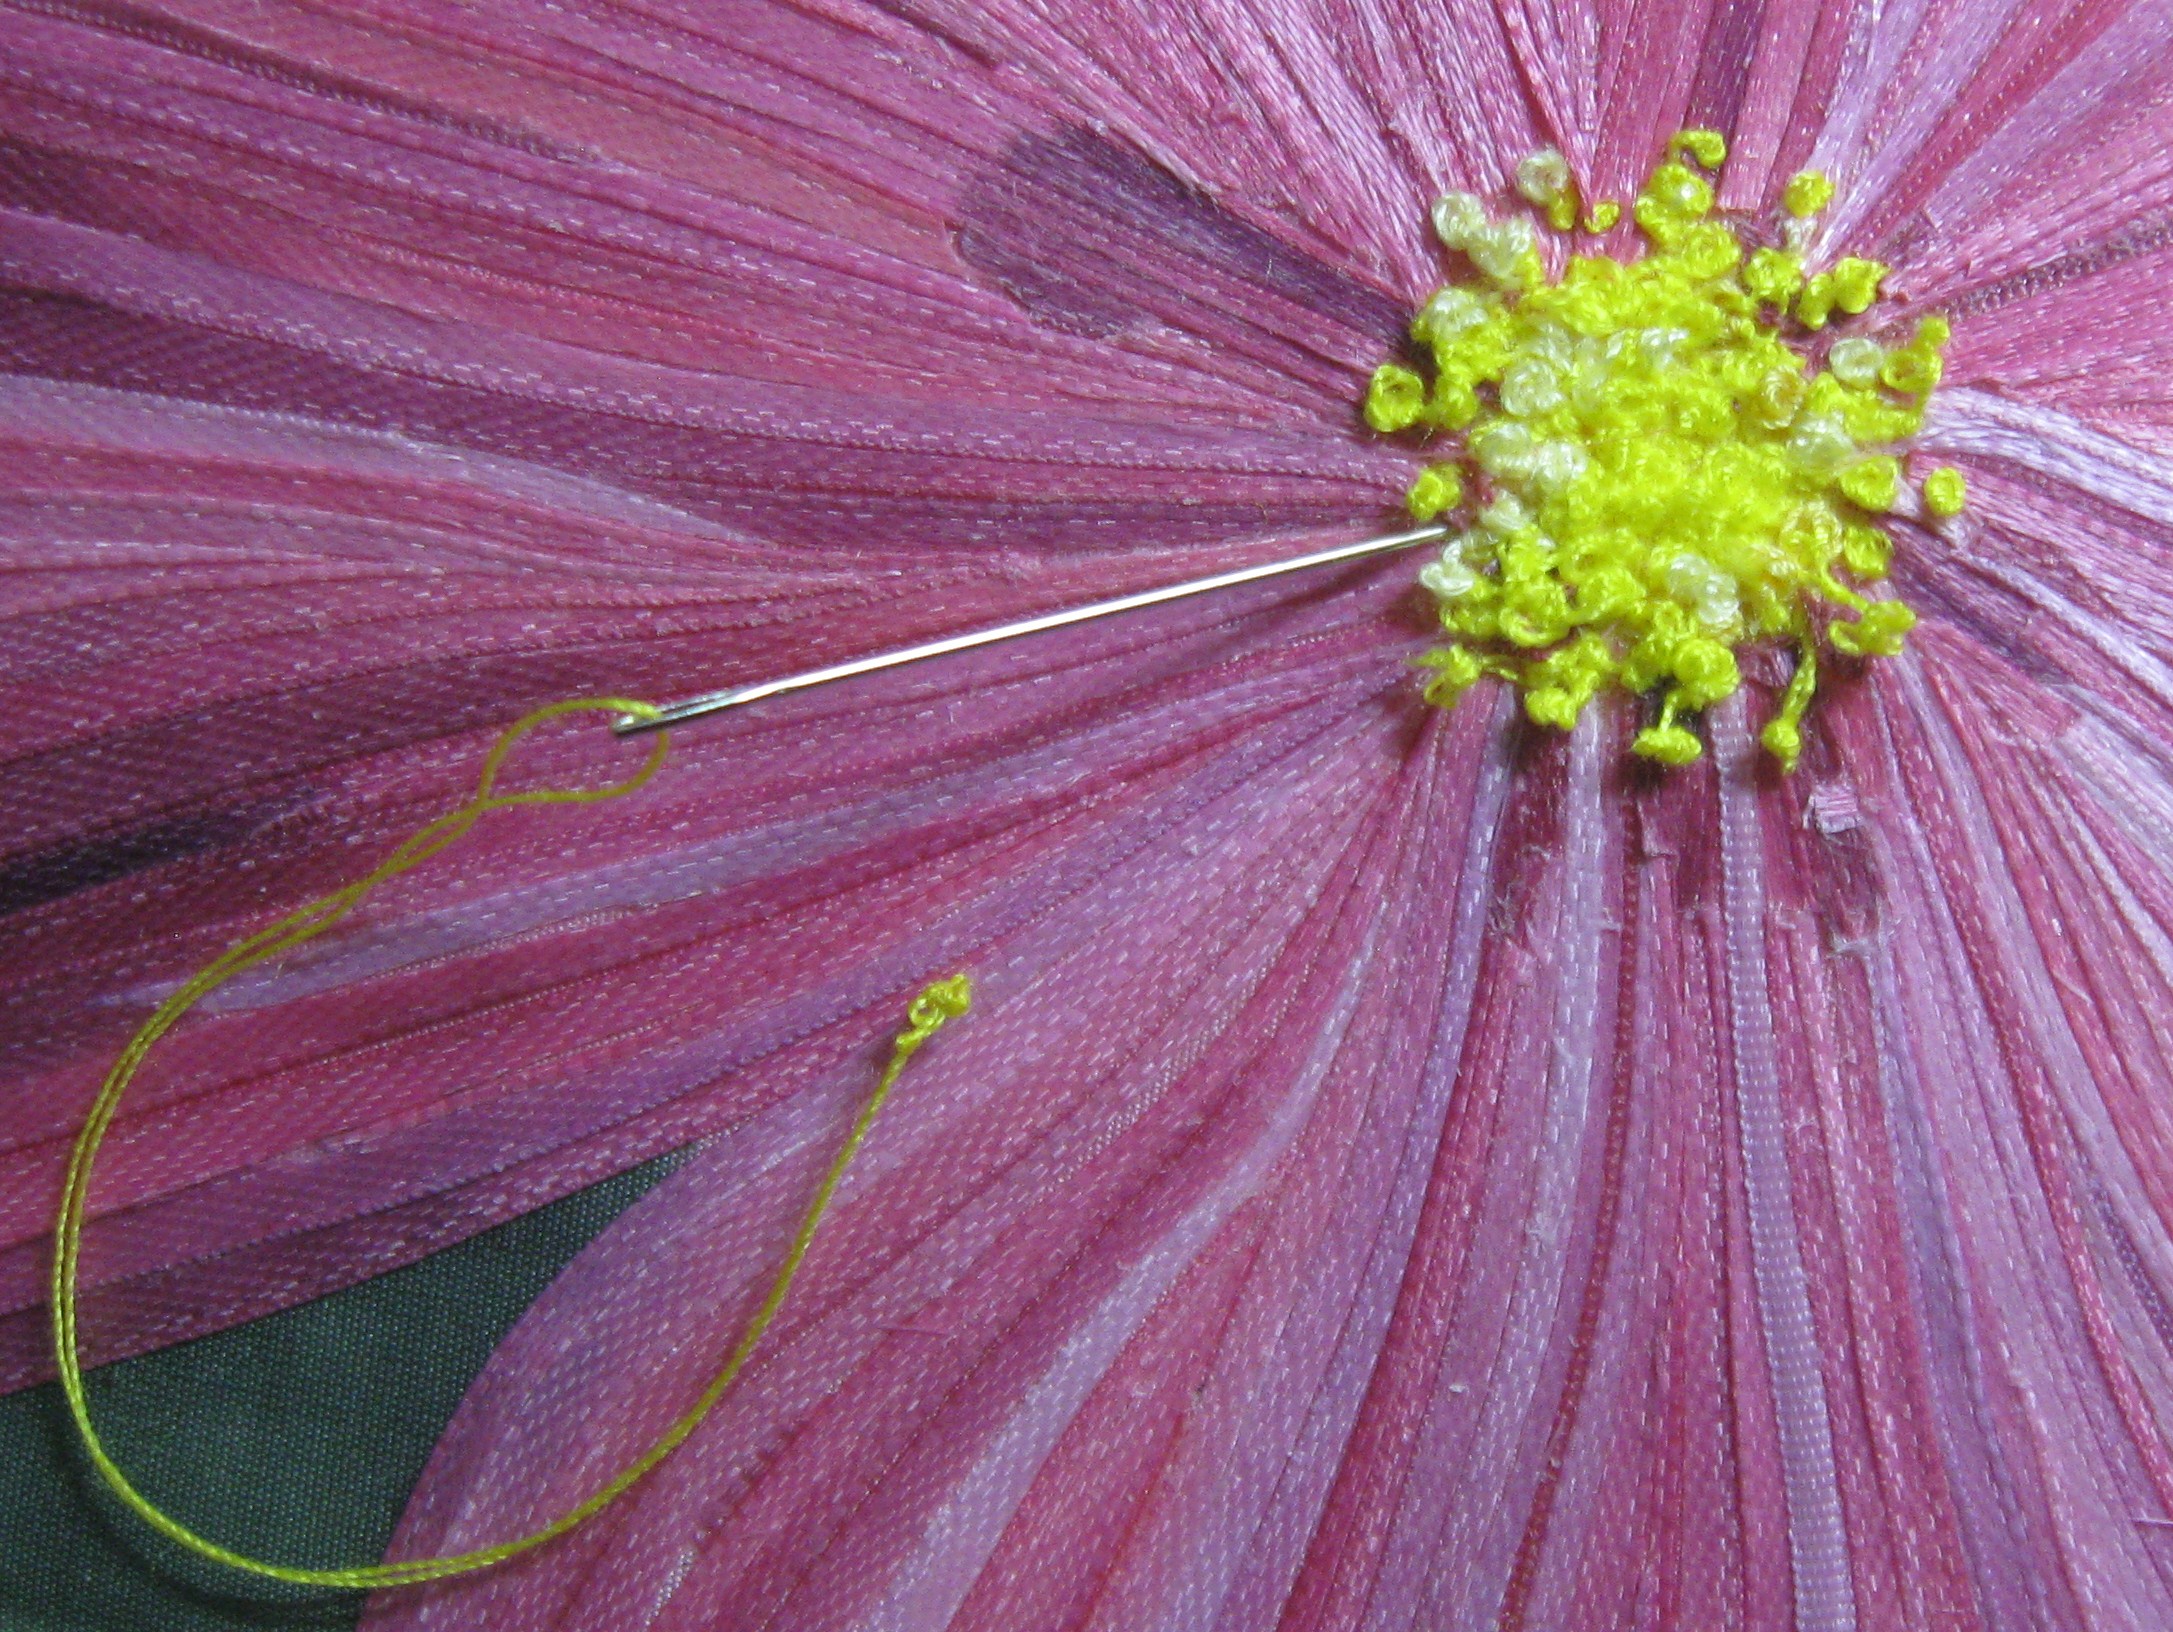
Inserted the needle from the front of the fabric. It stops at the little knot, so the anther appears to be springing out a bit. Sometimes I still used little securing stitches to hold the filaments in place, especially on the upper part because gravity makes them flop down.
 Made much the same way as Blown Away, with a few finessements. 3 x 4 inches in size. One day I’ll do a post with proper step-by-step pictures and a how-to.
I’ve been having travelling fun and taking inspiring pictures of flowers, bees and grass skippers for future projects.
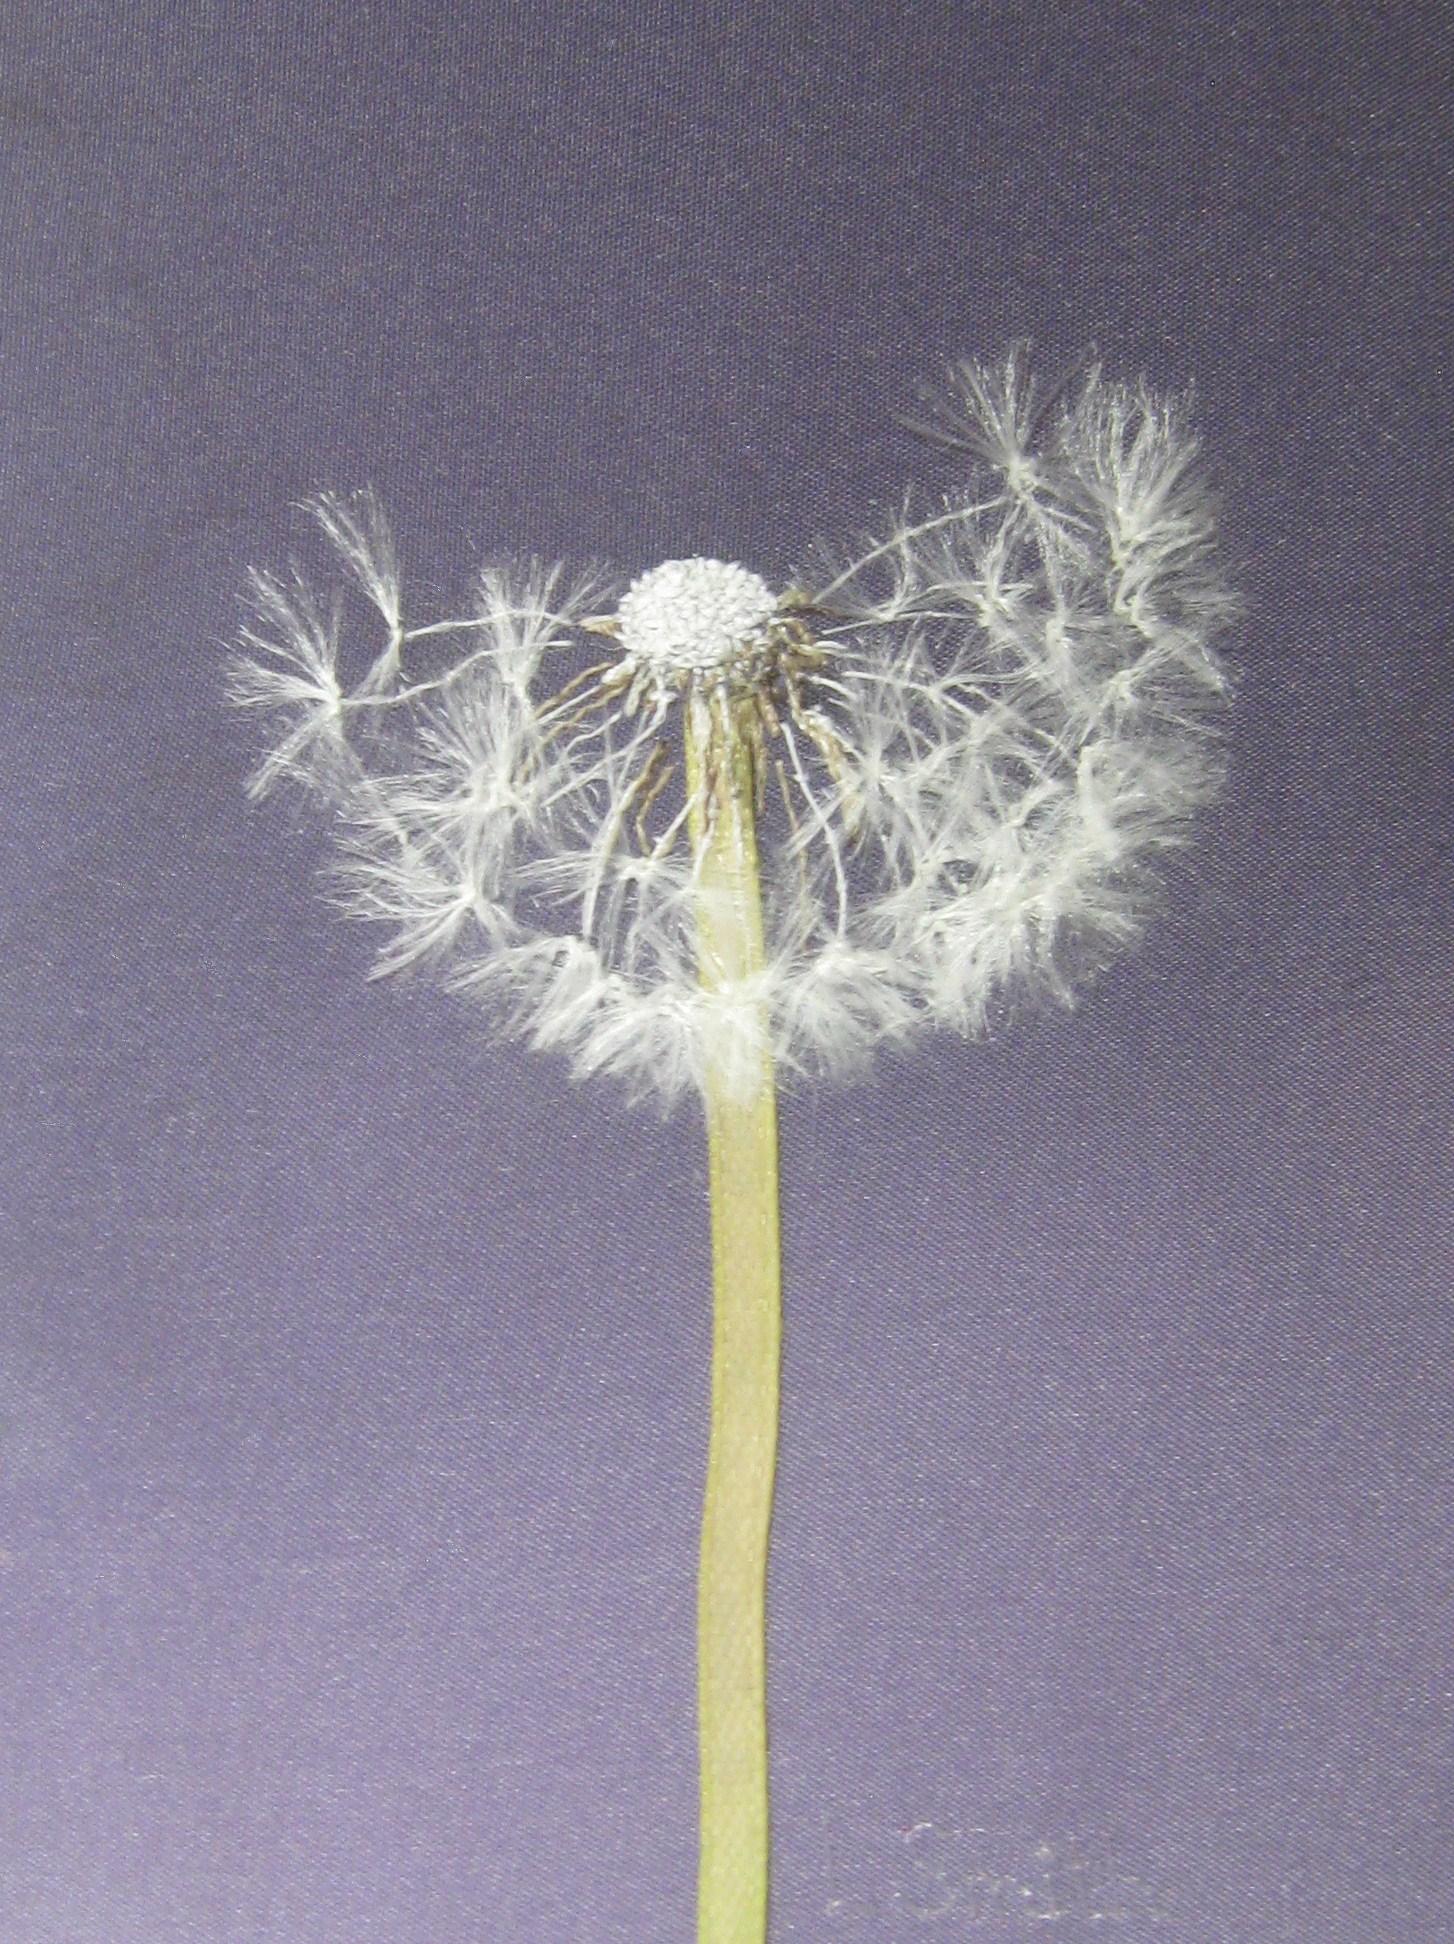
This crescent-shaped dandelion seedhead seemed to be calling out for the “moon” treatment of a purple background to suggest a night sky. The stem is hand-painted ribbon, glued into place, and everything else is a combination of stitches and glued-on fluffy pieces (technical term).
I talk about how I make the seeds in this old post. One difference this time is that before attaching the seeds, I ironed them to remove the crimped look you get from splitting the threads.
That’s when my husband walked in. He has a knack. “Whatcha doing?”
“Ironing my seeds.”
“All-righty then.”
The ironing also helped me sculpt the shape of the fronds a bit. It’s like hairdressing on a very small scale.
It’s hard to get really white whites in embroidery because of the shadows the stitches create, so finally I used a few specks of Pentel dye stick in white to help the center of the seedhead stand out.
When I get around to it there’ll be a companion piece, Full Moon.
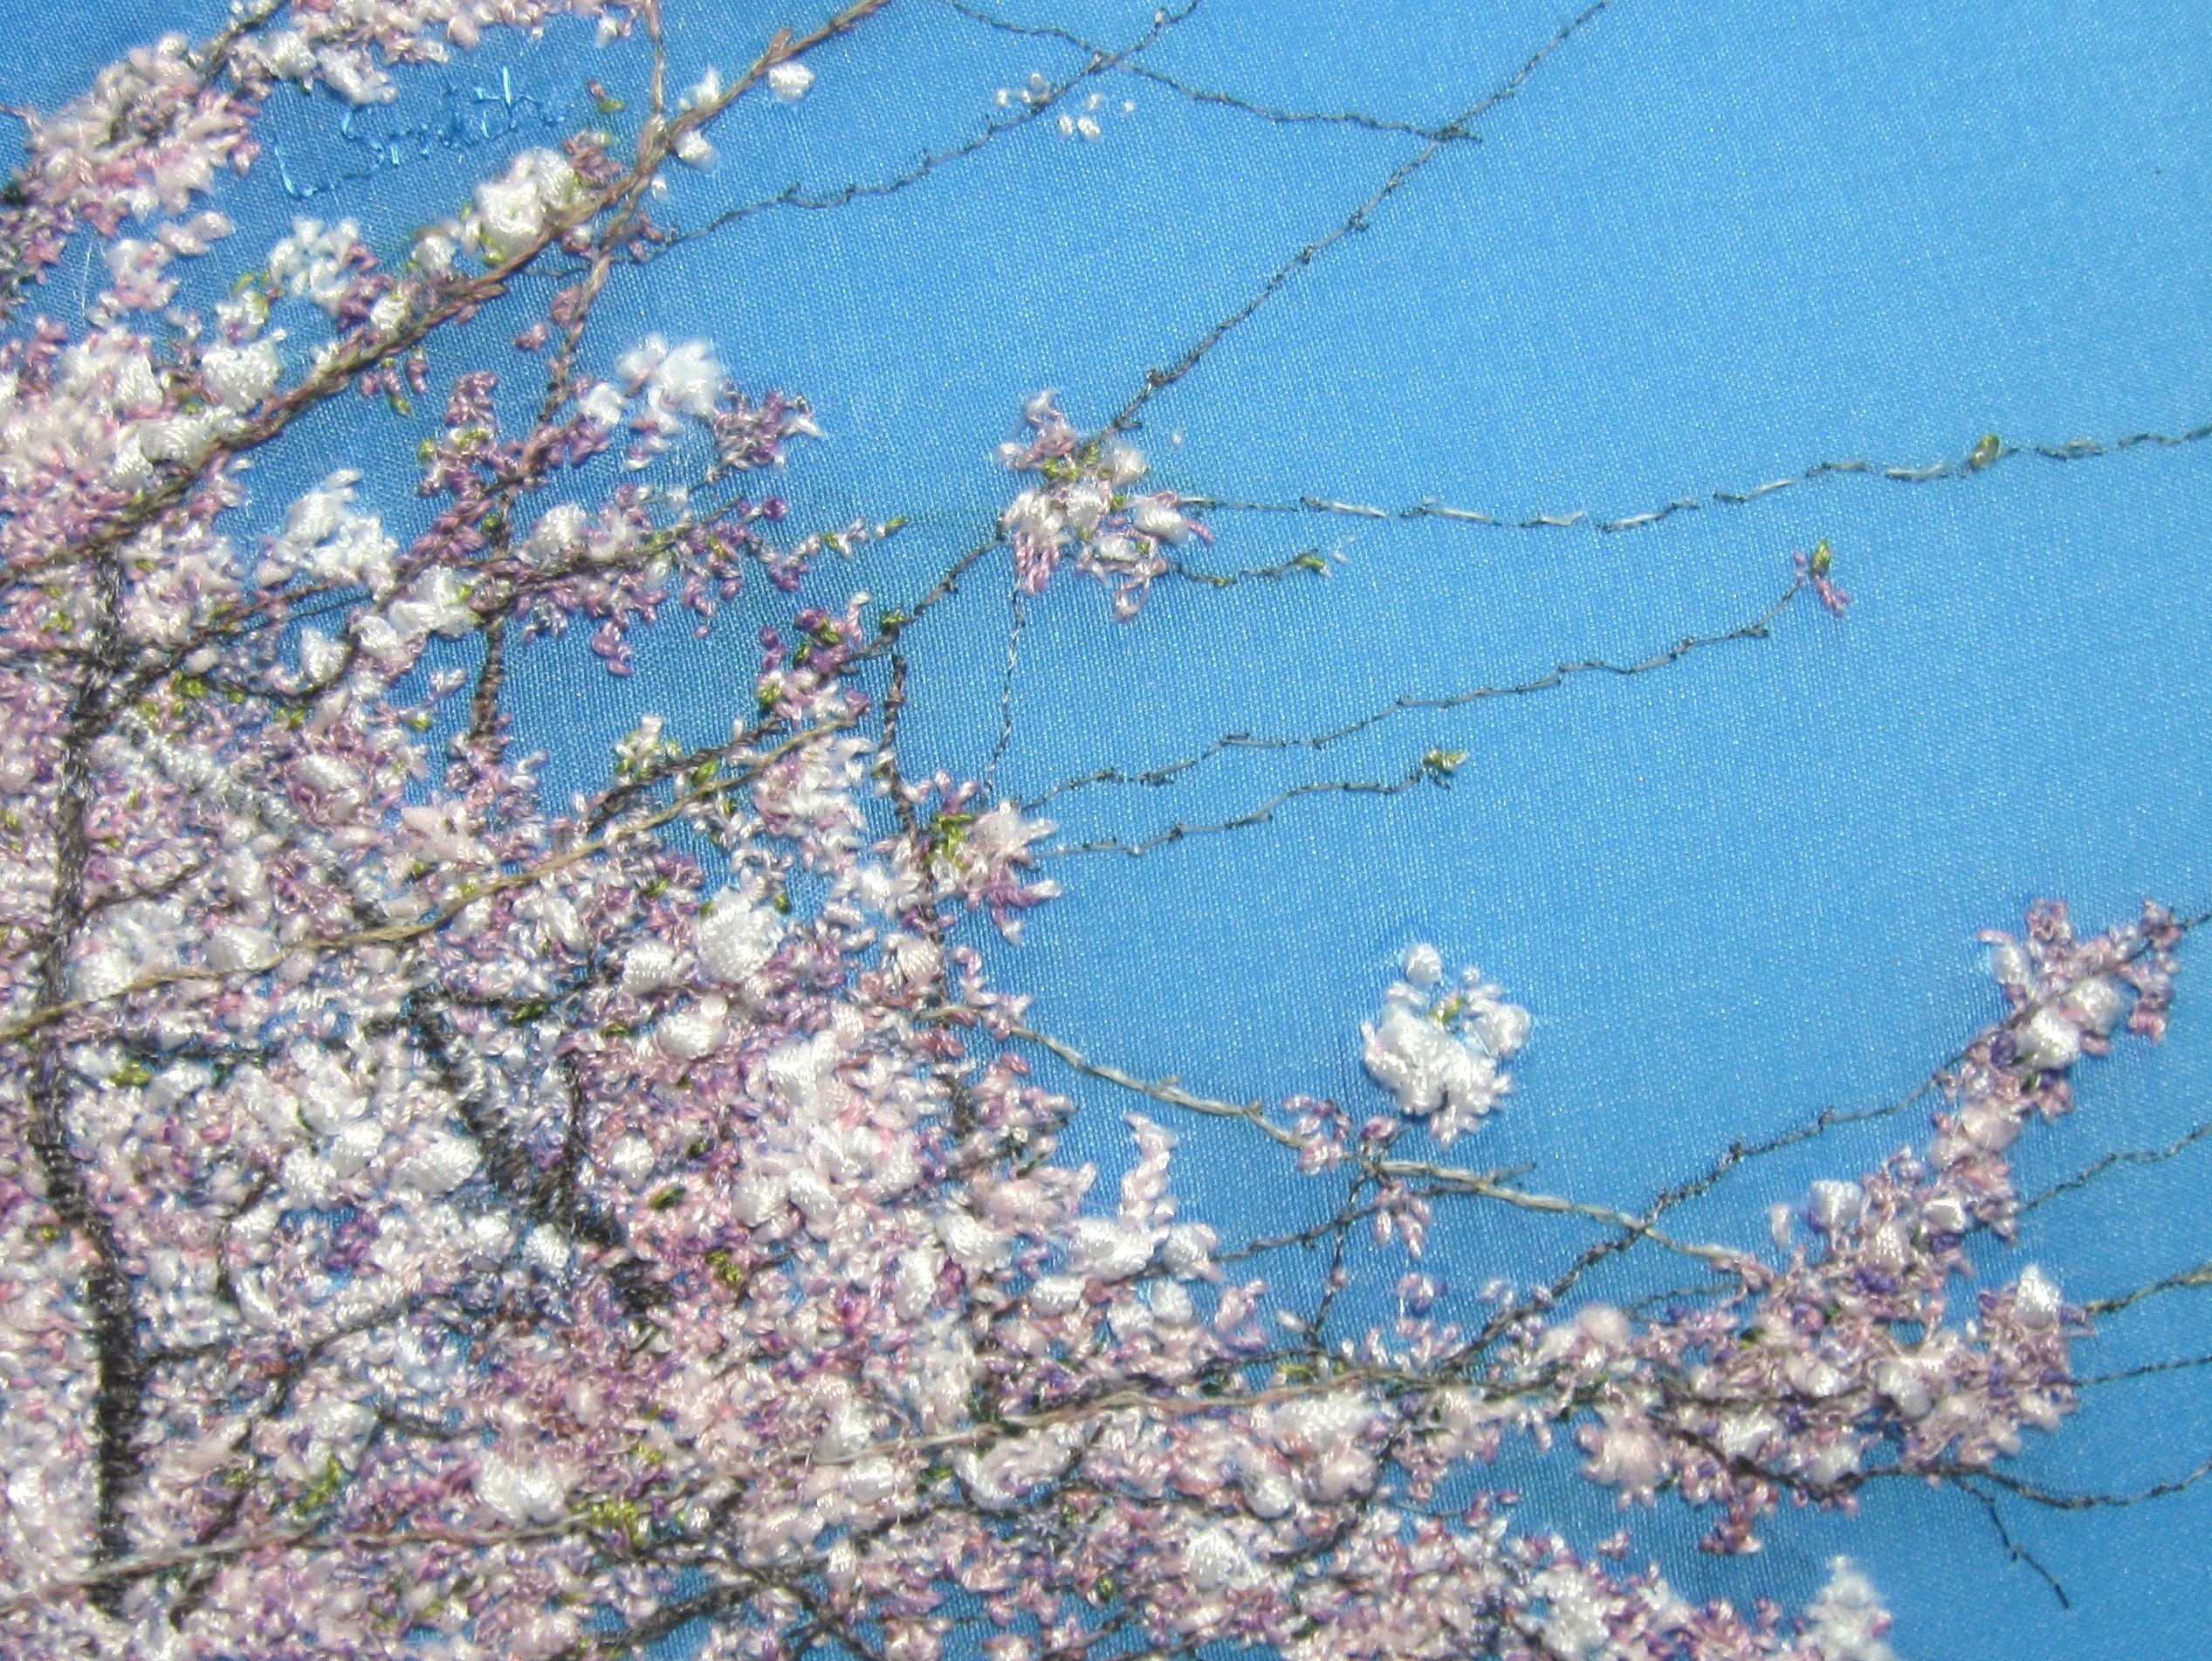
I have a minor obsession with trying to capture cherry blossoms in thread. I’m learning it’s helpful to keep the image small (this one’s 3 x 4 inches) and to aim for blossoms that are a bit more distant, otherwise you don’t have a hope of capturing their daintiness even in thread or ribbon. Those real-life petals are just so very delicate.
I used free motion machine embroidery in the background, then hand embroidery and ribbon work over the top. You can click on the picture for a closer look.
I do like to give credit to the trees I feature in my artwork. This one’s in Queen Elizabeth Park, Vancouver, BC.
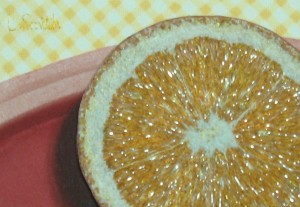
I confess I’m a bit sick of the sight of oranges after this! It’s made the same way as Lime Time, as you can probably guess. I made the whole “slice” and then chose the area with the fewest mistakes to show inside the frame. I ended up doing the final assembly in the kitchen, appropriately enough, as I needed plenty of counter space for messing about.
I have artwork in a couple of shows, one right now and one real soon. If you can make them, Art Focus Artists’ Association, North Vancouver Community Arts Council, and I would be glad to see you! More info on my Events page.
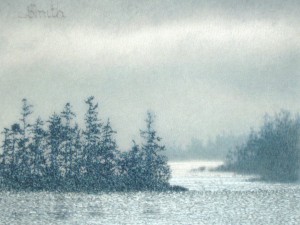
Another view from on deck. I thought these heavily treed islands looked like castles from a distance. All the water and the closest trees are hand-stitched and the background is painted on silk charmeuse.
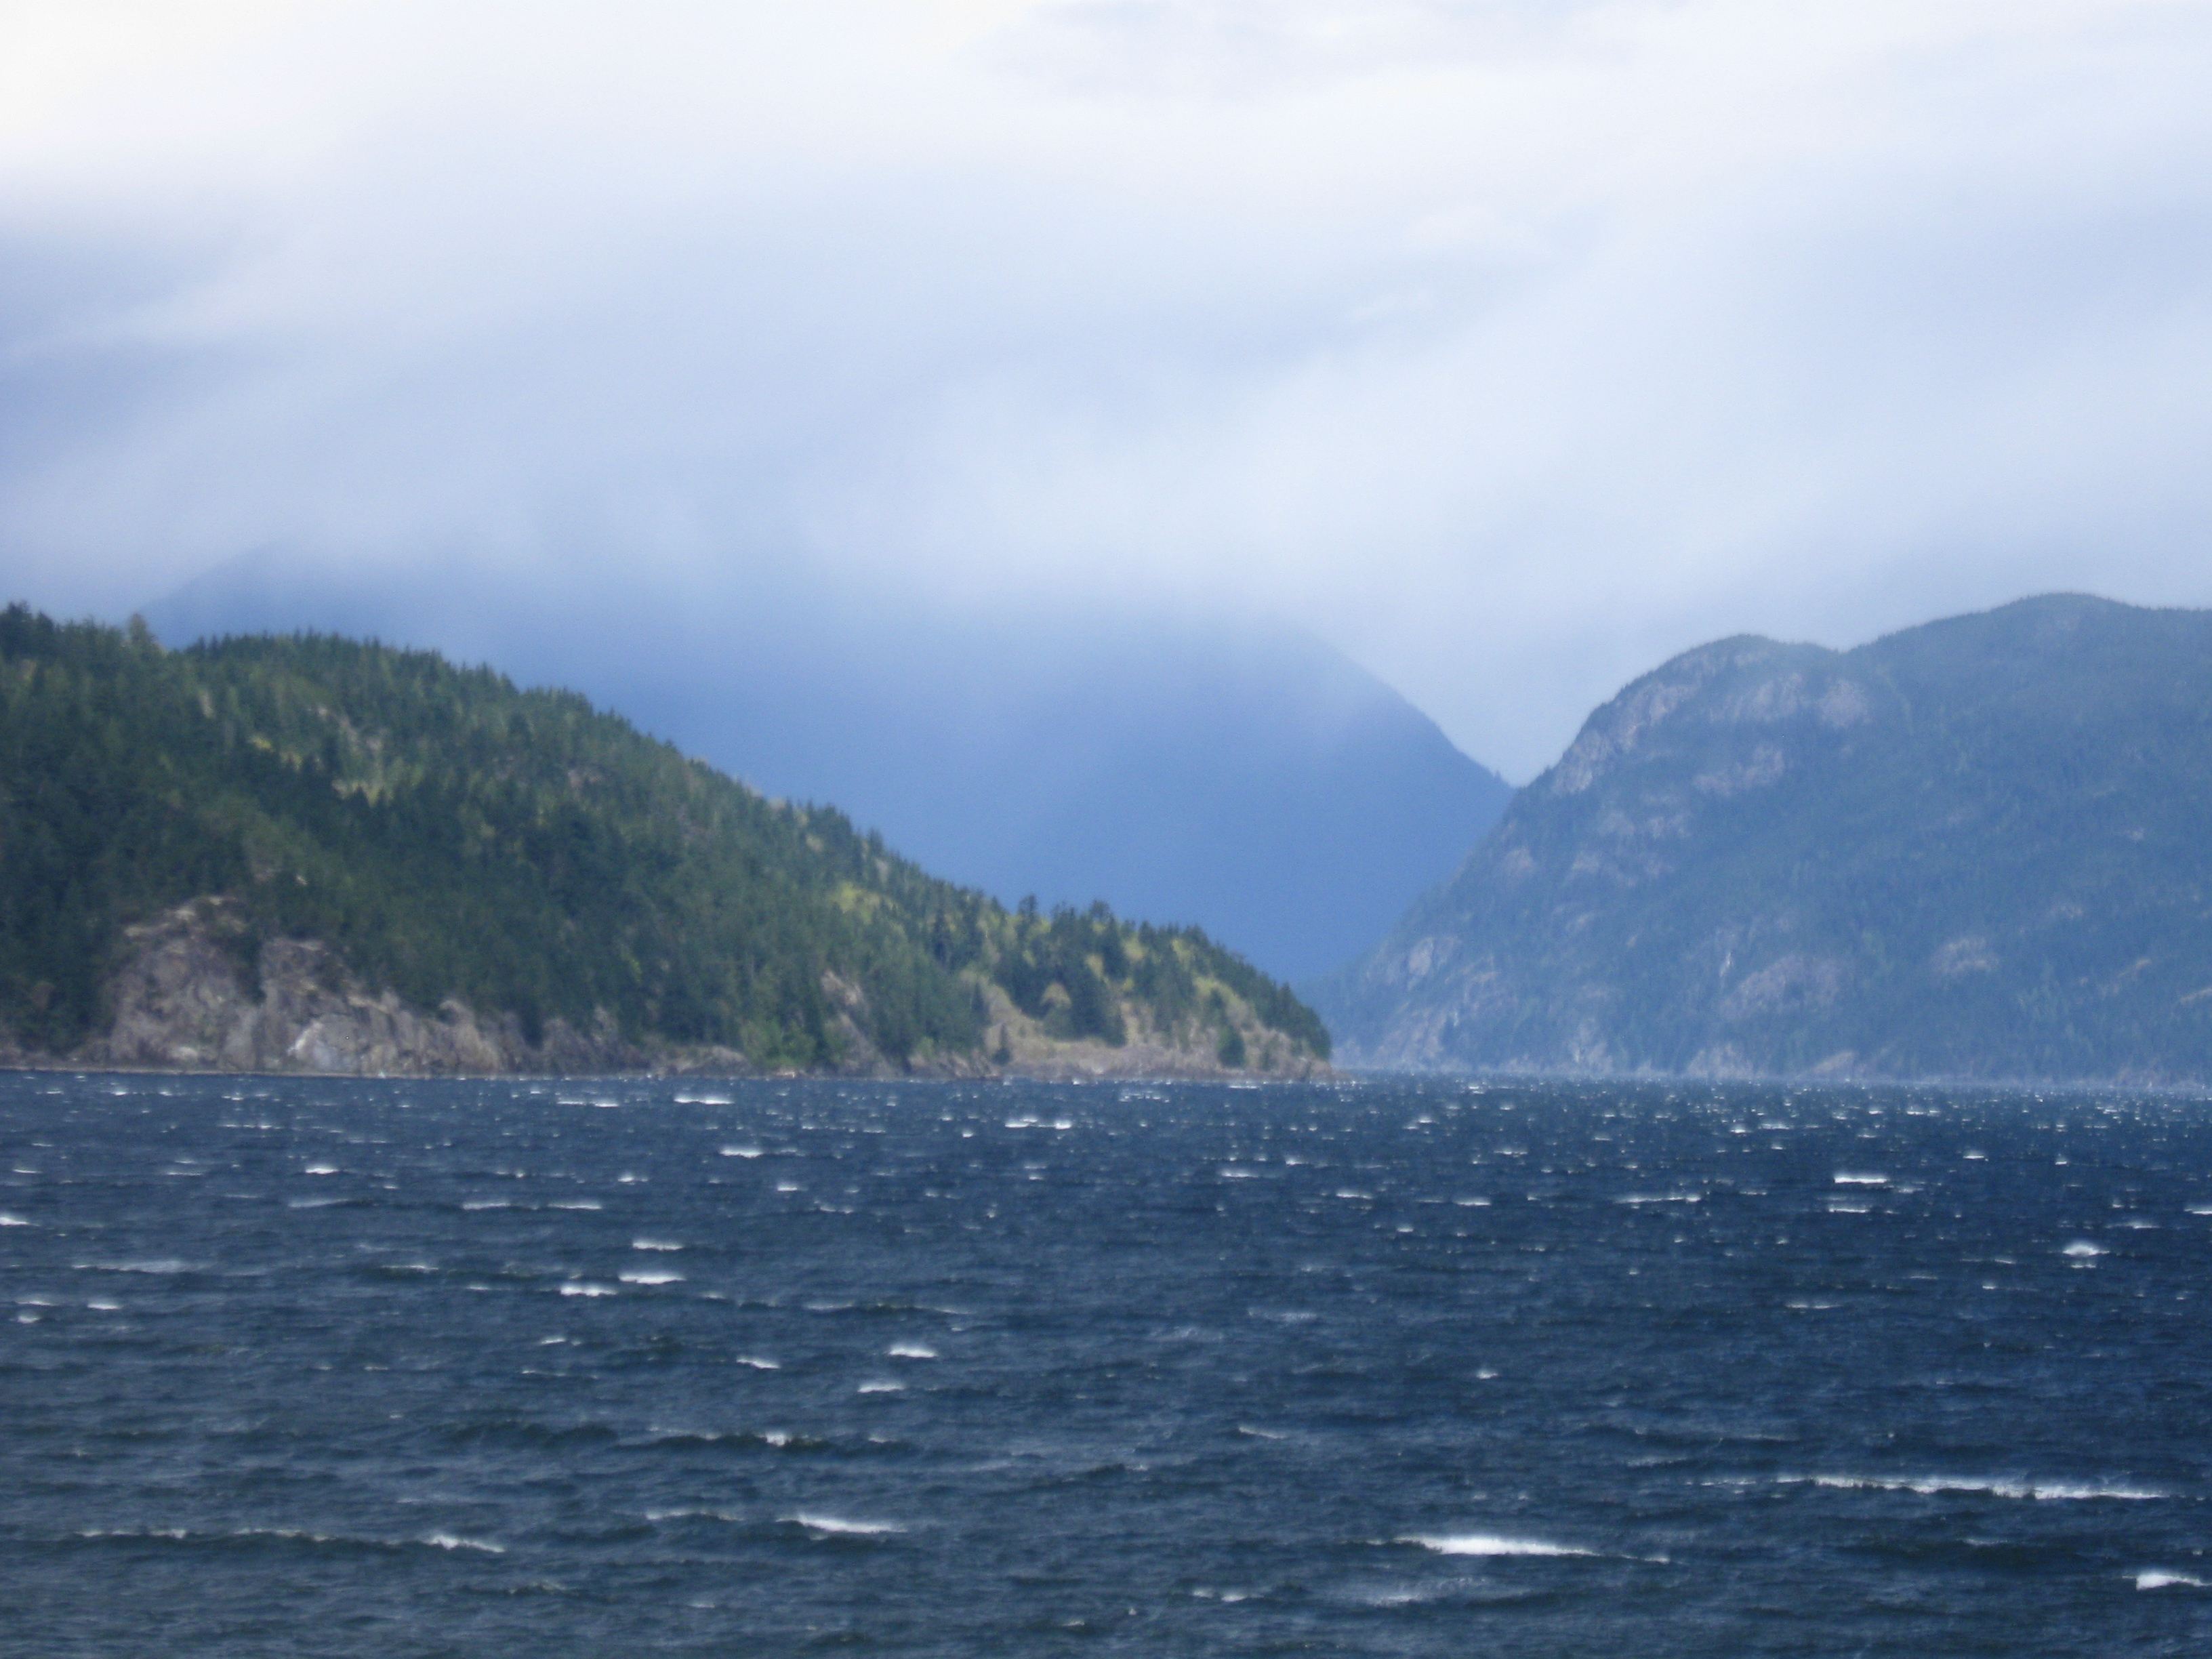
I was on a ferry again this weekend and the weather was in a very different mood. The wind kept taking my breath away! So, perhaps an attempt to capture whitecaps in thread is in my future.
I just joined this group and am excited about new opportunities to show artwork at events on the North Shore. I’ll update my Events page when I know more.