Blue Plate Special

April 21st, 2014

Trawler half and half lighting


This picture of a North Sea trawler is 4.25 x 5.5 inches.
 
The sky is purposely featureless; I wanted this to be all about the water. All the sewing is by hand, but if you look closely you’ll see that the trawler is made of pieces of hand-painted ribbon, glued or stitched to the background. The bow wave is some chopped-up yarn and the rigging is thread, mostly half-thickness.

The seagulls were a bit of a saga. Initial experiments with silk resulted in a frayed mess, and I felt thread would be too bulky. I decided I wanted Tyvek for its acid-free, non-fraying qualities, and ordered samples from a couple of suppliers ages ago…but I’m still waiting. I discovered FedEx use Tyvek for their envelopes, though, so I got hold of one and it turned out to be ideal. I tried cutting tiny gull shapes out of it, but found that I got the most natural-looking results by cutting two separate wings and overlapping them slightly. And I still have enough envelope left for a lifetime’s worth of seagulls.

More than any I’ve done before, this piece changes appearance depending on the light. Any direct light will pick up the sheen of the threads like crazy, as above. So I’ve included a shot below of the picture in more dull lighting. You’ll notice the gulls stand out more and it looks quite grim.
 

Trawler unlit


Dandelion seeds step by step

April 13th, 2014

I’ll be honest – this blog post is pure fluff.

Okay…just had to get that pun out. I feel much better now.

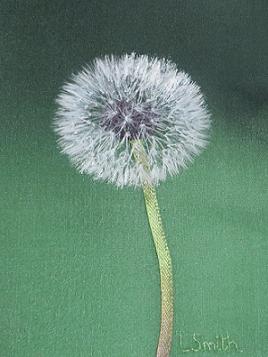
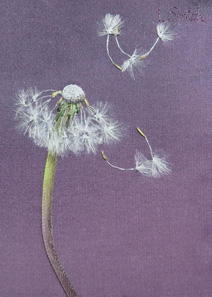
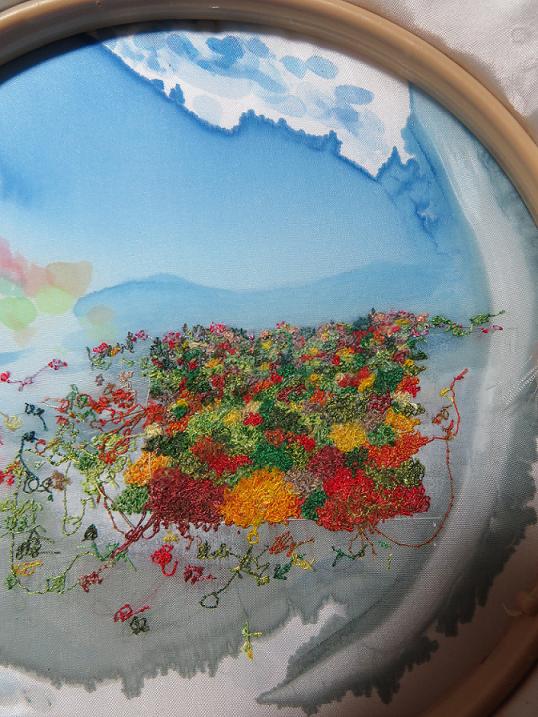
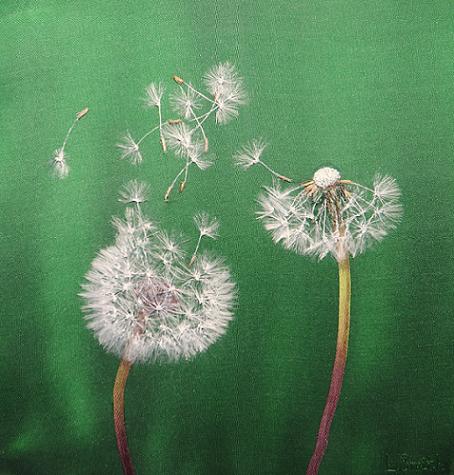
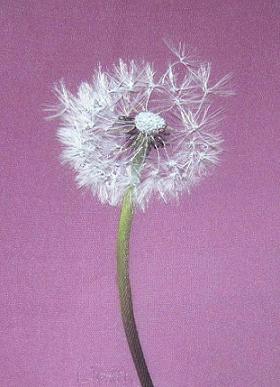
So, this is part one of the very long answer to the question, how do you create your dandelion clock pictures? I plan on going into the details of other aspects such as background painting, background stitching, ribbon work, etc., in the future. This post focuses on the seeds.

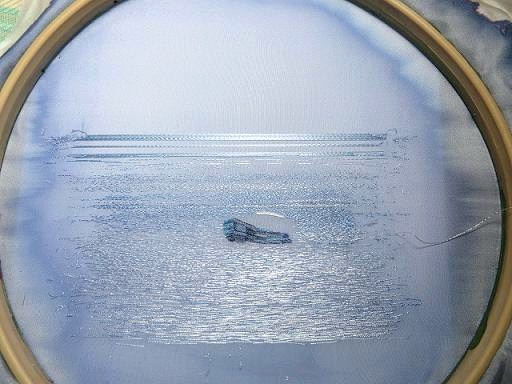
I may upgrade the photos later, as some aren’t the sharpest.

I start with Gutermann sewing thread in shade No. 21, a nice soft white.

Gutermann No. 21 thread


Then cut a length of about 12 inches or so.

Thread - unknotted


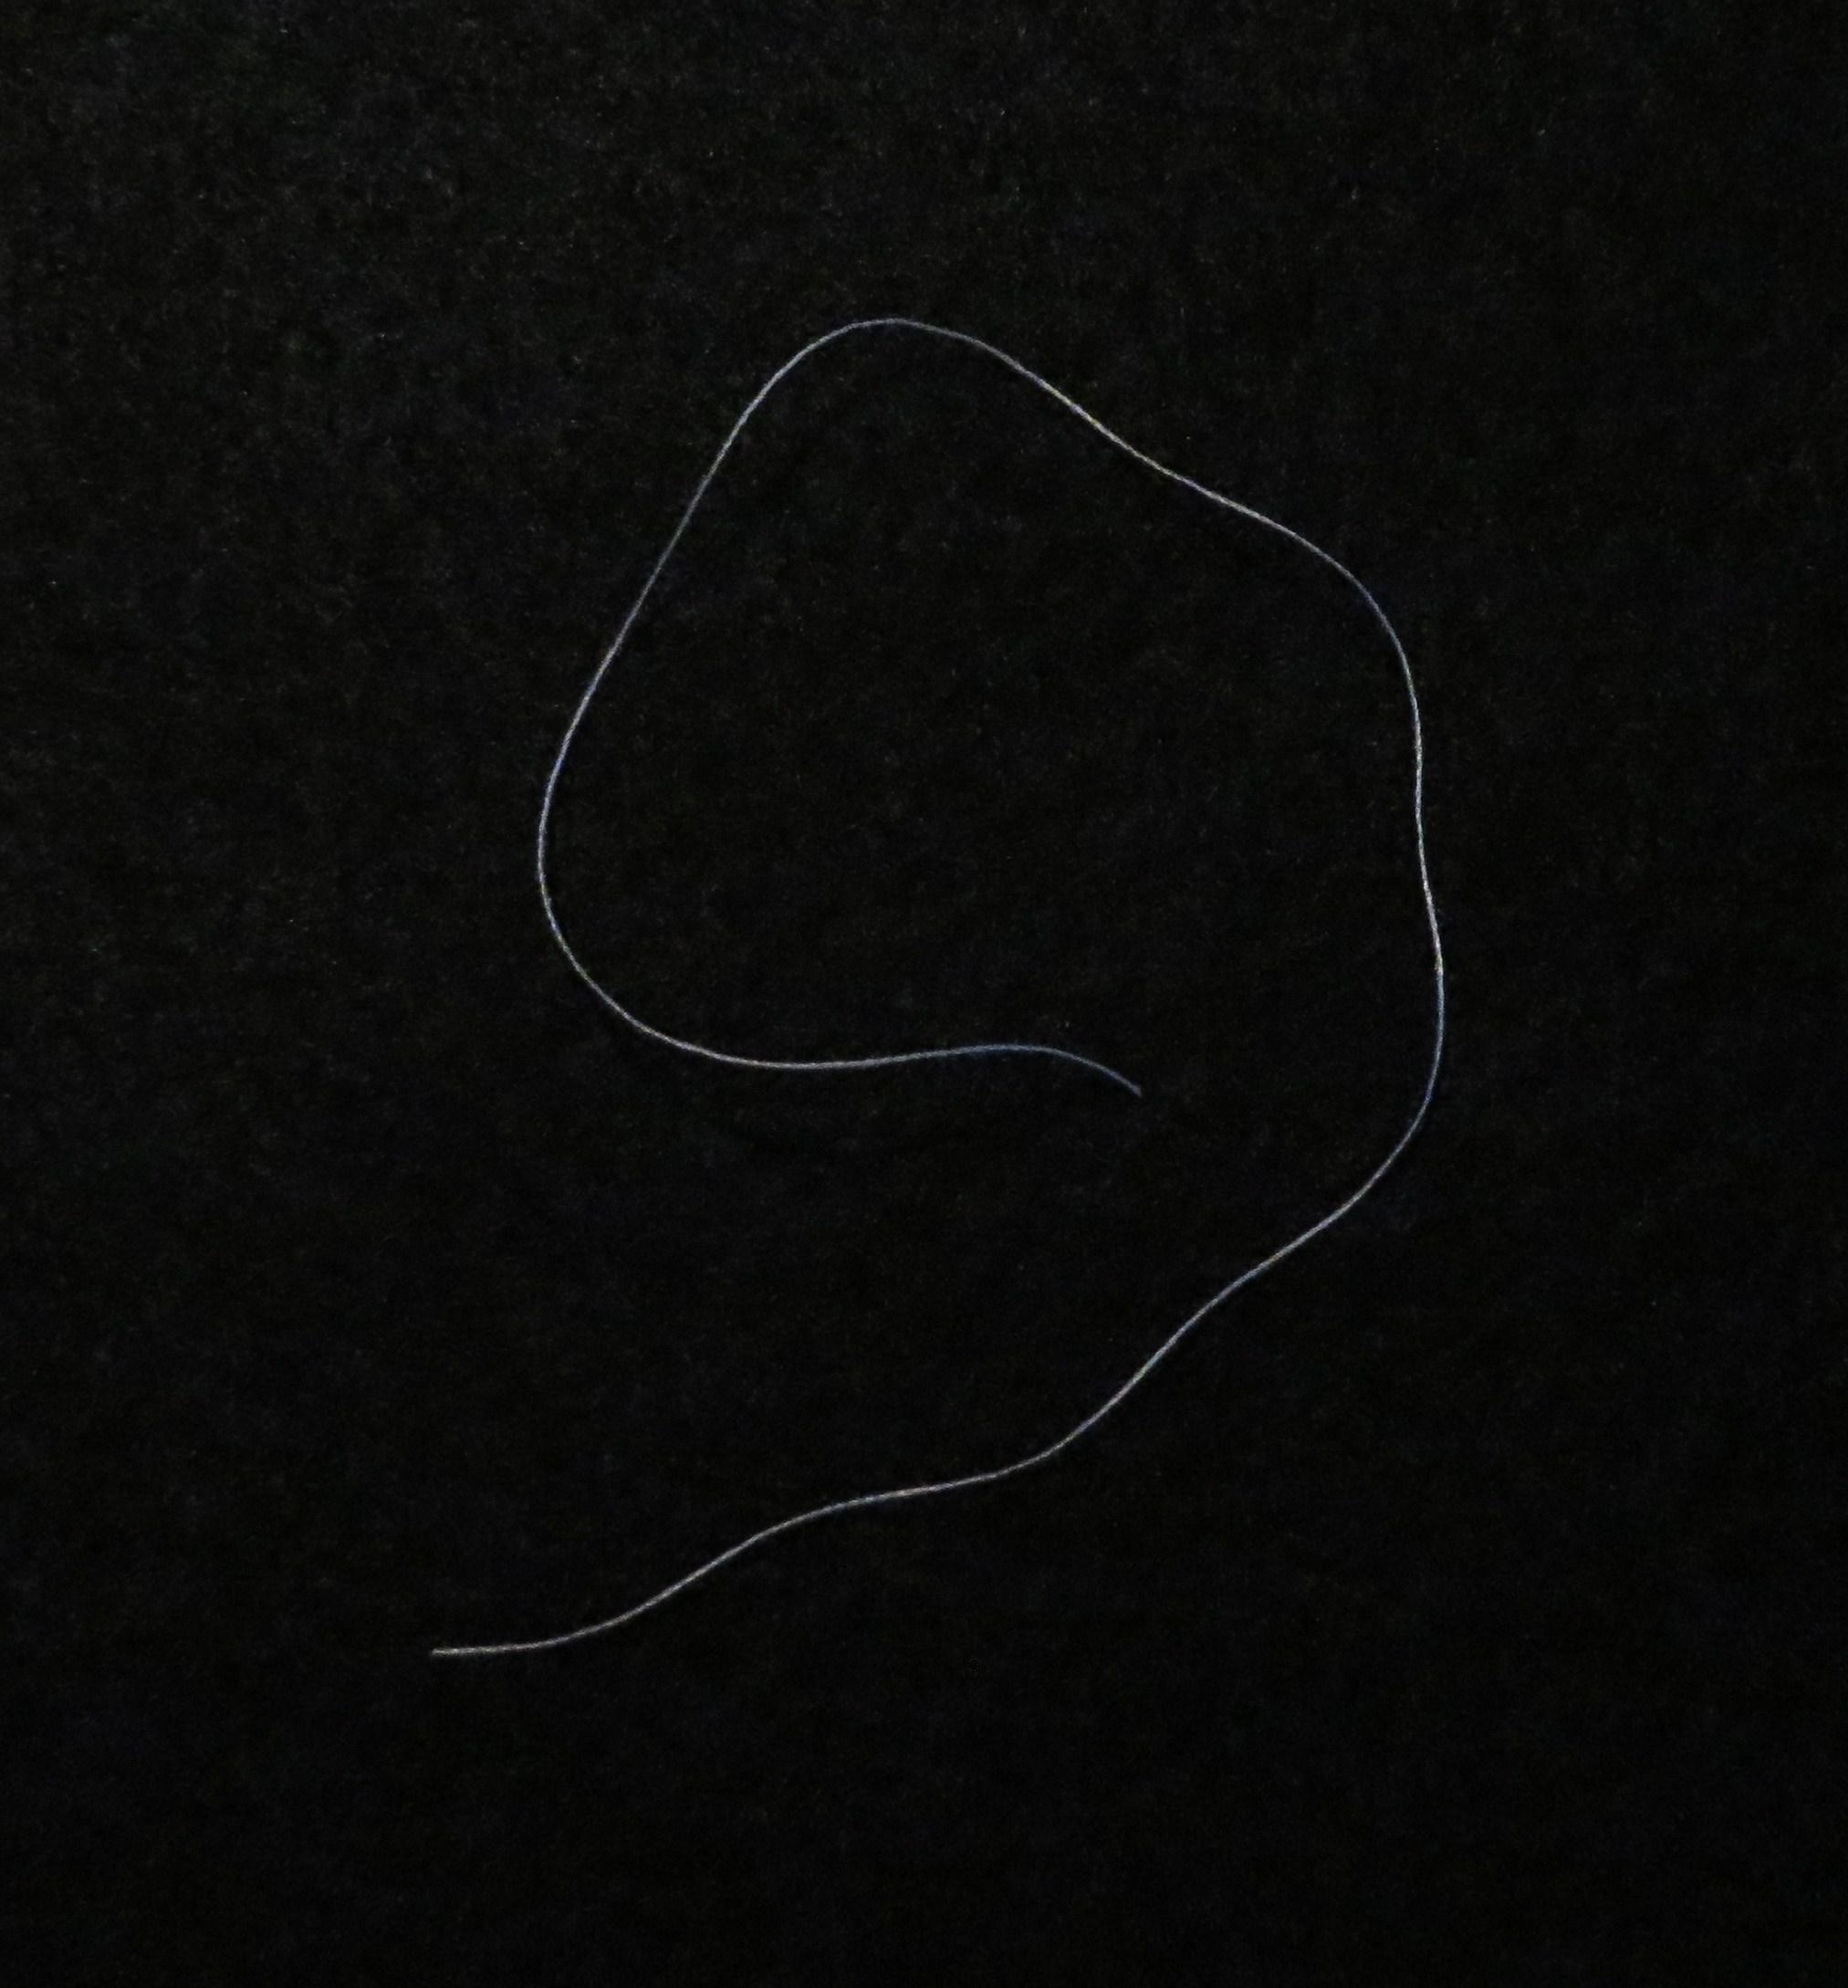
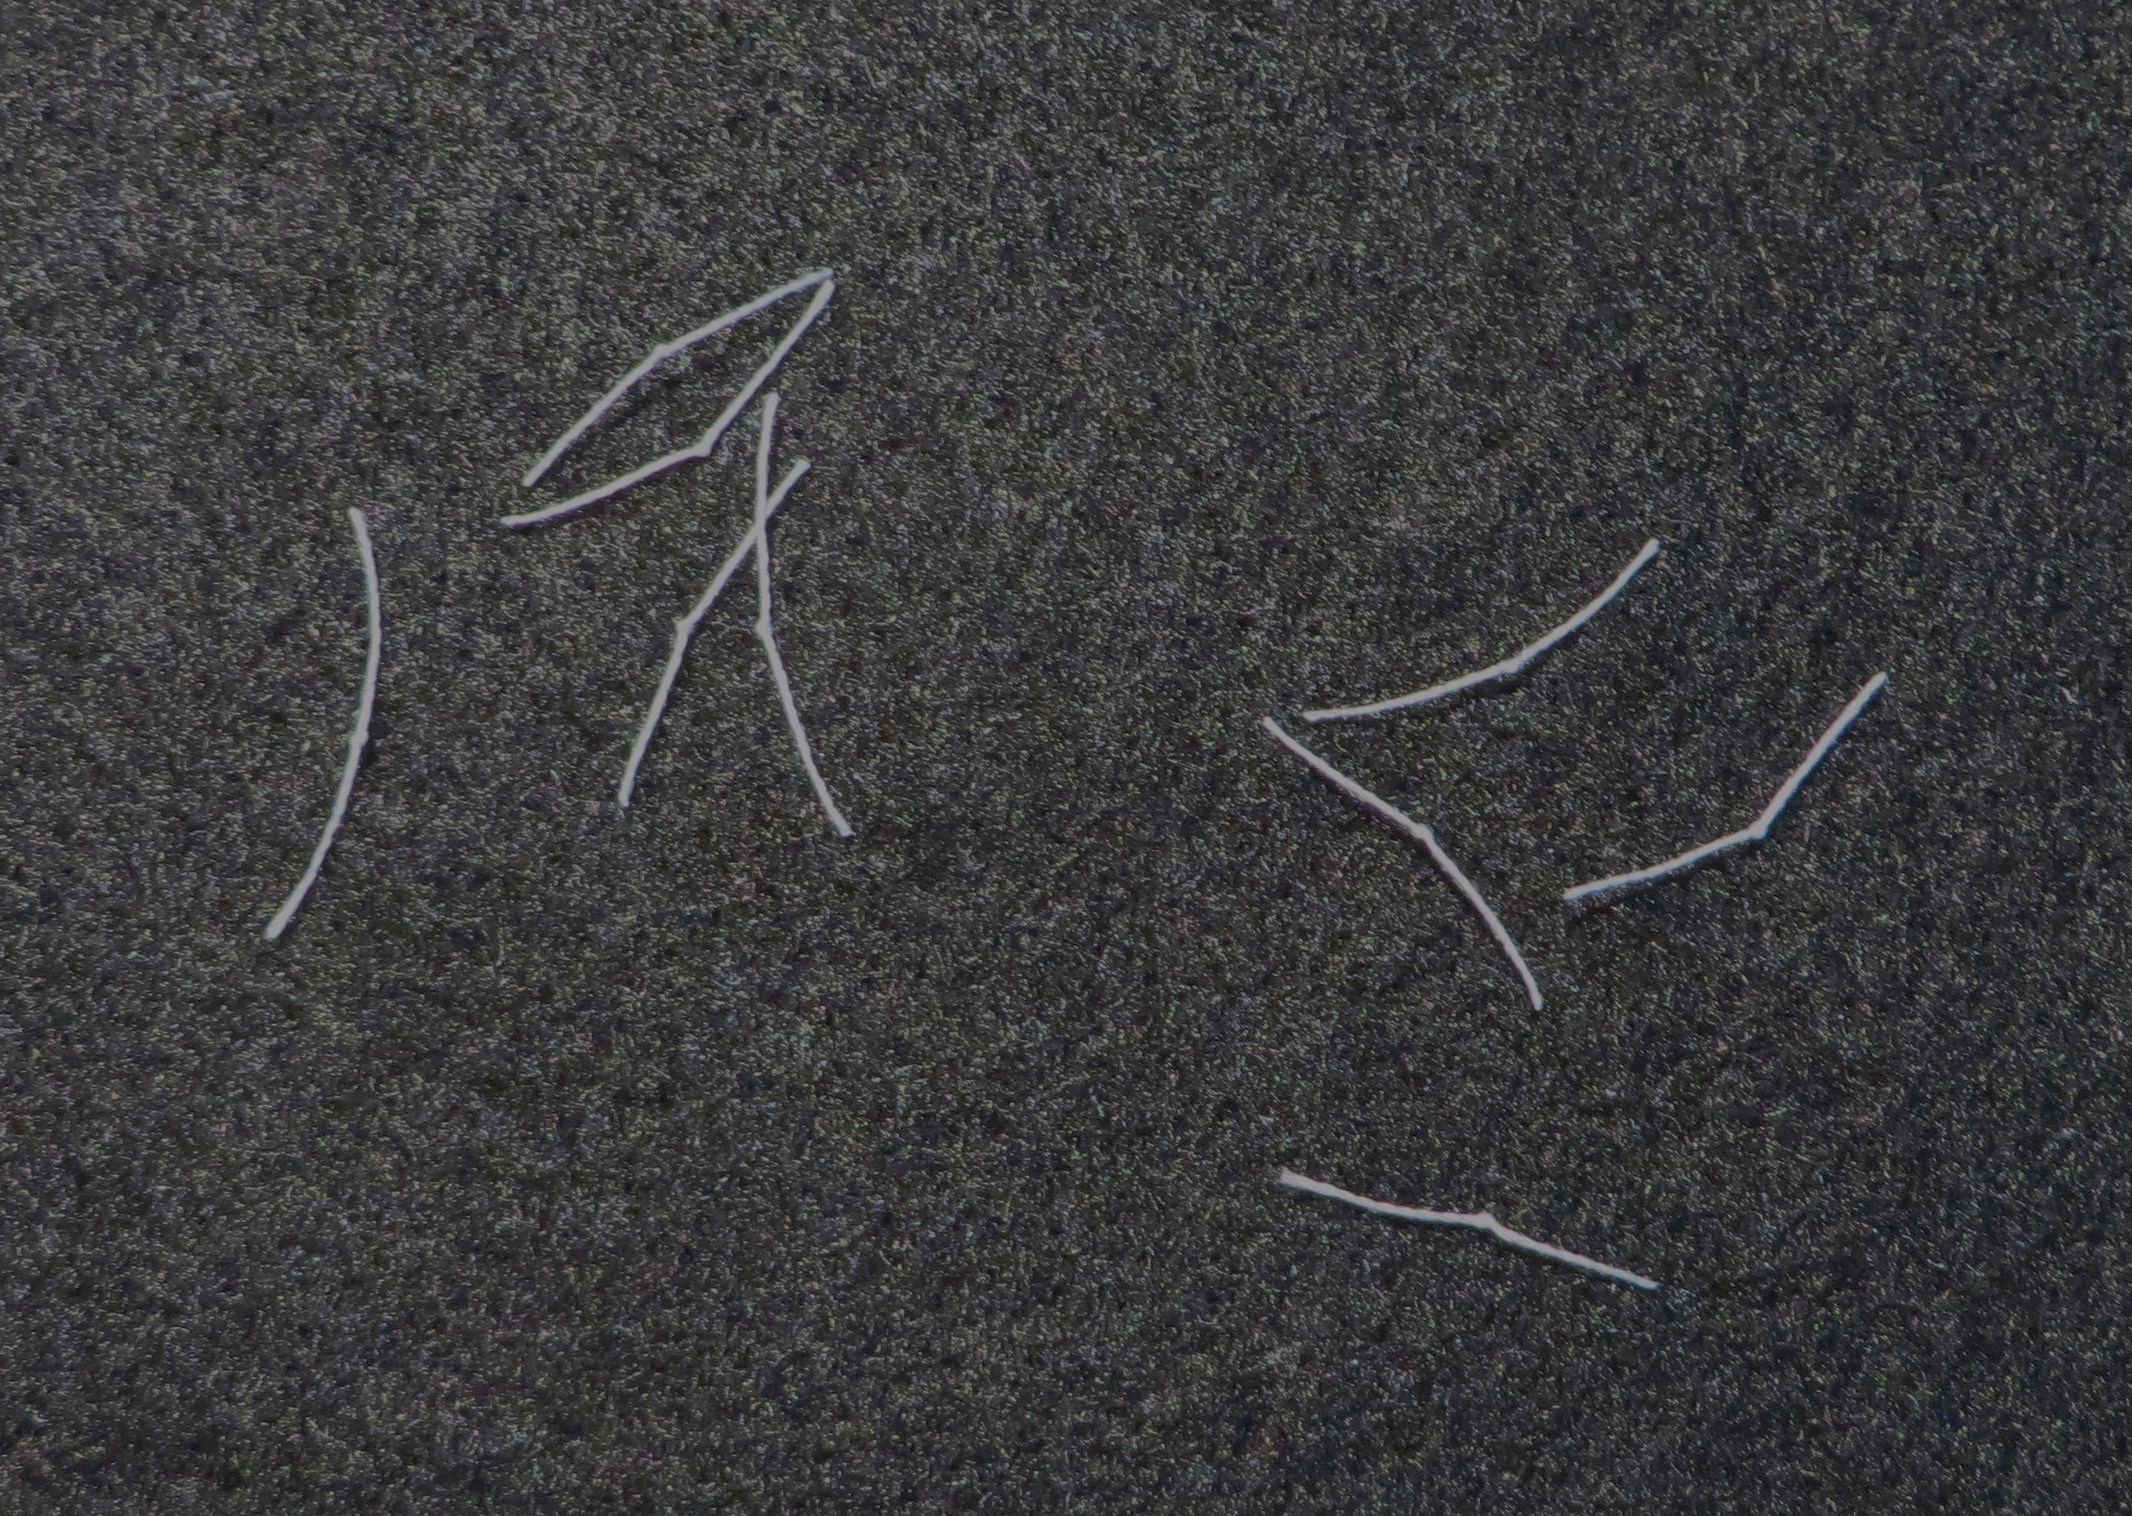
Tie single knots, spaced about 3/4 inch apart. No need to be exact about that.

Thread - knotted


Cut between the knots.


Cutting between knots


You end up with bits. Sometimes there’s more thread on one side of the knot than on the other, and that’s okay.


Bits


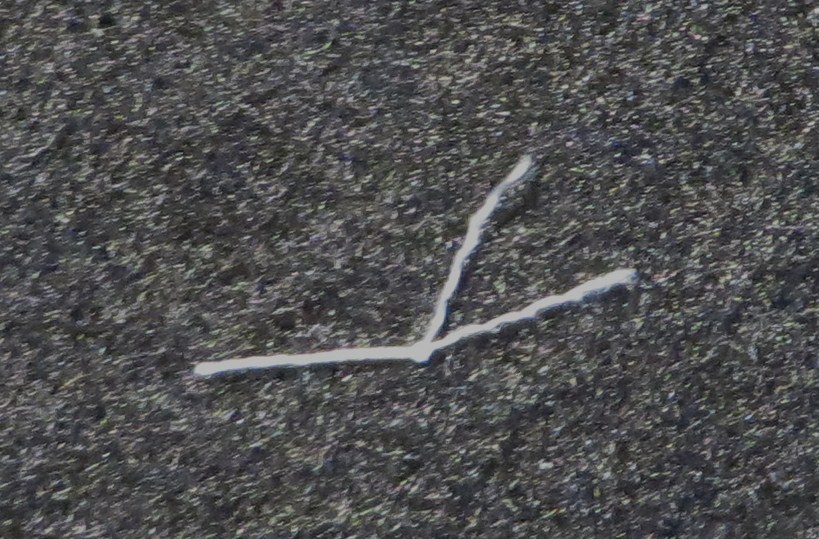
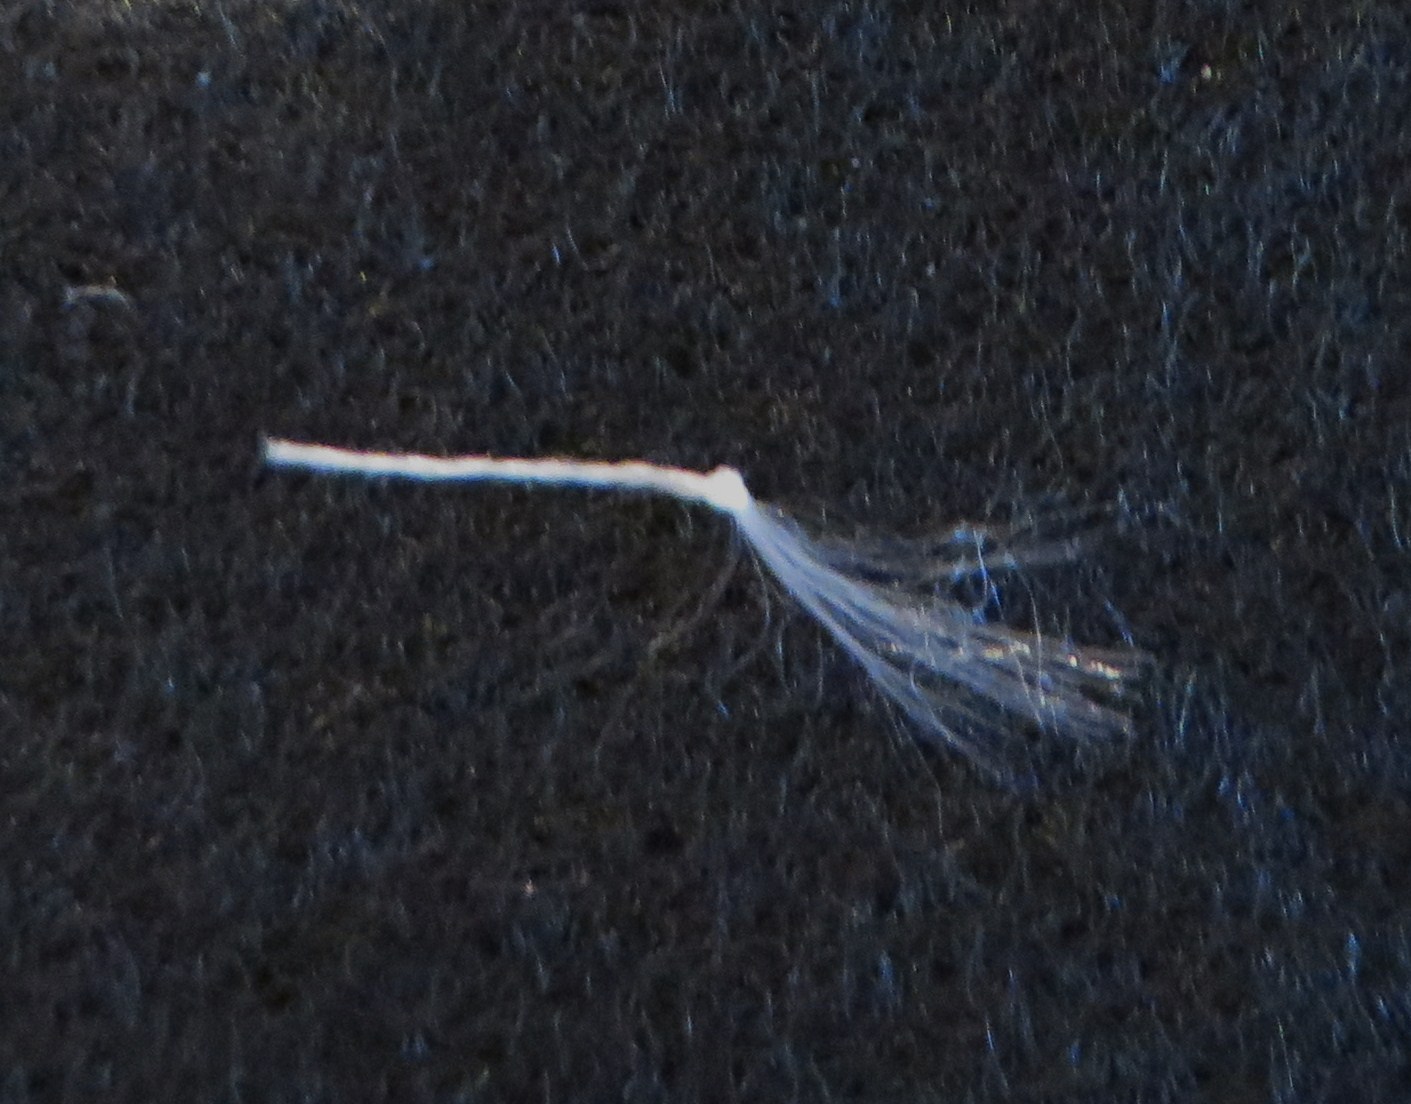
Choose a bit. This type of thread is made up of two thinner threads twisted together. Roll it between finger and thumb against the direction of twist, and you’ll see it start to split apart.

Starting to split thread


Then you can grasp the ends and pull them apart all the way down to the knot.


Split thread


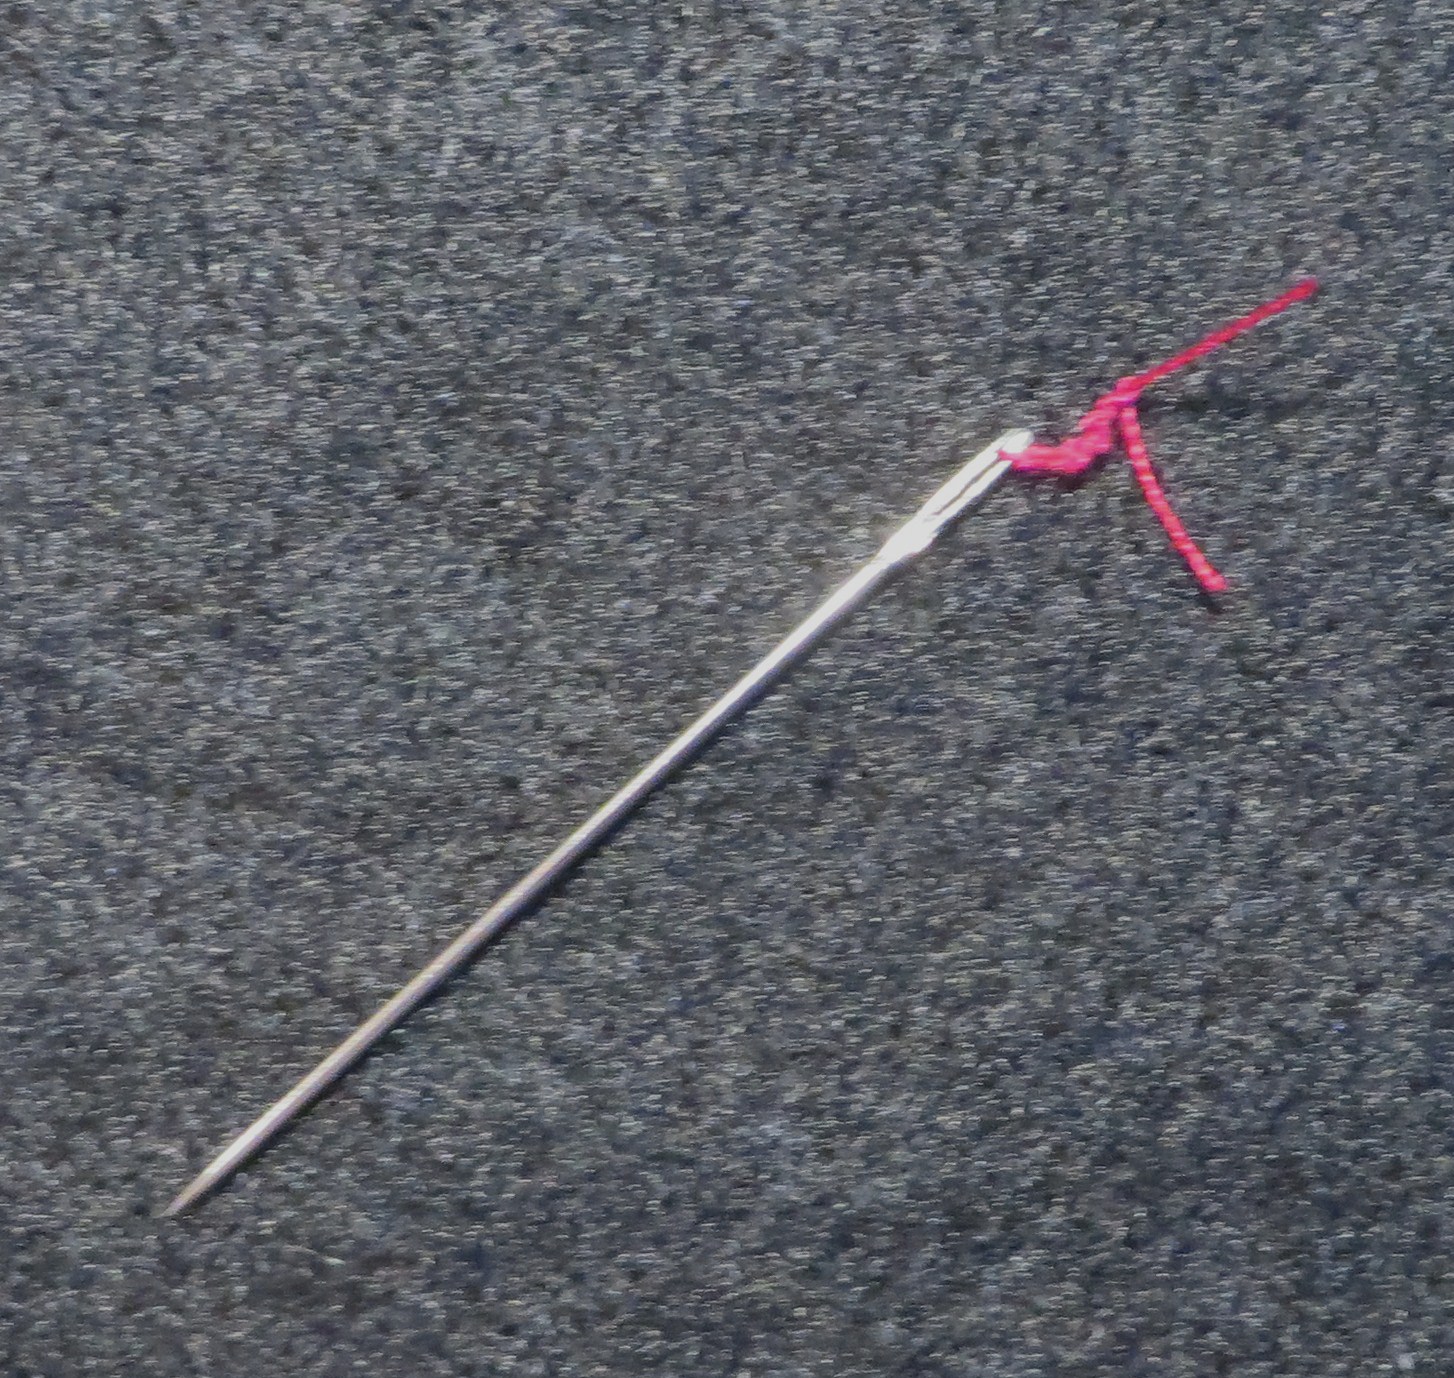
Enter the hero. He’s about 1 1/2 inches long and nice and sharp. I tie bright-coloured thread to the eye so that I can find the needle more easily if I drop it. (There have been Incidents).


Needle


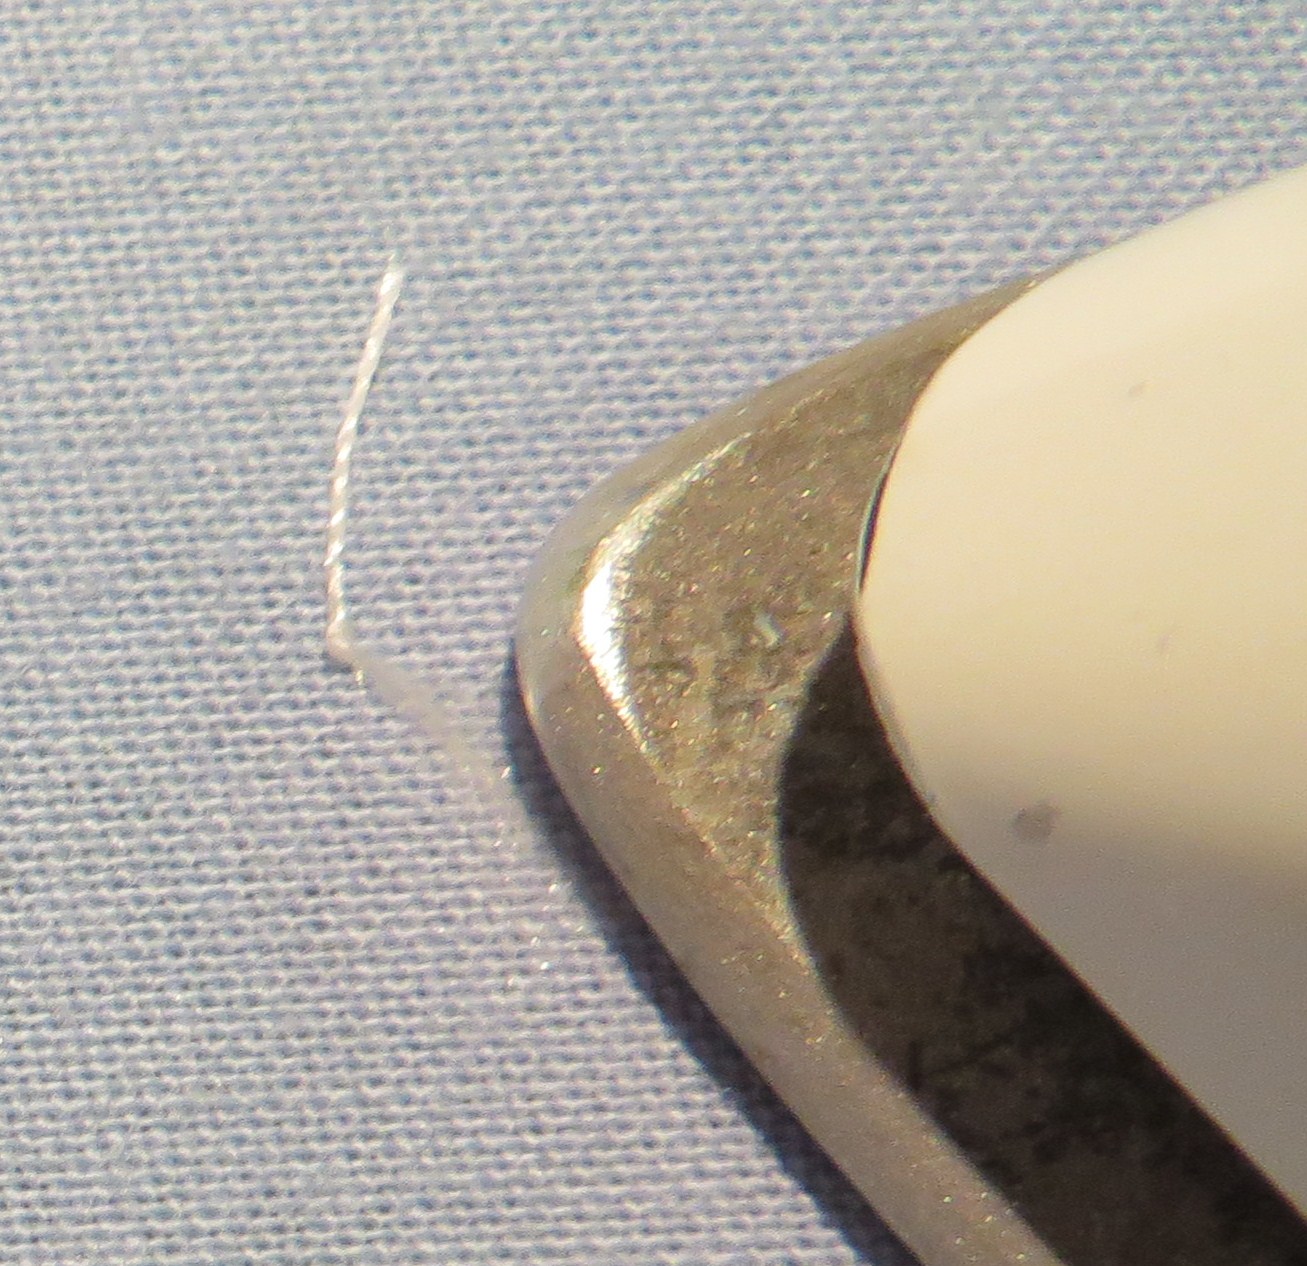
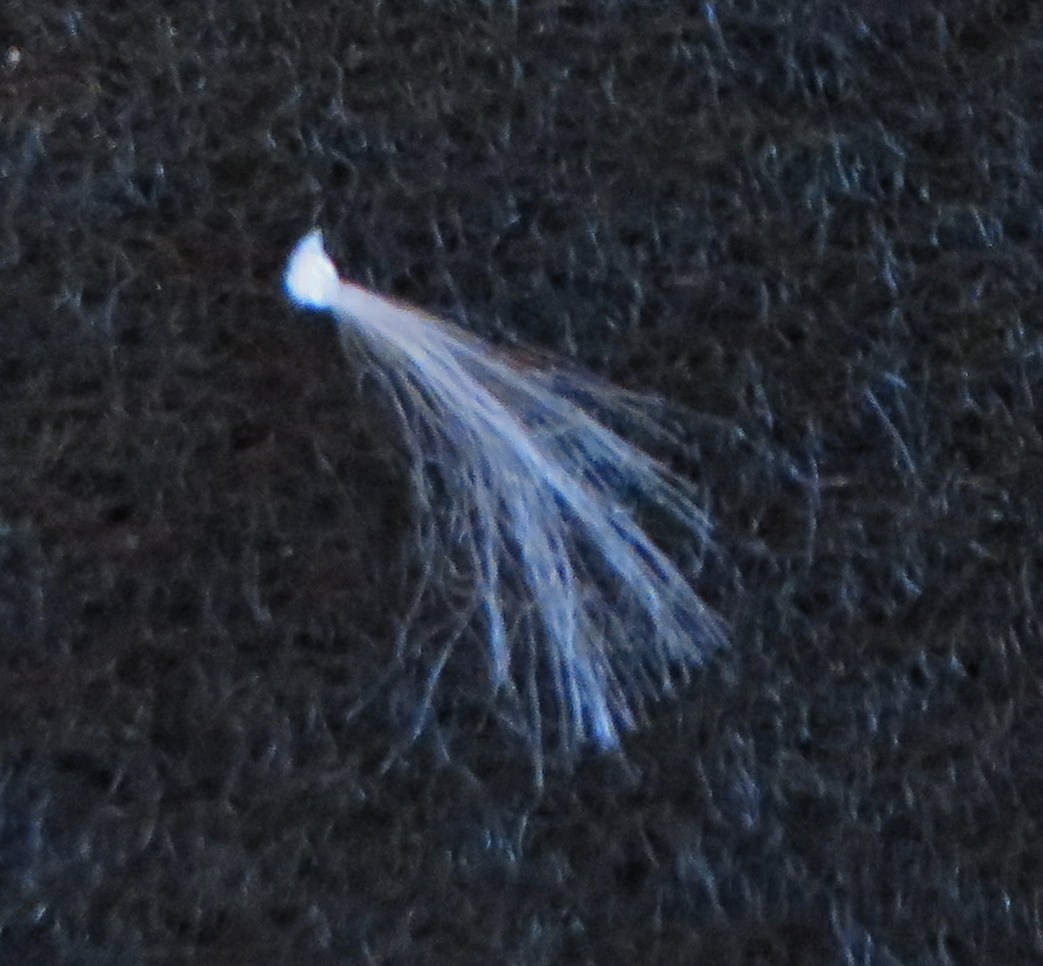
Next I grip the full-thickness end of the thread between finger and thumb. The newly-separated half-thickness threads rest against my fingertip. I use the needle to “comb through” and tease out each half-thickness thread until it’s separated out strand by strand. It’s a bit like trying to comb through tats in hair. You have to take your time, be gentle and not prick yourself, and do this under a good light.


Thread half teased


The same with the other half-thickness thread.

I know, I know. I’m an artist, not a professional photographer : )


Thread all teased


You can probably just about see in the photo above that the strands are quite wavy or crimped-looking. I like to iron them straight.  The picture below shows me ironing one seed, but I usually lay out a great number and iron them all at once.

While I have the iron out I also like to take a few 10-inch lengths of thread, separate them into two half-thickness threads, and iron these straight.  I use these straightened threads to form the “handles” to the seed “umbrellas” later.

Ironing


Now the strands are straighter.

Thread straightened


Next I use scissors to trim the fluff into a more curved, dandelion seed shape.

Seed trimmed


Then I snip off the full-thickness strand, as close to the knot as possible.

Seed with thread snipped off


The fluff is now ready to be glued to the background. I use Aleene’s Acid-Free Tacky Glue. I usually apply a tiny dab to the knot, and it’s enough to keep it in place.

If it’s important to glue the strands as well, I apply glue very sparingly to a toothpick end, stroke it underneath the strands, and gently press them down. You have to be careful not to get glue on the silk where it’s not hidden by the fluff, because it can leave a slight discoloration.

As described above, I use half-thickness thread, ironed straight, to form the “handles” to these fluff umbrellas. I thread this through a fine needle, poke it right through the knot of the fluff, make a stitch in the direction I want, and use a securing thread or two to hold the stitch in a nice natural-looking bend.

Then I use a hand-painted strip of ribbon to create the brown part that attaches the seed to the head of the plant, but I’ll go into the ribbon painting on a different blog post.

Some of these steps are easily started and stopped in an odd five minutes here or there. I usually carry a little bag of “bits” and a needle with me so I can work on them during those times when life keeps you waiting about. This way, lots of unconnected journeys, delays and TV programmes can end up going into any one picture of a dandelion clock. And yes, the whole double meaning of these segments of time making up a dandelion clock doesn’t escape me, and sounds a lot like a possible theme for an exhibition. But all in good time.


Work in progress

February 15th, 2014

Trawler in progress


I haven’t completed any new pictures in a while but have been working on some long-term projects, while also dealing with property renovation and an apartment move.  So it’s been nice in my few spare hours to work on something as peaceful as ocean waves.  When it grows up, this is going to be a picture of a trawler with lots of seagulls flapping around.

I also took some inspiration photos on a recent trip to Victoria, BC…the weather gave me lots of great drama.


IMG_2646


IMG_2650


Tick-Tock

December 27th, 2013

Tick-Tock medium size


3 x 4 inches and the last dandelion for a while, as I feel like working on some landscapes.  I may start working on a more detailed how-to in January, if only so I don’t forget how to do them myself!

On the Breeze

December 14th, 2013

IMG_2511_small


2.75 x 3.75 inches. Yes, I’m back in dandelion territory again for a bit! This one’s on silk taffeta instead of my usual thinner silk…harder to get the paint to cooperate with it and make a smooth blend, but it has a lovely sheen.

Fall at your Feet

November 22nd, 2013

Fall at your Feet - full size


2.125 x 2.75 inches. This was inspired by the view from the SkyTrain in Vancouver as you head southeast on the Expo or Millennium line. I’m sure there were all sorts of houses in amongst the trees there, the good folks of Burnaby probably — but sorry, I edited you out!

I hand-painted the background and the rest is free motion machine embroidery. I snipped into some of the stitches to soften the look and help the distant trees stand out less from the background. I sewed the trees in the very foreground extra thick, so they’re literally closer to you. (My signature is in the impressionist style, shall we say, with those thick threads to sew through). I also used a little bit of white pastel dye stick to help the very distant threads look more faded.

Here’s a picture of the finished piece still in the 7-inch hoop, with all my messy workings-out on the side. You can probably see why I ended up with such strange measurements for the size of the finished piece, with so many scribblings to crop out.

IMG_2472


In the news

November 8th, 2013

Many thanks to Kate Lancaster for featuring my work in this Place des Arts newsletter article, and to Janis Warren for this article in the Tri-City News!

Also, here’s an article about friend and fellow artist Colin Craig of Art Focus Artists’ Association, whose Fall Show is coming up next weekend, November 15-17.  Looking good there Colin!

Positively Petite

October 28th, 2013

Evite larger size


I’ll have eight pieces in this show and very much hope to attend the Opening Reception.  Here’s a link to a map.

Up and Away

October 20th, 2013

IMG_2470 - thumbnail


This one measures 5.5 x 6 inches.  I painted the background by pouring two different shades of green on the silk while it was stretched in a hoop (yes, I end up with a green hoop).  I tipped the silk one way and then the other so I had drips running in both colors, and it ended up happening to look vaguely grassy, which I was happy with.

The stems are the usual hand-painted ribbon, glued into a gentle bend.

For the brown parts of the seeds, I used very narrow strips of hand-painted ribbon.  I used to use thread but I think the ribbon looks more solid.  The ribbon ends are snipped short and glued into place behind the silk, so that you don’t see the leftover ribbon sticking out (this silk at 12 momme is still quite see-through).  I also used a stitch or two in the same color thread to hold it down, otherwise they spring out from the fabric a bit too much.

Before sewing or gluing anything, I split some white Gutermann thread into two strands. The strands look crimped, like hair that’s been in a braid.  But then I iron them nice and straight and save them to use for the long part of the “umbrella” of the seeds.

The rest of the seeds are done in the same way I outlined here.

I don’t know what I’m doing next but I hope it’s quicker!


Bad Hair Day

September 22nd, 2013

Bad Hair Day small

And bound to get worse as the day goes on, if you’re a dandelion clock.  3 x 4.5 inches, thread and ribbon on silk.