Archive for the ‘Posts 2010-2019’ Category
Fall at your Feet
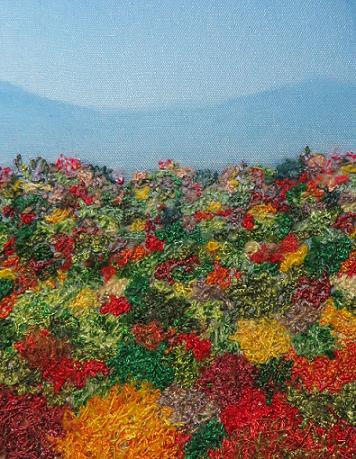
Friday, November 22nd, 20132.125 x 2.75 inches. This was inspired by the view from the SkyTrain in Vancouver as you head southeast on the Expo or Millennium line. I’m sure there were all sorts of houses in amongst the trees there, the good folks of Burnaby probably — but sorry, I edited you out!
I hand-painted the background and the rest is free motion machine embroidery. I snipped into some of the stitches to soften the look and help the distant trees stand out less from the background. I sewed the trees in the very foreground extra thick, so they’re literally closer to you. (My signature is in the impressionist style, shall we say, with those thick threads to sew through). I also used a little bit of white pastel dye stick to help the very distant threads look more faded.
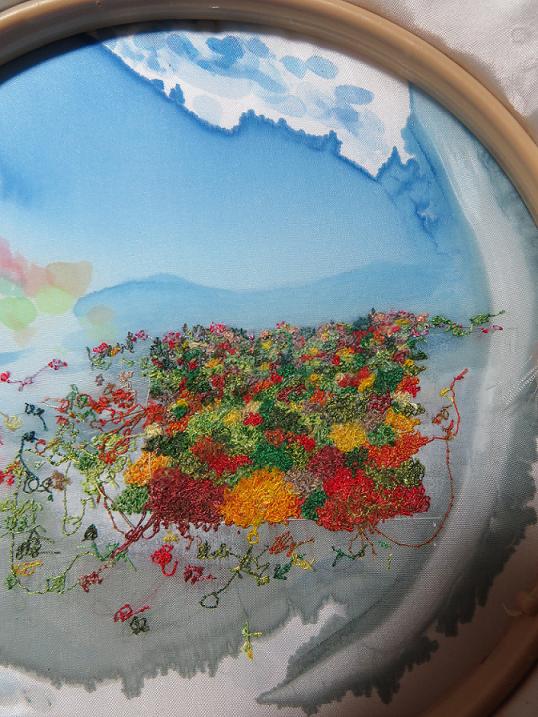
Here’s a picture of the finished piece still in the 7-inch hoop, with all my messy workings-out on the side. You can probably see why I ended up with such strange measurements for the size of the finished piece, with so many scribblings to crop out.
In the news
Friday, November 8th, 2013Many thanks to Kate Lancaster for featuring my work in this Place des Arts newsletter article, and to Janis Warren for this article in the Tri-City News!
Also, here’s an article about friend and fellow artist Colin Craig of Art Focus Artists’ Association, whose Fall Show is coming up next weekend, November 15-17. Looking good there Colin!
Positively Petite
Monday, October 28th, 2013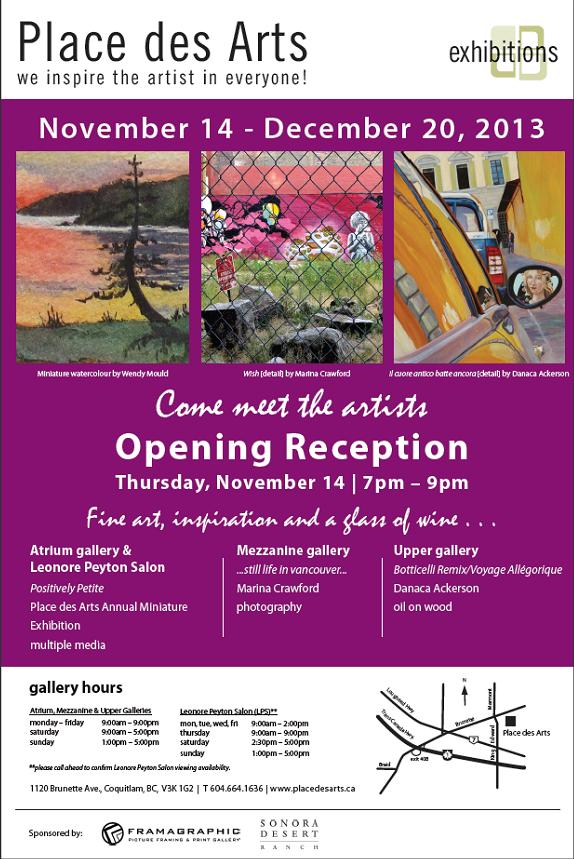
I’ll have eight pieces in this show and very much hope to attend the Opening Reception. Here’s a link to a map.
Up and Away
Sunday, October 20th, 2013
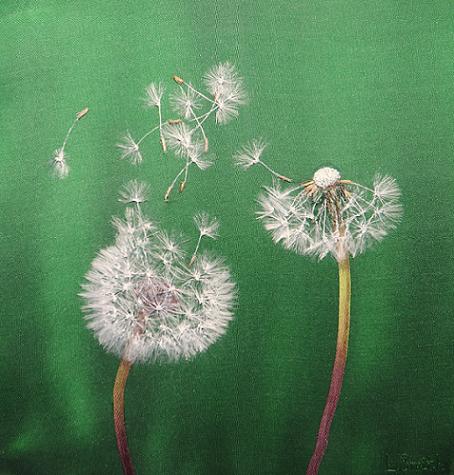
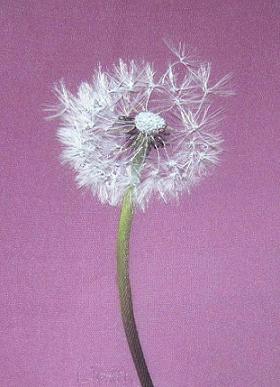
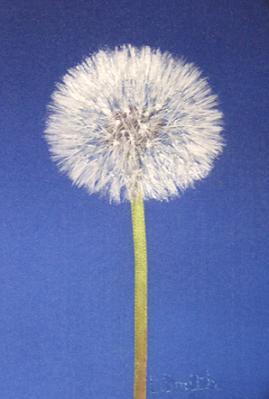
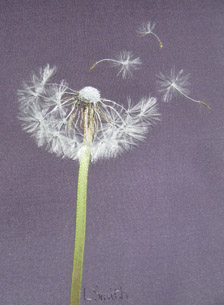
This one measures 5.5 x 6 inches. I painted the background by pouring two different shades of green on the silk while it was stretched in a hoop (yes, I end up with a green hoop). I tipped the silk one way and then the other so I had drips running in both colors, and it ended up happening to look vaguely grassy, which I was happy with.
The stems are the usual hand-painted ribbon, glued into a gentle bend.
For the brown parts of the seeds, I used very narrow strips of hand-painted ribbon. I used to use thread but I think the ribbon looks more solid. The ribbon ends are snipped short and glued into place behind the silk, so that you don’t see the leftover ribbon sticking out (this silk at 12 momme is still quite see-through). I also used a stitch or two in the same color thread to hold it down, otherwise they spring out from the fabric a bit too much.
Before sewing or gluing anything, I split some white Gutermann thread into two strands. The strands look crimped, like hair that’s been in a braid. But then I iron them nice and straight and save them to use for the long part of the “umbrella” of the seeds.
The rest of the seeds are done in the same way I outlined here.
I don’t know what I’m doing next but I hope it’s quicker!
Bad Hair Day
Sunday, September 22nd, 2013Midnight Moon
Thursday, September 5th, 2013Moon and Stars
Sunday, August 18th, 2013Full Bloom
Saturday, August 10th, 2013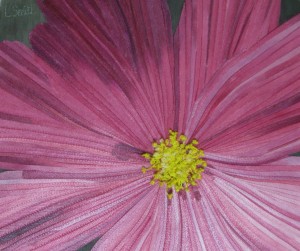
I’ve been doing some ribbon-cutting! This piece is 3.75 x 4.5 inches. You can click on any picture to enlarge.
I actually took some in-progress pictures this time!
You can see I first painted a background on the silk. I learned from a brief failed experiment, if you do the green background all over, the dark color shows through the ribbon too easily and makes it look a bit sad and dull. So I painted pale pink where I knew the flower was going to be. It also helps you see where the petals go.
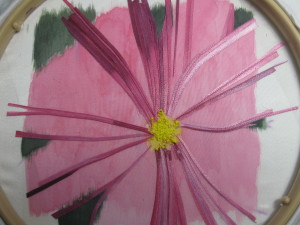
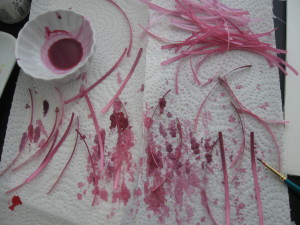
This was me painting the ribbons before gluing them on. The paint really shoots up the ribbon as soon as you touch the brush to it, and I could tell I would have no control over where it would go. I didn’t want to make a big painting mistake after doing all that painstaking gluing.
After painting them with my Pebeo silk paint I ironed them to seal the paint. Also, it’s much easier to work with ribbon that’s flat.
I cut the ribbons to what seemed like the right shapes and glued them to the background with Aleene’s acid free tacky glue. Took a while.
For the middle part, I did lots of French knots in different shades of yellow. I was aiming for imperfect knots (a good job really) because I was trying to make it look like nature, not embroidery. I used non-shiny yellows for a dusty,polleny look.
Finally…
*Fun part alert*
I wanted to make the little anthers spring out from the picture towards the viewer a bit, like they do in real life. I started by tying a big old knot in my yellow thread. This one’s about five knots in one.
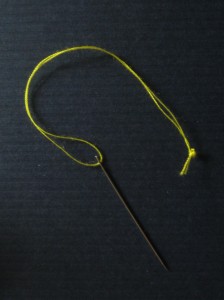
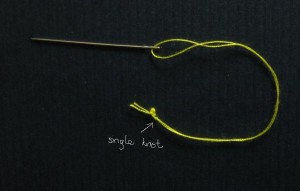
Made a single knot next to the big knot. This can be further along, depending on how long you want the filament to be.
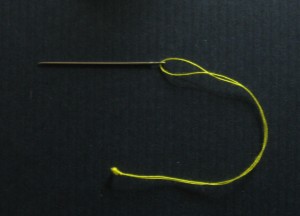
Snipped the ends off. That makes an anther.
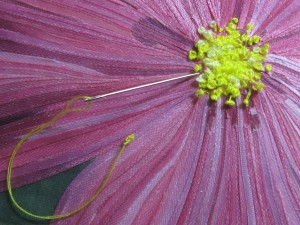
Inserted the needle from the front of the fabric. It stops at the little knot, so the anther appears to be springing out a bit. Sometimes I still used little securing stitches to hold the filaments in place, especially on the upper part because gravity makes them flop down.
Full Moon
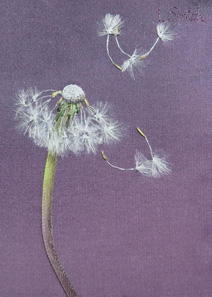
Sunday, July 28th, 2013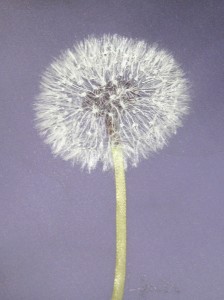 Made much the same way as Blown Away, with a few finessements. 3 x 4 inches in size. One day I’ll do a post with proper step-by-step pictures and a how-to.
I’ve been having travelling fun and taking inspiring pictures of flowers, bees and grass skippers for future projects.

